__
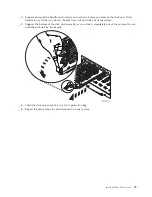
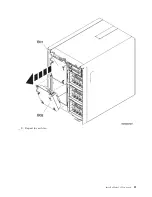
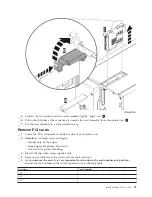
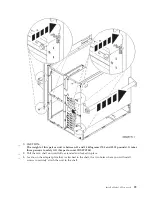
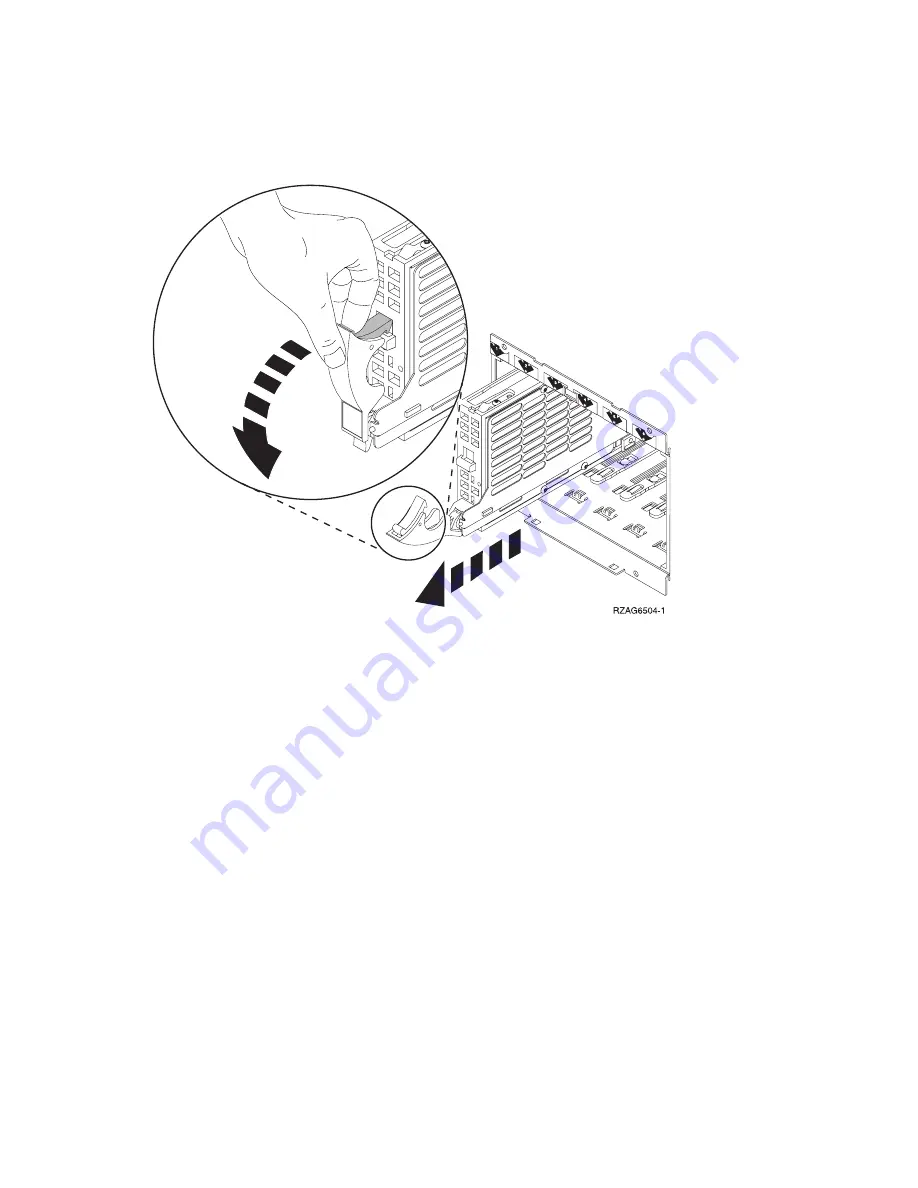
3.
Squeeze
and
pull
the
handle
out
toward
you
and
down
before
you
remove
the
disk
unit.
If
the
handle
is
not
all
the
way
down,
the
disk
unit
will
not
slide
out
of
the
system.
__
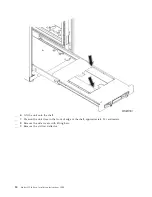
4.
Support
the
bottom
of
the
disk
unit
assembly
as
you
slide
it
completely
out
of
the
system.
Do
not
hold
the
disk
unit
by
the
handle.
__
5.
Label
the
disk
unit
and
put
it
in
a
static
protective
bag.
__
6.
Repeat
the
above
steps
for
each
disk
unit
in
your
system.
Install
a
Model
825
in
a
rack
19
Summary of Contents for eServer iSeries 825
Page 1: ...iSeries Model 825 in a rack installation instructions Version 5 ERserver...
Page 2: ......
Page 3: ...iSeries Model 825 in a rack installation instructions Version 5 ERserver...
Page 6: ...iv Model 825 In Rack Installation Instructions V5R3...
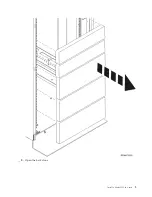
Page 11: ...__ 8 Open the back door Install a Model 825 in a rack 5...
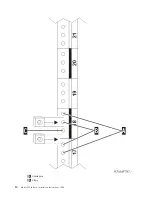
Page 16: ...A Guidepins B Clips 10 Model 825 In Rack Installation Instructions V5R3...
Page 22: ...__ 3 Pull the cover out 16 Model 825 In Rack Installation Instructions V5R3...
Page 27: ...__ 3 Repeat for each fan Install a Model 825 in a rack 21...
Page 33: ...__ 7 Remove the card Install a Model 825 in a rack 27...
Page 37: ...__ 10 Move the bottom of the foam forward out of the way A Install a Model 825 in a rack 31...
Page 46: ...40 Model 825 In Rack Installation Instructions V5R3...
Page 50: ...44 Model 825 In Rack Installation Instructions V5R3...
Page 52: ...46 Model 825 In Rack Installation Instructions V5R3...
Page 60: ...54 Model 825 In Rack Installation Instructions V5R3...
Page 61: ......
Page 62: ...Printed in USA...

