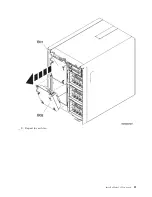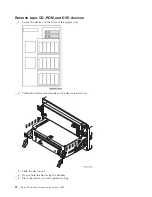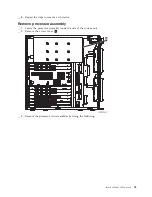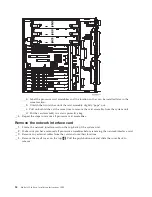
__
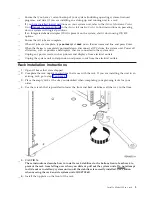
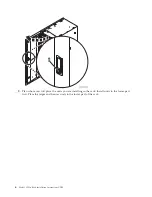
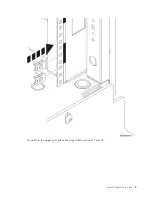
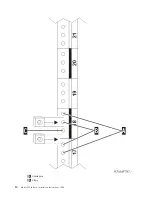
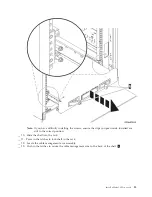
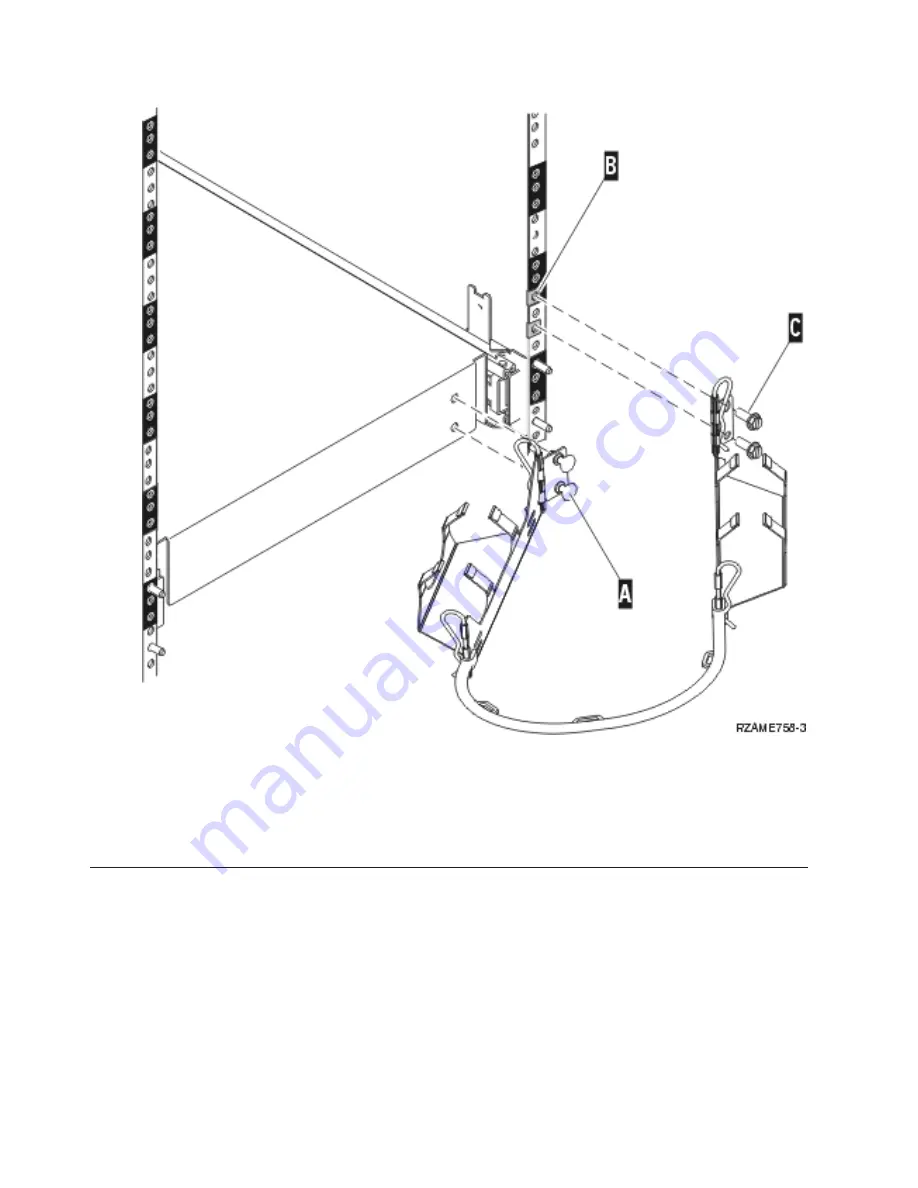
14.
Install
two
clips
in
the
back
frame
B
.
__
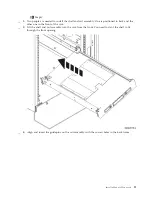
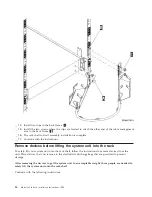
15.
Install
the
two
screws
where
the
clips
are
located
to
attach
the
other
end
of
the
cable
management
arm
to
the
back
frame
C
.
__
16.
The
rack
shelf
and
rail
assembly
installation
is
complete.
__
17.
Continue
with
the
instructions.
Remove
devices
before
lifting
the
system
unit
into
the
rack
To
safely
lift
your
system
unit
onto
the
rack
shelf,
follow
the
instructions
to
remove
devices
from
the
unit.
Place
devices
that
you
remove
in
the
electrostatic
discharge
bags
that
are
provided
to
prevent
damage.
After
removing
the
devices
to
get
the
system
unit
to
an
acceptable
weight,
three
people
are
needed
to
safely
lift
the
system
unit
onto
the
rack
shelf.
Continue
with
the
following
instructions.
14
Model
825
In
Rack
Installation
Instructions
V5R3
Summary of Contents for eServer iSeries 825
Page 1: ...iSeries Model 825 in a rack installation instructions Version 5 ERserver...
Page 2: ......
Page 3: ...iSeries Model 825 in a rack installation instructions Version 5 ERserver...
Page 6: ...iv Model 825 In Rack Installation Instructions V5R3...
Page 11: ...__ 8 Open the back door Install a Model 825 in a rack 5...
Page 16: ...A Guidepins B Clips 10 Model 825 In Rack Installation Instructions V5R3...
Page 22: ...__ 3 Pull the cover out 16 Model 825 In Rack Installation Instructions V5R3...
Page 27: ...__ 3 Repeat for each fan Install a Model 825 in a rack 21...
Page 33: ...__ 7 Remove the card Install a Model 825 in a rack 27...
Page 37: ...__ 10 Move the bottom of the foam forward out of the way A Install a Model 825 in a rack 31...
Page 46: ...40 Model 825 In Rack Installation Instructions V5R3...
Page 50: ...44 Model 825 In Rack Installation Instructions V5R3...
Page 52: ...46 Model 825 In Rack Installation Instructions V5R3...
Page 60: ...54 Model 825 In Rack Installation Instructions V5R3...
Page 61: ......
Page 62: ...Printed in USA...


