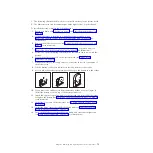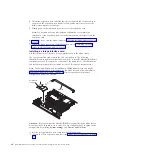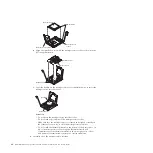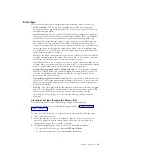
Installation tool
Handle
12.
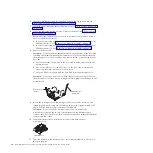
Place the microprocessor installation tool down over the microprocessor,
aligning the holes on the tool with the screws on the microprocessor bracket.
Note:
The alignment holes on the tool will not sit flush on the microprocessor
bracket screws. However, the holes can be used as a guide to ensure the
proper alignment between the microprocessor installation tool and the
microprocessor bracket.
Installation tool
Microprocessor
Alignment pins
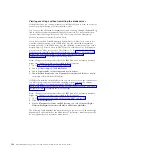
13.
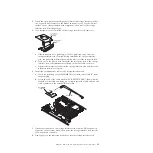
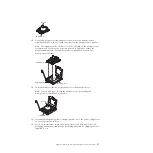
Twist the handle clockwise to attach the tool to the microprocessor.
Note:
You can pick up or release the microprocessor by twisting the
microprocessor installation tool handle.
Installation tool
Handle
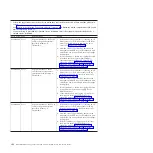
14.
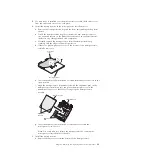
Carefully lift the microprocessor straight up and out of the socket, and place it
on a static-protective surface.
15.
If you are instructed to return the microprocessor and heat sink, follow all
packaging instructions, and use any packaging materials for shipping that are
supplied to you.
Chapter 5. Removing and replacing blade server components
87
Summary of Contents for BladeCenter HS22V 7871
Page 1: ...BladeCenter HS22V Type 7871 and 1949 Problem Determination and Service Guide...
Page 2: ......
Page 3: ...BladeCenter HS22V Type 7871 and 1949 Problem Determination and Service Guide...
Page 16: ...xiv BladeCenter HS22V Type 7871 and 1949 Problem Determination and Service Guide...
Page 20: ...4 BladeCenter HS22V Type 7871 and 1949 Problem Determination and Service Guide...
Page 34: ...18 BladeCenter HS22V Type 7871 and 1949 Problem Determination and Service Guide...
Page 64: ...48 BladeCenter HS22V Type 7871 and 1949 Problem Determination and Service Guide...
Page 112: ...96 BladeCenter HS22V Type 7871 and 1949 Problem Determination and Service Guide...
Page 240: ...224 BladeCenter HS22V Type 7871 and 1949 Problem Determination and Service Guide...
Page 244: ...228 BladeCenter HS22V Type 7871 and 1949 Problem Determination and Service Guide...
Page 252: ...236 BladeCenter HS22V Type 7871 and 1949 Problem Determination and Service Guide...
Page 257: ......
Page 258: ...Part Number 00Y8038 Printed in USA 1P P N 00Y8038...

