
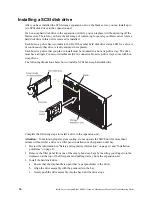
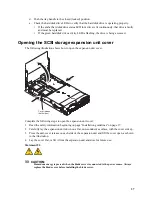
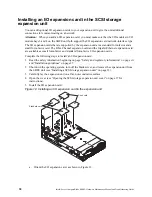


49
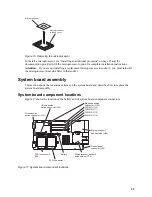
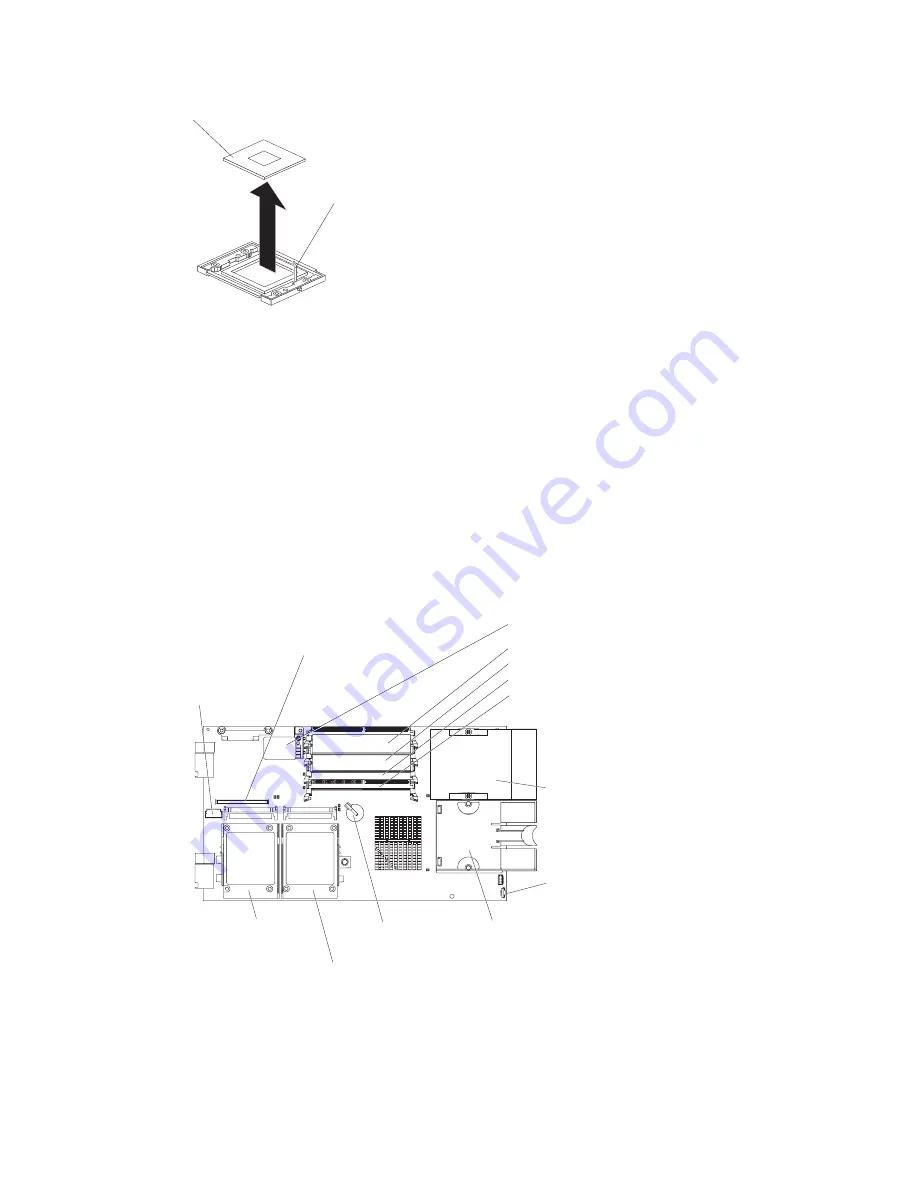
Figure 16. Removing the microprocessor
To install a microprocessor, see “Installing an additional processor” on page 25 and the
documentation provided with the microprocessor option for complete installation instructions.
Attention: If you are not installing a replacement microprocessor in socket 2, you must reinstall
the microprocessor heat sink filler in that socket.
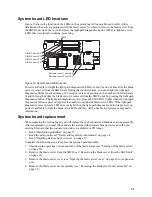
System board assembly
This section shows the locations of items on the system board and describes how to replace the
system board assembly.
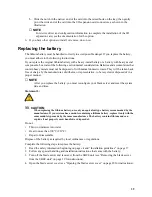
System board component locations
Figure 17 shows the location of the battery and of system board component connectors.
Figure 17. System board component locations
Microprocessor
Microprocessor-
release lever
Battery
SCSI connector 2
(J94)
SCSI connector 1
DIMM 1 (J113)
DIMM 2 (J111)
DIMM 3 (J112)
DIMM 4 (J110)
Microprocessor 1
and heatsink (U66)
Microprocessor socket 2
and heatsink (U70)
Control panel
connector (J64)
Blade expansion
connector (J132)
I/O expansion
option connector (J131)
I/O expansion
option connector (J34)
Summary of Contents for 8832L1X
Page 62: ...46 Intel Server Compute Blade SBX82 Hardware Maintenance Manual and Troubleshooting Guide...
Page 148: ...132 Intel Server Compute Blade SBX82 Hardware Maintenance Manual and Troubleshooting Guide...
Page 154: ...138 Intel Server Compute Blade SBX82 Hardware Maintenance Manual and Troubleshooting Guide...


