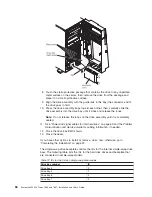

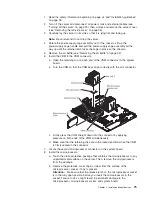
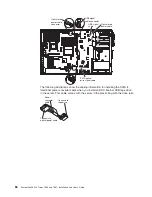

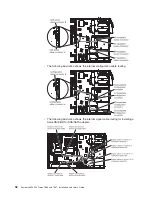
5. Disconnect the cables from the power supply to the system board and all
internal components. Be sure to make a note of the cable routing.
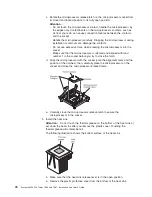
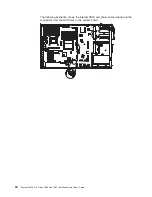
Attention:
Support the power supply while you remove the mounting screws.
After the screws are removed, the power supply is loose and can damage other
components in the server.
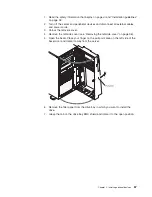
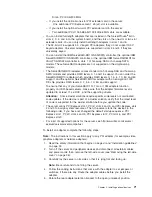
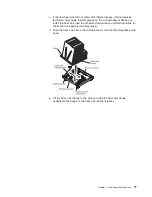
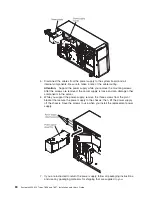
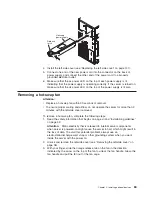
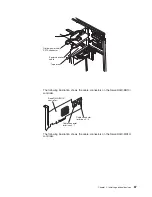
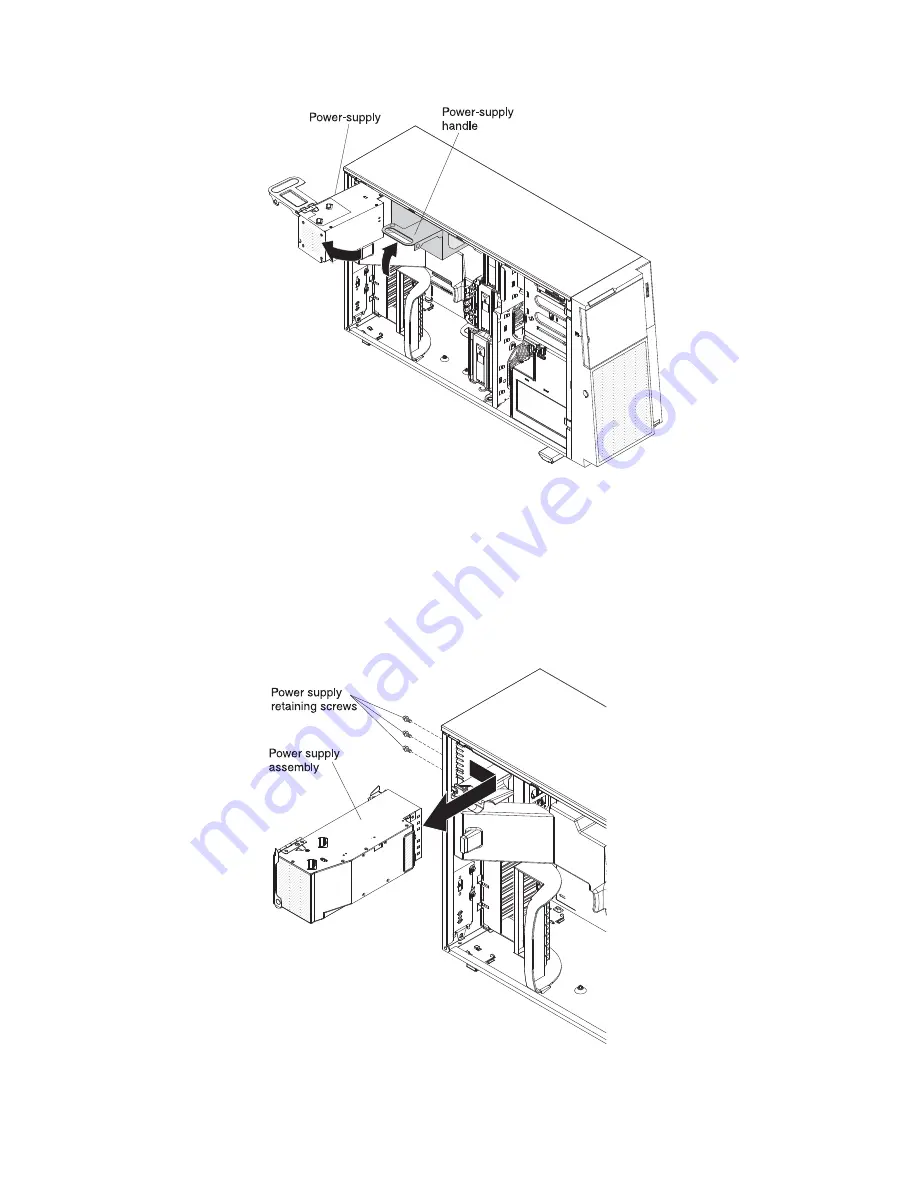
6. While you support the power-supply, remove the three screws from the pivot
bracket that secure the power supply to the chassis; then, lift the power supply
off the chassis. Save the screws to use when you install the replacement power
supply.
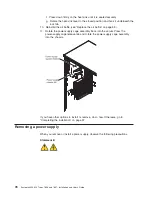
7. If you are instructed to return the power supply, follow all packaging instructions,
and use any packaging materials for shipping that are supplied to you.
80
System x3400 M2 Types 7836 and 7837: Installation and User’s Guide
Summary of Contents for 783722U
Page 1: ...System x3400 M2 Types 7836 and 7837 Installation and User s Guide...
Page 2: ......
Page 3: ...System x3400 M2 Types 7836 and 7837 Installation and User s Guide...
Page 8: ...vi System x3400 M2 Types 7836 and 7837 Installation and User s Guide...
Page 18: ...xvi System x3400 M2 Types 7836 and 7837 Installation and User s Guide...
Page 57: ...Chapter 2 Installing optional devices 39...
Page 122: ...104 System x3400 M2 Types 7836 and 7837 Installation and User s Guide...
Page 153: ......
Page 154: ...Part Number 69Y4170 Printed in USA 1P P N 69Y4170...


