background image

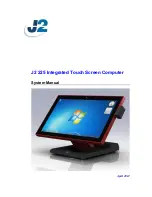
Intelligent Applications

Multimedia Player (if the APK installer is not pre-installed, 
you can access the fi le manager to select and install the 
corresponding APK app): Connect the USB storage device 
via USB port; select Local Play in the main interface of 
intelligent mode, and press “ 

OK

 ” to run it. 

Select a fi le category among All, Image, Song and Video 
on the left side. Play fi les in the local disk: Before playing a 
fi le in the local disk, fi rst insert the USB storage device to a 
USB port on the product. Select Local Disk from the fi le 
directory in the middle, and press “ 

OK

 ”. Select Back in the 

directory; press “ 

OK

 ” to return to the previous folders; 

select a directory folder, and press “ 

OK

 ” to enter the folder; press “ 

Back

 ” to return to the desktop.

Caution:

It is possible that some non-standard USB devices cannot be recognized; please use a standard USB device.
The streaming media system has certain restrictions on the format of each fi le played; errors will be caused if 
going beyond such restrictions.
Do not plug or remove the USB device when the system is playing a fi le; otherwise system or device failures will 
occur.
This system supports USB fl ash drives, mobile hard drives and other devices with standard USB 1.1 and USB 2.0 
port transmission protocols.
The maximum output current of USB ports on theproduct is 500mA; the product will enter self-protection when 
this limitis exceeded. If you connect an external device with heavy current, it is suggested to use an external 
powersupply.
The system of this product is very complex, equivalent to a computer system. There fore, if the screen freezes 
or the product malfunctions due to such factors as compatibility and stability of the USB device when reading or 
playing a fi le, please try turning off  the product and reinitializing the system.

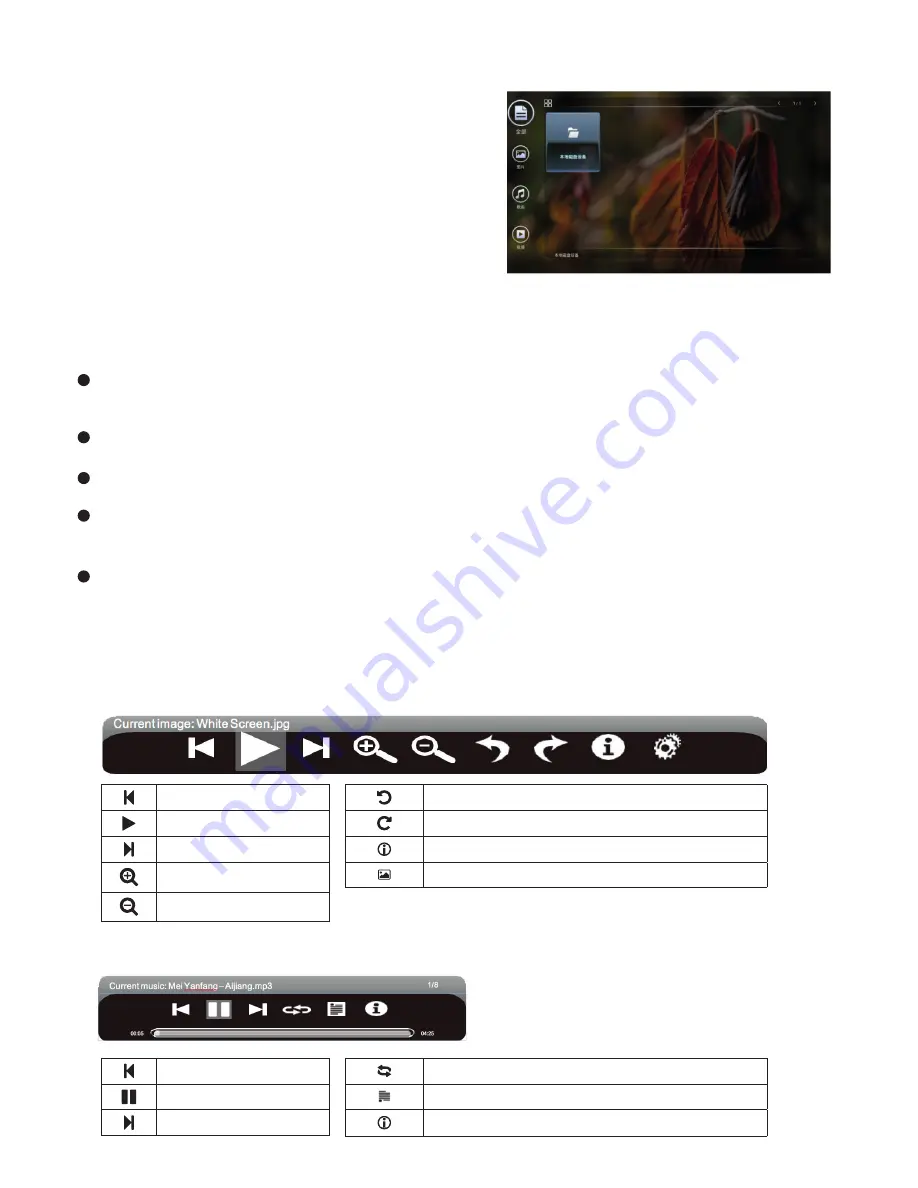
Description of option icons in the play interface

Options in the image player menu

Options in the song player menu

Play the previous image.

Pause/start slide show.

Play the next image.

Zoom in an image.

Zoom out an image.

Rotate an image leftward by 90°.

Rotate an image rightward by 90°.

Show the details of an image.

Set image playback.

Play the previous song

Pause/start music playback.

Play the next song.

Set the song play mode: Repeat All, Repeat One, and Shuffl  e.

View the song playlist.

Show the details of a song.

Summary of Contents for i3TOUCH V6510 T10

Page 1: ...MANUAL i3TOUCH V6510 T10...

Page 2: ...emote Control 6 Basic Operations 8 Power On Standby 8 Source Selection 8 Menu Operations 8 List of Menu Settings 9 Intelligent Platform Operations 10 Basic Operations 10 Quick Start 11 Intelligent App...

Page 3: ...and ultra narrow edges Safety Warning and Precautions Thank you for purchasing our high performance multifunctional i3TOUCH As a valuable offering better audio and visual experience this product has...

Page 4: ...r outlet may cause fire due to excessive power consumption To avoid the risk of electric shock and fire keep the product away from naked flames like burningcandles Do not put any container with water...

Page 5: ...e display failure If the product keeps displaying one image or there is any still text or icon in a moving image during a long time a ghosting will be left on the screen and survive long after the pro...

Page 6: ...t Caution If you have any problem in operating debugging or connecting the product contact your dealer If the product has any fault cutoff power supply immediately and contact yourdealer As a Class A...

Page 7: ...onditioner otherwise dew can be formed on the panel inside the display further resulting in fault Do not place the product near any strong electromagnetic field otherwise it will be subjected to elect...

Page 8: ...t to a PC Note Disconnect the power plug before installing or removing the product Connection diagram Connection ports on the product Connection ports on the PC Remark The connection diagram in this M...

Page 9: ...tems up and down their functions are identical to on the remote control 5 Enable disablethegesturefunction showingtheshortcutmenubya swipegestureontheleftor rightside 6 Indicator and remote receiver 7...

Page 10: ...ease change the angle of lighting or the machine or operate the remote control close to the remote receiver Low battery voltage will affect the remote control distance Please replace the batteries wit...

Page 11: ...interface SOURCE Display the source selection menu valid only in TV mode CH Turn channels up down SOUND MODE Select the sound mode of the product SLEEP Set the sleep time and auto standby when the spe...

Page 12: ...For operations in the intelligent mode please refer to the instructions on operation of the intelligent platform below 1 Press the MENU key on the remote control or on the front panel the screen will...

Page 13: ...Color Temp Adjust the overall color temperature of pictures Standard Warm and Cold Zoom Mode Adjust the aspect ratio Full Screen 4 3 Movie and Subtitle In 75E89K U there is slight difference in Zoom...

Page 14: ...1 Skip Press the numeric key 1 to enable or disable skipping the channel selected 2 Edit Press the numeric key 2 to edit the info of the channel selected 3 Favorite Press the numeric key 3 to add the...

Page 15: ...d Google Pinyin Input Method User can also download a third party input method System time setting Select Settings Date Time Auto Determination of Date Time in the intelligent mode and press OK The sy...

Page 16: ...ns Music and press the OK key tooperate 2 The submenu provides Music Artist and Special for selection and press the OK key to confirm APK Installer The APK Installer option helps user to manage apps U...

Page 17: ...em is playing a file otherwise system or device failures will occur This system supports USB flash drives mobile hard drives and other devices with standard USB 1 1 and USB 2 0 port transmission proto...

Page 18: ...ct IP Address and configure an available IP address for the product 4 Select Default Gateway and configure an available gateway for the product 5 Select Network Pre x Valid Length and configure a vali...

Page 19: ...ssword having more than 8 bits When other devices search out the WiFi network you have shared the correct password must be entered to connect your network After selecting Encrypt the system will autom...

Page 20: ...ed and if the cable is in good condition 2 Check the antenna type VHF UHF 3 Adjust the antenna orientation and position 4 Try using a signal booster The screen does not display anything there is no so...

Page 21: ...on 2 Improper network connection 3 Network service is not activated 1 Ask the network administrator for available network IP addresses and other parameters 2 Check if the network connection cable is p...

Page 22: ...ironmental protection standard All components and packing materials comply with the international environmental protection standards Working conditions temperature 0 C 40 C RH 20 80 atmospheric pressu...

Page 23: ...prepared based on the data provided by our material suppliers for each type of materials and verified by us this product contains hazardous substances The hazardous substances con tained in some mater...

Page 24: ...AUTHORISED DISTRIBUTOR WWW I3 TECHNOLOGIES COM INFO I3 TECHNOLOGIES COM...

Reviews: