12
Test Plans are defined by using the
SureTrend
Windows software.
Please refer to the SureTrend User’s Manual located on the
SureTrend software CD for full details (see section
5
).
To select a Test Plan, use the
TEST PLAN
menu
option.
NOTE
: If Test Plan
Plan:0
is selected, or no Test
Plans have been defined, any of the 5001 Program
locations can be selected.
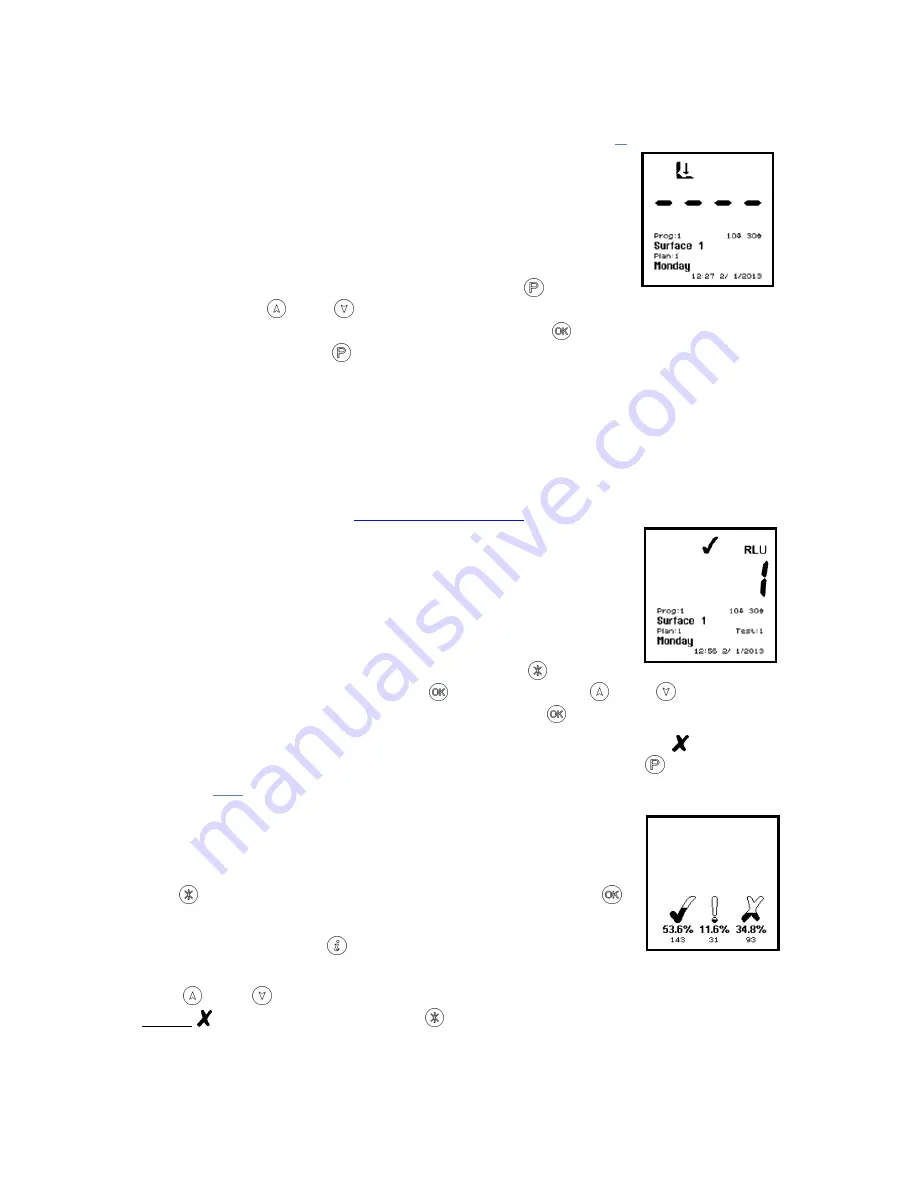
To select a Program location press the
button,
then use the and buttons to change the Program
Prog:
to the
desired Program location, followed by the button to accept the
new location, or the button to cancel the selection.
TIP
: When selecting a
Prog:
, the display also shows the time and
date that the Program location was last tested.
3.4
Establishing ATP Pass/Fail Limits
For instructions on establishing Pass/Fail limits, refer to the
implementation guide included with your system, or visit the
resources available on
www.hygiena.com
.
3.5
Viewing Stored Test Results
The luminometer can store a maximum of 2000
test results in its internal memory, even when the
batteries are low or removed.
To view these stored test results, select the
MEMORY
menu option by pressing the button.
Scroll to “MEMORY” and press . Then use the and buttons to
scroll through the test results, pressing the button to exit:
TIP
: After reviewing the stored test results, a failed Program
location can be selected for retesting by pressing the button (see
section
4.2
).
3.6
Viewing Statistical Data and Test Failures
The test results database can be analyzed by
selecting the
STATISTICS
menu option by pressing
the button. Scroll to “STATISTICS” and press .
This will display a simple comparison of all the
stored results. The button also provides a direct
shortcut to this function.
The and buttons can then be used to scroll through all of the
failed test results. Press the button to exit.


