INSTALLATION
18
Bi-Fold Track Systems
4.
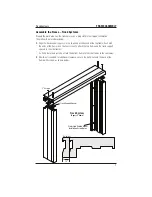
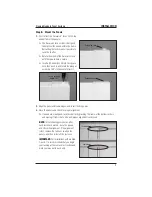
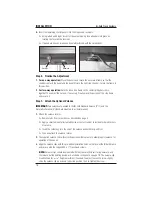
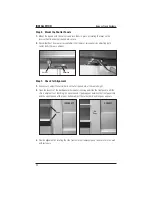
Insert the remaining shutter panels into the hinges and receivers.
➤
Using labels and hinges for correct panel positioning, lock all panels into place by
rotating the lever on the receiver.
➤
If panels are uneven, make any minor adjustments with the carrier bolts.
Step E. Finalize the Adjustment
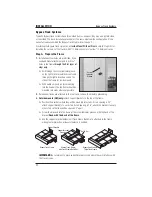
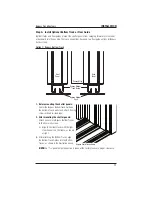
1. For one-way operation:
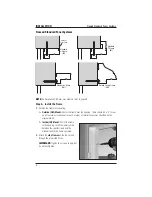
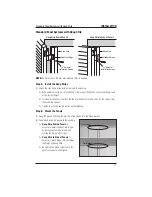
Close the panels and locate the unsecured frame so that the
snubber contacts the panel and the panel fits into the light stop channel. Secure the frame in
this position.
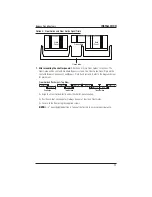
2. For two-way operation:
Hold the loose side frame so the center split panels come
together. Then adjust the carriers, if necessary. Finally, mark the position of the side frame
and secure it.
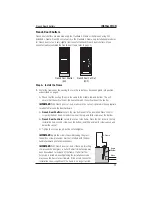
Step F. Attach the Optional Valance
IMPORTANT:
Two valances are available, the Bi-Fold Standard Valance (2
1
/
2
") and the
Decorative Valance (5"). Both are mounted in a similar manner.
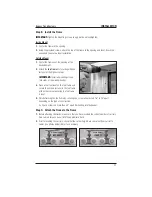
1.
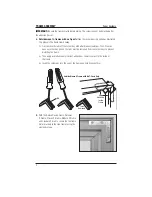
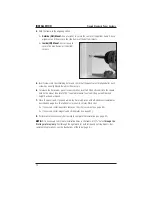
Attach the valance returns.
➤
Remove tabs from corner keys as described on page 4.
➤
Apply a small amount of instant adhesive or contact cement to inside of mitered corners
of valance.
➤
Insert the corner key into the end of the valance and hold firmly until set.
➤
Glue and attach the valance returns.
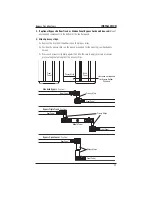
2.
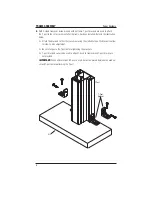
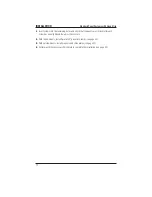
The supplied valance clips will correctly position either valance to allow proper clearance for
operation of the panels.
3.
Align the valance clips with the pre-drilled installation holes on the face of the Bi-Fold Frame,
and secure with the supplied #8 x 1" Truss Head screws.
NOTE:
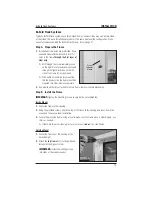
Valance clips should be mounted with the clear plastic insert facing outward, and
the release button pointing downward, as shown in the photo on page 19. The valance clip
mount allows for a
3
/
16
" height adjustment if needed. To adjust, loosen the screw slightly,
slide the valance clip up or down to desired position, then re-tighten the screw.
Carrier
Receiver

