


20
Figure 5-14 Sample Location Status Bar-2
9. After setting, click the return button at the top to return to the main APP interface, and the icon
disappears.
5.3 Bluetooth Connection
After you select the product serial number to enter the "HUMZOR" main interface, you can view and
connect to the VCI device with the corresponding serial number you have purchased through the following
steps:
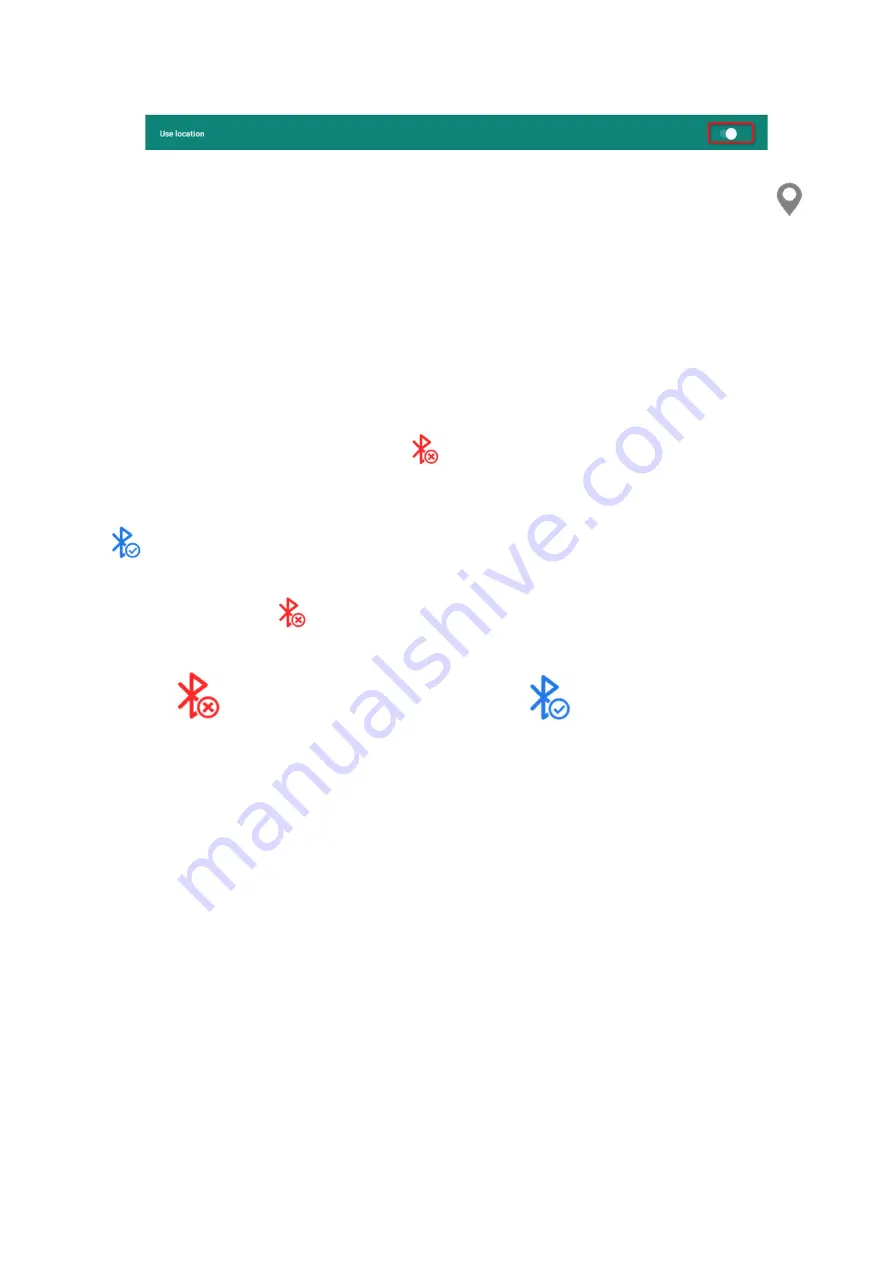
1. Insert the VCI of the HUMZOR NEXZDAS product you purchased tightly into the OBD port. At this
time, the Bluetooth icon on the top right side is.
2. Turn on the ignition switch, the NEXZDAS application will automatically scan and recognize the VCI
device, and establish a Bluetooth connection. At this time, the Bluetooth icon on the top right side changes to
, and the Bluetooth connection is successful.
3. If the NEXZDAS application cannot automatically connect to your VCI device, or the device fails to
connect, please click the
icon button on the top right to reconnect, or check whether the VCI is well
connected to the car’s OBD port.
Figure 5-15 NEXZDAS N
ot Connected
Figure 5-16 NEXZDAS Connected
6
Diagnostics
The Diagnostics application can access the electronic control module of multiple vehicle control systems,
including but not limited to the engine, transmission, antilock brake system (ABS) and airbag system (SRS).
6.1 Establish Vehicle Communication
The Diagnostics operations require connecting the NEXZDAS PRO Diagnostic tablet to the test vehicle
through the VCCI device using the Main Cable. (Use the applicable OBDI-type adapter if needed). To
establish proper vehicle communication to the tablet, you need to perform the following steps:
1. Connect the VCCI device to the vehicle's DLC for both communication and power source.
2. Connect the VCCI device to the tablet via BT auto-pairing, Wi-Fi or USB connection.
www.obdii365.com