background image

49

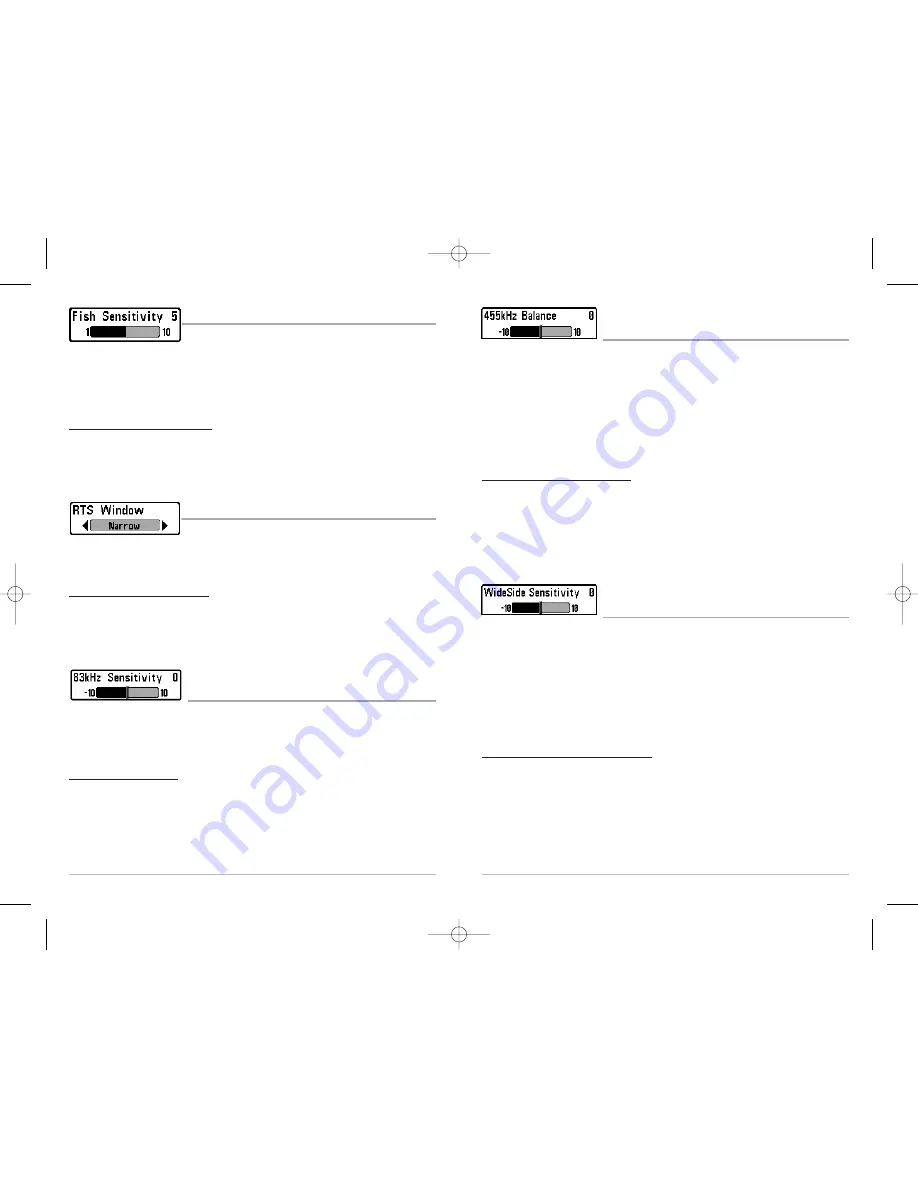
455 kHz Balance 

(Advanced: with QuadraBeam™ Transducer)

455 kHz Balance

adjusts the sensitivity of the 455 kHz beam.  Increasing the sensitivity will display

additional weak returns and decreasing the sensitivity will display fewer weak returns. A
QuadraBeam™ transducer must be attached to the Matrix™. The 455 kHz Balance menu choice is
available when Transducer Select is set to QuadraBeam™ (see 

Sonar Menu Tab: Transducer Select

)

and User Mode is set to Advanced (see 

Setup Menu Tab: User Mode

).

NOTE:

The 455 kHz Balance requires the purchase of the QuadraBeam™ transducer.  You can visit

our website at 

www.humminbird.com

to order this accessory online or contact our Customer

Resource Center at 1-800-633-1468.

To change the 455 kHz Balance setting:

1. Make sure you have selected QuadraBeam™ Transducer and Advanced Mode and that

the QuadraBeam™ transducer is connected, then highlight 455 kHz Balance on the Sonar
Main Menu.

2. Use the LEFT or RIGHT 4-WAY Cursor Control keys to change the 455 kHz Balance. 

(-10 to +10, Default = 0)

WideSide® Sensitivity 

(Advanced: With WideSide® Transducer)

WideSide® Sensitivity

adjusts the sensitivity of the WideSide® beam.  Increasing the sensitivity

will display additional weak returns and decreasing the sensitivity will display fewer weak returns.
A WideSide® transducer must be attached to the Matrix™ Fishing System.  The WideSide®
Sensitivity menu choice is available when Transducer Select is set to WideSide® (see 

Sonar Menu

Tab: Transducer Select

) and User Mode is set to Advanced (see 

Setup Menu Tab: User Mode

).

NOTE: 

The WideSide® Sensitivity requires the purchase of the WideSide® transducer.  You can visit

our website at 

www.humminbird.com

to order this accessory online or contact our Customer

Resource Center at 1-800-633-1468.

To change the WideSide® Sensitivity setting:

1.  Make sure you have selected WideSide® Transducer and Advanced Mode and that the

WideSide® transducer is connected, then highlight WideSide Sensitivity on the Sonar
Main Menu.

2.  Use the LEFT or RIGHT 4-WAY Cursor Control keys to change the WideSide® Sensitivity. 

(-10 to +10, Default = 0)

48

Fish Sensitivity

Fish Sensitivity

adjusts the threshold of the Fish ID+™ detection

algorithms.  Selecting a higher setting allows weaker returns to be displayed as fish.  This is useful
for identifying smaller fish species or baitfish.  Selecting a lower setting displays fewer fish from
weak sonar returns.  This is helpful when seeking larger species of fish. Fish Sensitivity is used in
conjunction with Fish ID+™. Fish ID+™ must be On for Fish Sensitivity to affect the ability of the
Matrix™ to identify sonar returns as fish.

To change the Fish Sensitivity setting:

1.  Highlight Fish Sensitivity on the Sonar main menu.

2. Use the LEFT or RIGHT 4-WAY Cursor Control keys to change the Fish Sensitivity setting.

(Low = 1, High = 10, Default = 5)

Real Time Sonar (RTS®) Window    

RTS® Window

sets the RTS® Window to either Wide or Narrow, or

turns it off in the Sonar View. The RTS® Window always updates at the fastest rate possible and
only displays returns that are within the transducer beam. (See

Real Time Sonar [RTS®] Window

for more information.)

To change the RTS® Window setting:

1.  Highlight RTS Window on the Sonar main menu.

2. Use the LEFT or RIGHT 4-WAY Cursor Control keys to change the RTS® Window setting.

(Wide, Narrow, Off, Default = Wide) 

83 kHz Sensitivity

(Advanced)

83 kHz Sensitivity

changes the sensitivity of the 83 kHz beam.  Increasing the 83 kHz Sensitivity

will display additional weak returns and decreasing the 83 kHz Sensitivity will display fewer weak
returns. The 83 kHz Sensitivity menu choice is only available when User Mode is set to Advanced
(see 

Setup Menu Tab: User Mode

). 

To set the 83 kHz Sensitivity:

1.  Make sure you are in Advanced User Mode, then highlight 83 kHz Sensitivity on the

Sonar main menu.

2.  Use the LEFT or RIGHT 4-WAY Cursor Control keys to set the 83 kHz Sensitivity. (-10 to +10,

Default = 0) 

M87_Man_531352-1_A.qxd  12/9/2004  3:28 PM  Page 54

Summary of Contents for Matrix 87

Page 1: ...531352 1_A Matrix 87c Operations Manual Matrix 87c Operations Manual M87_Man_531352 1_A qxd 12 9 2004 3 28 PM Page 1...

Page 2: ...e offer an exclusive Service Policy free of charge during the first year after purchase and available at a reasonable rate after the one year period For complete details see the separate warranty card...

Page 3: ...Sensitivity Advanced With WideSide Transducer 49 Depth Lines Advanced 50 Surface Clutter Advanced 51 Noise Filter Advanced 51 Max Depth Advanced 52 Water Type Advanced 52 Transducer Select 52 Table of...

Page 4: ...osition aswellasdepthdirectlybelowthetransducer Your Matrix Fishing System sends a sound wave signal and determines distance by measuring the time between the transmission of the sound wave and when t...

Page 5: ...your Matrix allows you to combine easy to use FishingGPS chartplotterandnavigationcapabilitieswithadvancedfishfinding ThefollowingGPSfunctionality is currently supported by the Matrix when it is conn...

Page 6: ...lorstatutemilestraveled RTS RealTimeSonar Window Structure wherefishmaybehiding Thermoclines layers of water with different temperatures that appear at different depths and different times of the year...

Page 7: ...edintheupperleftcorner AscalewithUpperandLowerDepthRangereadoutsappears along the right edge of the Sonar View The scale indicates the distance from the surface of the water to a depth range sufficien...

Page 8: ...er the water Each vertical band of data received by the control head and plotted on the display represents something that was detected by a sonar return at a particular time As both the boat and the t...

Page 9: ...dthezoomed view on the left The full range view on the right also contains the Zoom Preview Box that shows what part of the full range view is shown in zoom view on the left the Zoom Preview Box track...

Page 10: ...requires a separate purchase This view shows sonar information from both the left and right 90 455 kHz beams and the 200 kHz down looking beam in one view The topportionofthedisplaypresentsahistorica...

Page 11: ...d Longitude Position of Boat Speed of Boat Bearing of Boat with Respect to North Reference WideSide View WideSide View is only available if you have connected a WideSide transducer accessory and when...

Page 12: ...Map Scale Depth Water Surface Temperature Cartography Sonar Window Bearing of Boat with Respect to North Reference Speed of Boat Boat Icon Track Breadcrumb Trail 16 Chart View Chart View shows cartog...

Page 13: ...the distance and bearing from the boat to the cursor position and the latitude longitude coordinates of the cursor Zooming UsethePlus keytoZoomInandtheMinus keytoZoomOutshowingthecartographyatdifferen...

Page 14: ...vel a route staying on the route line is the most efficient way to get to your destination althoughyoushouldalwayslookoutforobstaclesnotshownonthechart YourMatrix canstore up to 10 routes that can eac...

Page 15: ...ing of the rings on the waypoint target and the spacing of the grid lines on the trolling grid is the same as the length of the scale bar on the left edge of the display Zooming in or out will decreas...

Page 16: ...n will be displayed with an empty route You can name the route add waypoints to the route from the list of all waypoints and order the waypoints in the route using the Cursor keys Editasavedroute From...

Page 17: ...d saved immediately no further action is required MARK Key Press the MARK key while in any view to mark the position of a waypoint either at the current boat location or if the Cursor is active at the...

Page 18: ...lator operation depending on the presence or absence of a transducer Matrix 87c Title Screen Accessory Bus 29 28 GOTO Key IftheCursorisactive pressingtheGOTOkeywhileinanyviewcreatesawaypoint and start...

Page 19: ...from the X Press Menu the menuwillcollapse leavingonlythemenuchoiceonthescreen Usethe Up or Down Cursor keys to reactivate the X Press Menu NOTE The X Press Menu choices will vary depending on which v...

Page 20: ...ally to remind you that you are using the Simulator Exit the Simulator by powering your Matrix off Simulator 32 Start Up Options Menu Press the MENU key when the Title screen is displayed to access th...

Page 21: ...feature requires the use of the PC Connect Cable Complete instructions are included with the PC Connect Cable accessory NOTE ThePCConnectCablerequiresaseparatepurchase Formoreinformationvisitourwebsit...

Page 22: ...ay Increasingthesensitivityshowsmoresonarreturnsfromsmallbaitfishandsuspendeddebrisinthe water however thedisplaymaybecometoocluttered Whenoperatinginveryclearwaterorgreater depths increasedsensitivit...

Page 23: ...hat will be displayed on the Sonar Split Sonar and Big Digits Views The Upper Range menu choice is available when User Mode is set to Advanced see Setup Menu Tab User Mode and can only be accessed fro...

Page 24: ...selects the method used to represent bottom and structure on the display Structure ID represents weak returns in blue and strong returns in red WhiteLine highlights the strongest sonar returns in whit...

Page 25: ...RIGHT 4 WAY Cursor Control key to remove the target 42 Save Current Track Save Current Track allows you to save the current track being displayed After the current track is saved a new current track...

Page 26: ...earwhen a grid has already been applied to a waypoint To Remove a Grid 1 Highlight Remove Grid on the Navigation X Press Menu 2 Use the RIGHT 4 WAY Cursor Control key to remove the grid Sonar Window C...

Page 27: ...eam Orange Fish Symbols 83kHz WideBeamBlueFishSymbols DualBeamPLUS Only 46 Beam Select BeamSelectsetswhichsonarreturnsfromthetransducerwillbe displayed on the screen When set to 200 83 kHz the returns...

Page 28: ...Mode and that the WideSide transducer is connected then highlight WideSide Sensitivity on the Sonar Main Menu 2 Use the LEFT or RIGHT 4 WAY Cursor Control keys to change the WideSide Sensitivity 10 t...

Page 29: ...um and High settings add progressive filtering of the sonar returns In some deep water situations the High setting may actually hinder your unit s ability to find the bottom To change the Noise Filter...

Page 30: ...l Models Only Default AUTO Water Type Advanced Water Type configures your unit for operation in fresh or salt water The Water Type menu choice is available when User Mode is set to Advanced see Setup...

Page 31: ...tion main menu 2 Use the RIGHT 4 WAY Cursor Control keys to view the Tracks submenu The Tracks Submenu contains the following menu choices Edit allows you to select a previously saved track and edit i...

Page 32: ...g 1 Highlight North Reference on the Navigation main menu 2 UsetheLEFTorRIGHT4 WAYCursorControlkeystochangetheNorthReferencesetting True Magnetic Default True 56 Chart Detail Level Chart Detail Level...

Page 33: ...nu 2 Use the LEFT or RIGHT 4 WAY Cursor Control keys to change the Grid Rotation setting 0 to 89 Default 0 Trackpoint Interval Trackpoint Interval allows you to select the time period between trackpoi...

Page 34: ...only accessible if a Map Offset is currently active To Clear Map Offset 1 Make sure you are in Advanced User Mode then highlight Clear Map Offset on the Navigation main menu 2 Use the RIGHT 4 WAY Curs...

Page 35: ...Depth Alarm setting 1 Highlight Depth Alarm on the Alarms main menu 2 Use the LEFT or RIGHT 4 WAY Cursor Control keys to change the Depth Alarm setting OFF 1 to 100 feet or 0 5 to 30 meters Internati...

Page 36: ...Arrival Alarm will sound To change the Arrival Alarm setting 1 Highlight Arrival Alarm on the Alarms main menu 2 UsetheLEFTorRIGHT4 WAYCursorControlkeystochangetheArrivalAlarmsetting Off 30 to 3000 fe...

Page 37: ...s Fahrenheit Default Celsius Units Distance Units Distance selects the units of measure for all distance related readouts To change the Units Distance setting 1 Highlight Units Distance on the Setup m...

Page 38: ...To cancel Restore Defaults press the LEFT Cursor key 68 Units Speed Units Speed selects the units of measure for speed related readouts To change the Units Speed setting 1 Highlight Units Speed on th...

Page 39: ...nced User Mode see Setup Menu Tab User Mode To change the Speed Calibration setting 1 Make sure you are in Advanced User Mode then highlight Speed Calibration on the Setup menu 2 Use the LEFT or RIGHT...

Page 40: ...ected as a Digital Readout on the Sonar View see Select Readouts This menu choice is available only when in Advanced User Mode see Setup Menu Tab User Mode To change the Local Time Zone 1 Make sure yo...

Page 41: ...dvanced NMEA Output turns the NMEA output on or off This menu choice is available only when in Advanced User Mode see Setup Menu Tab User Mode The following NMEA sentences are output DPT Depth MTW Wat...

Page 42: ...controlheadis not detecting the transducer Perform the following troubleshooting tasks UsingtheInstallationGuidethatalsocomeswithyourMatrix checktomakesurethat the transducer cable is securely connect...

Page 43: ...oblem Possible Cause Thecontrolheadlosespowerat high speeds Whentheboatmovesathigher speeds the bottom disappears or suddenly weakens or the display contains gaps Therearenofishdetected even when you...

Page 44: ...ansmitted over the Accessory Bus to the Matrix PC Connect Cable Purchase the PC Connect Cable to connect the Matrix to a PC in order to upload product software updates and new features obtained from w...

Page 45: ...riday 8 00 a m to 4 30 p m Central Standard Time 1 800 633 1468 By e mail typically we respond to your e mail within three business days custserv johnsonoutdoors com For direct shipping our address is...

Reviews:

Related manuals for Matrix 87