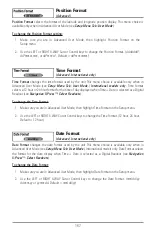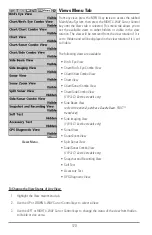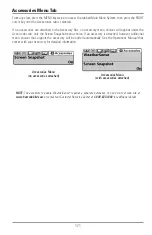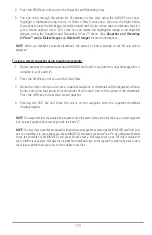
Using Screen Snapshot
Screen Snapshot
activates the screen snapshot function. When
Screen Snapshot is enabled, pressing the MARK key creates a saved screen capture on the optional-
purchase MMC/SD card installed in your unit’s card slot. All menus, dialog boxes, warnings and messages
are captured and saved automatically.
Once you have created a screen capture, a screen capture thumbnail is added to the Snapshot and
Recording View, and is available to view at a later date. See the full-sized image by highlighting a
thumbnail (using the Up or Down 4-Way Cursor keys), then using the Right 4-Way Cursor key to view the
full image. A border around the full-size screen snapshot indicates that it is just a screen snapshot, not a
“live” view. You can delete the highlighted image, or all images, by selecting a thumbnail and using Delete
Image, or using Delete All Images from the Screen Snapshot X-Press™ menu. You can view these captures
on the Chart and the Snapshot and Recording views, which show any existing thumbnails of the screen
captures.
NOTE:
You must have an optional-purchase MMC/SD card installed for the Screen Snapshot feature to work.
NOTE:
If you use your MMC/SD card in two different control heads that have different screen sizes, the Screen
Snapshot made on one unit will still be present on the card, but will be represented by the Unavailable icon (circle
with a slanted line through it) on the Snapshot and Recording View on the other unit.
To turn Screen Snapshot on or off:
1.
Highlight Screen Snapshot on the Accessories main menu.
2.
Use the LEFT or RIGHT 4-WAY Cursor Control keys to turn Screen Snapshot On or Off (Off, On,
Default = Off).
To make a screen snapshot (Screen Snapshot must be enabled):
1.
Make sure you have installed an optional-purchase MMC/SD card into your card slot.
2.
From any view you want to capture, press the MARK key. When you start a screen capture, you
will see a message that a waypoint has been created at the point where your cursor is on the
screen, and the screen will freeze while the snapshot is being saved to the MMC/SD card. A
status dialog box will appear that shows the progress of the save as a percentage, and that
displays the numbered file name assigned to the .BMP file that is being created.
NOTE:
For more information, see
Snapshot and Recording View
and
Snapshot and Recording X-Press™ Menu
.
NOTE:
Navigation is not affected by the Screen Snapshot feature. Also, if Screen Snapshot is enabled but there
is no GPS receiver connected, pressing the MARK key will capture the screen image and display an error saying
that a GPS position fix is required to create a waypoint.
NOTE:
The speed of the capture depends on the type of card you use; in general, SD cards capture the screen
faster than MMC cards do.
To view screen snapshots:
1.
Make sure that the optional-purchase MMC/SD card used to capture the screen is installed in
your card slot.
172

