version 1.2_en
page 3
Measuring procedure GF2 basic device
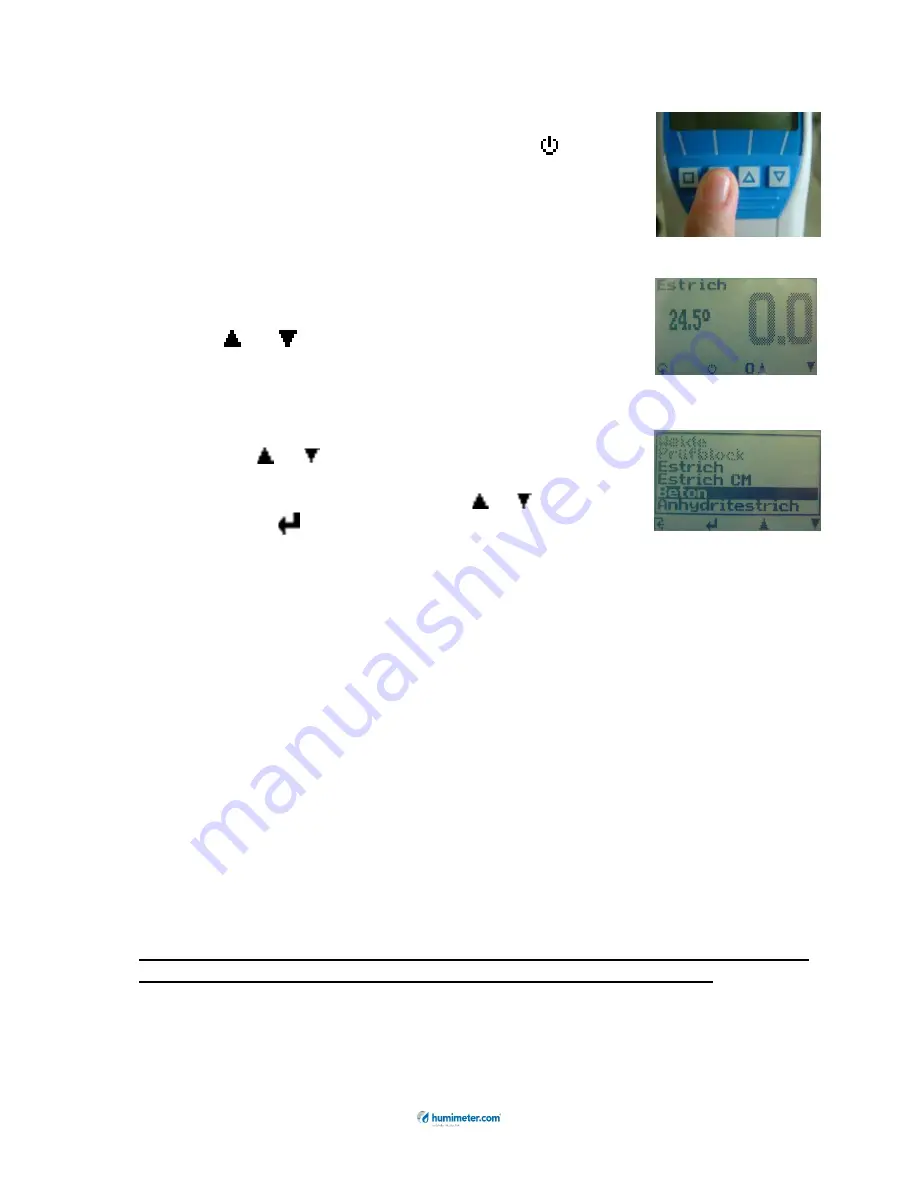
To switch on the instrument, press the
key for
three seconds.
After showing the logo, the measuring window opens and
the current measuring values are displayed.
Now you can select the desired calibration curve by
pressing
or
. The calibration curves saved in the
device can be found in the list below.
List of calibration curves
Pressing the
or
key in the measuring window for at
least 3 seconds, a list with all available calibration curves
appears. Select your sort by pressing
or
and confirm
by pressing the
key.
Look for some representative positions that are suitable for monitoring the
floor screed moisture. The thickness of concrete in these places has to be at
least 30mm.
Please make sure that there are no pipes, electric cables or iron gratings in
that area. Metal objects within the measuring field of 30mm lead to incorrect
measuring values.
Before measuring, clean the measuring area with a broad scraper. The
measuring device has to rest on the concrete with its full surface without any
air space. The measuring area must not be polluted by grit.
Select the calibration curve that best fits your material to measure using the
arrow keys. For a list of material types and corresponding densities, please
see the chart below.
Please ensure that the measuring instrument has nearly the same
temperature than the material to measure.
Press the measuring instrument with downward measuring surface with
a pressure of approx. 4kg onto the cleaned measuring area.
The water
content is displayed in the measuring window immediately.
The interpretation of the shown floor screed water content needs the
experience of the user as well as the recommendations of the floor screed
producer.


