Procedure
1.
From the
Configuration
area, click
Expert Wizard
in the
Partitions
menu.
2.
Select the partition to be configured and then click
Next
until the wizard displays the
Select Data Path
Failover Settings
screen.
3.
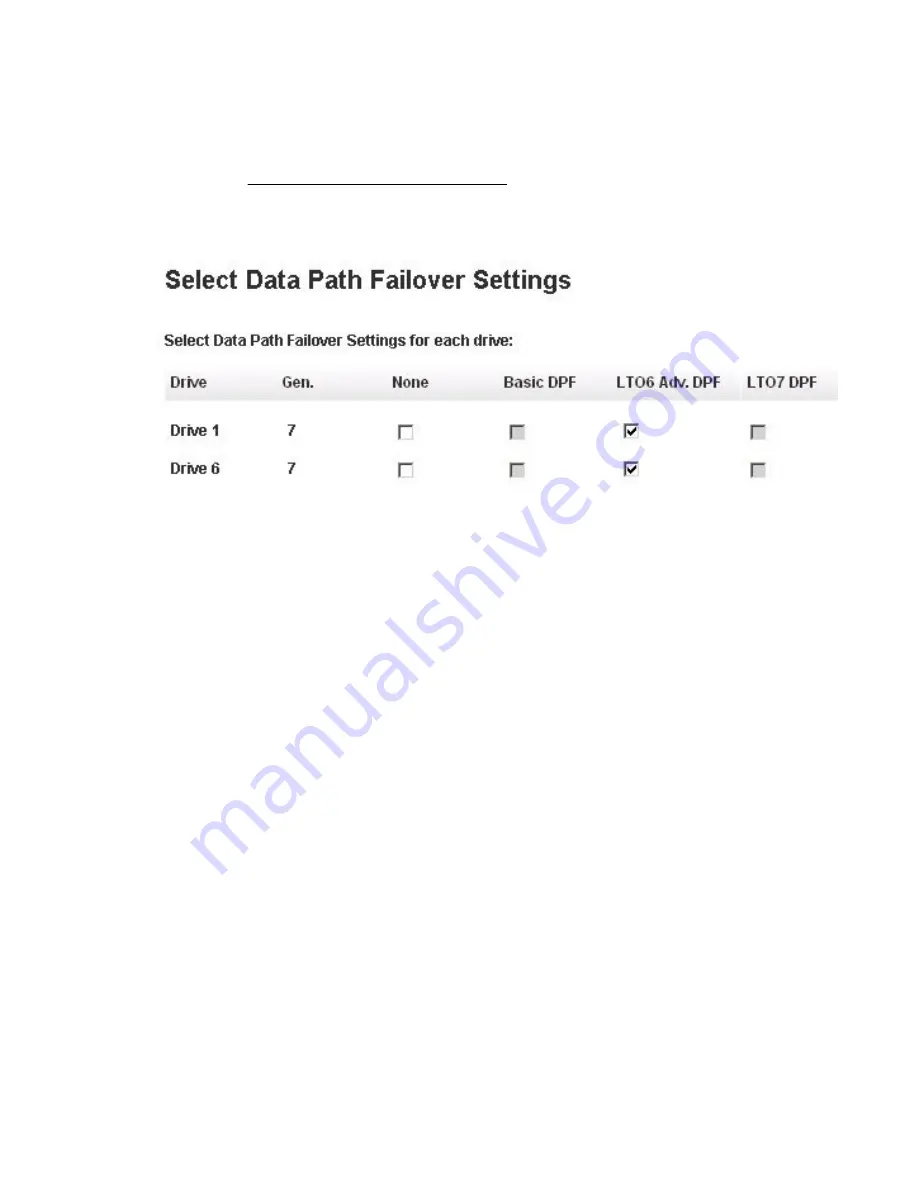
For example,
Figure 7: Enabling data path failover
on page 36 shows advanced data path failover
enabled for drives 1 and 2. In this case, the wizard preset
LTO6 Adv. DPF
because Advanced CPF is
configured for the partition. Because a partition cannot use a mixture of basic and advanced failover,
the wizard will not allow Basic DPF to be selected in this case.
Figure 7: Enabling data path failover
4.
Select the type of data path failover for the each drive and then click
Next
.
5.
Select the active and passive control path drives, and then click
Next
.
6.
Click
Next
until the wizard displays the final screen.
7.
Verify the partition configuration and then click
Finish
.
8.
After the wizard reconfigures the partition, the library comes on line automatically.
Verifying data path failover
After data path failover is enabled:
Procedure
1.
Navigate to the
Status > Drive Status
screen, expanding the section for the drive to see the details.
2.
Expand the section for each drive to see the details. The
Data Path Failover
field will show the type of
data path failover configured.
3.
Verify that the interface status for both ports is
Login complete
.
4.
From the host, verify connectivity to the drive.
36
Verifying data path failover


