Chapter 3. Configuration
2.
Using the
button to increment a digit, the
button to decrement a digit, the
button
to move the cursor left, and the
button to move the cursor right, input the default
password (
9999
), then press ENTER. The
LAN 1 Setting??
message displays
at the LCD panel.
3.
Press the
button until the LAN 2 Setting?? message displays at the LCD panel.
4.
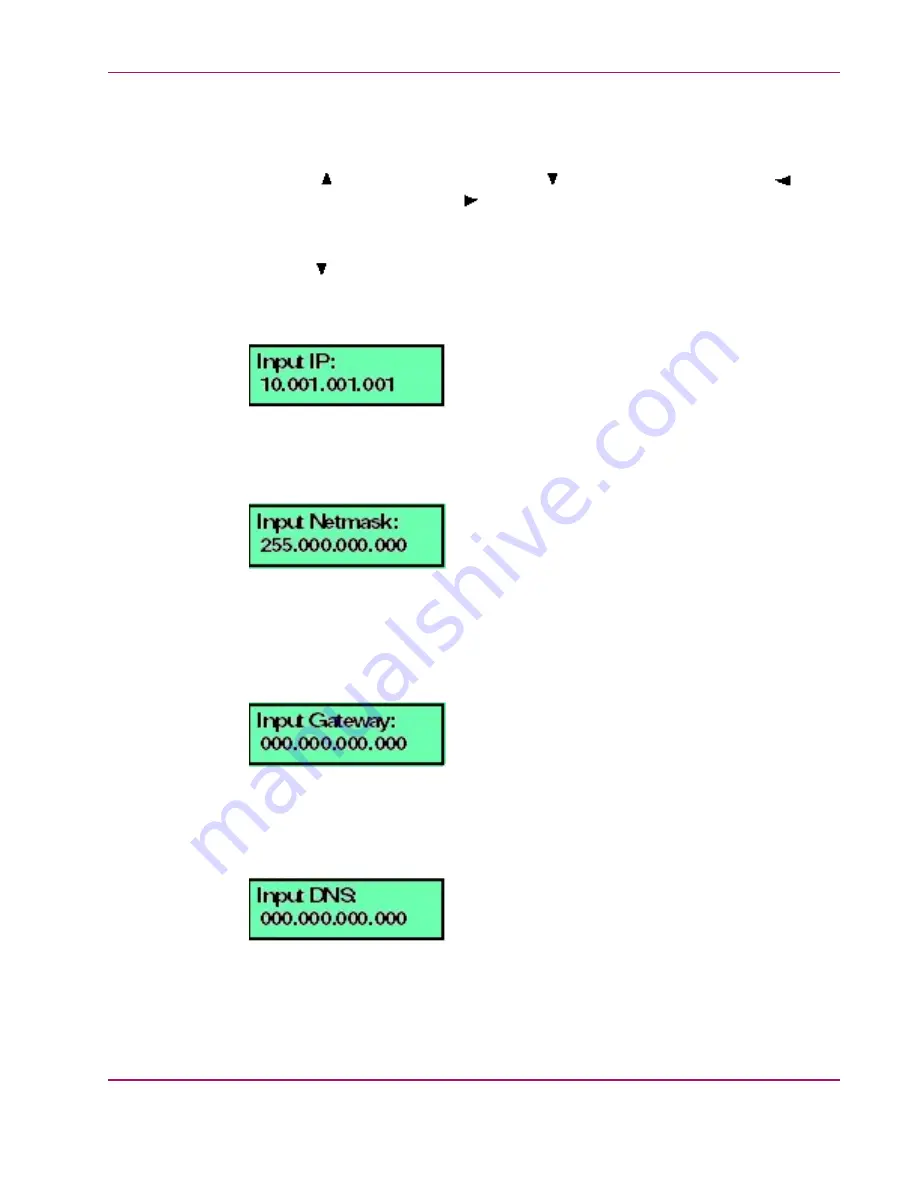
Press ENTER and the following message displays (
) with the current LAN2
IP address. (The default is 10.1.1.1).
Figure 3.21. LCD Panel (LAN 2 IP Address)
5.
Use the arrow keys as described in step 2 to input a new IP address, then press ENTER.
The following message displays (
) with the default subnet mask of 255.0.0.0.
Figure 3.22. LCD Panel (Input Netmask)
6.
Use the arrow keys as described in step 2 to input a new subnet mask, then press ENTER.
The following message displays (
) with an IP address whose first three octets
(each three decimal digits) are the same as the IP address entered in step 5, and the last
octet is set to decimal 254 (or the default gateway IP address of 0.0.0.0 is displayed).
Figure 3.23. LCD Panel (Input Gateway)
7.
Use the arrow keys as described in step 2 to input a new gateway IP address, then press
ENTER. The following message displays (
) with the default DNS server
IP address of 0.0.0.0.
Figure 3.24. LCD Panel (Input DNS)
hp StorageWorks HA-Fabric Manager Appliance Installation
Guide
43


