
Installation 39
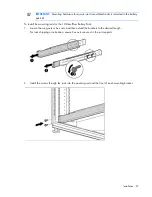
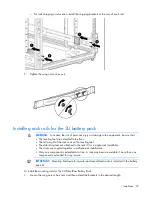
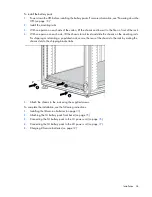
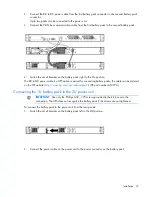
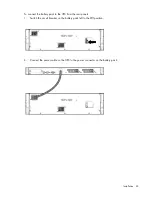
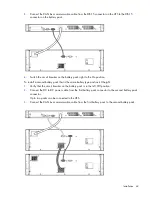
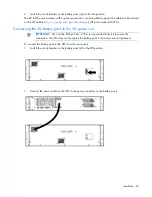
3.
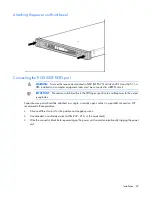
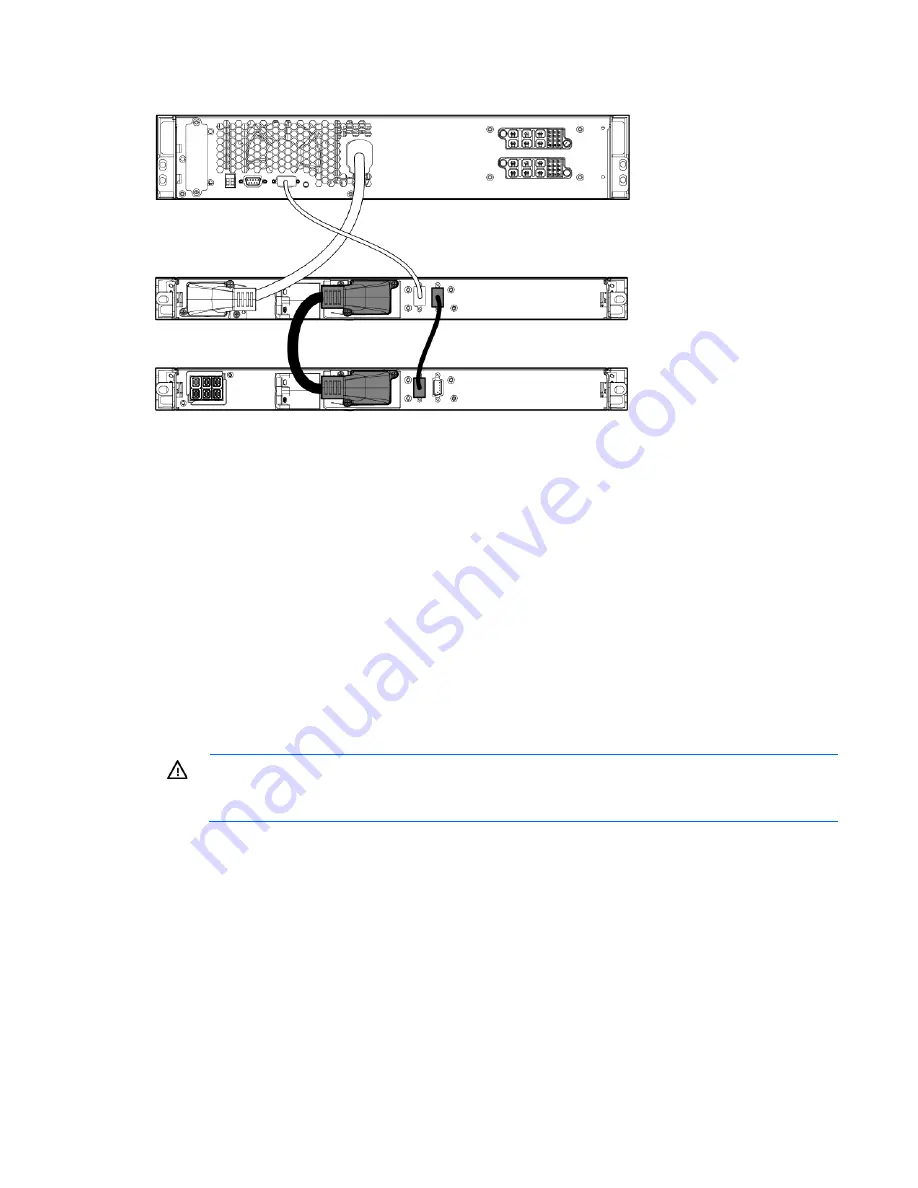
Connect the CAN bus communication cable from the first battery pack to the second battery pack.
4.
Switch the circuit breaker on the battery pack right to the On position.
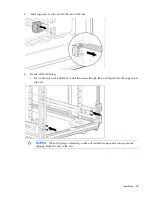
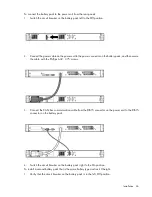
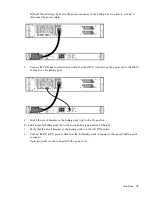
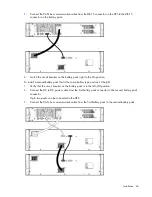
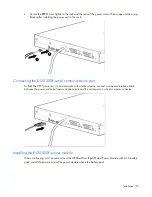
The DC to DC power cable is a UPS option required for connecting battery packs; the cable can be ordered
on the HP website (
http://www.hp.com/go/rackandpower
) (HP part number AF497A).
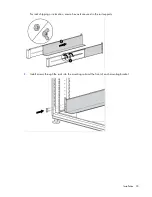
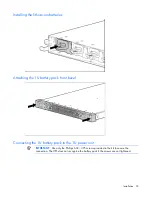
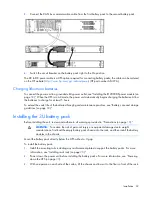
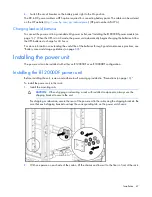
Charging lithium-ion batteries
To connect the power unit to a grounded utility power outlet, see "Installing the R12000DF power module (on
page
50
)." When the UPS is in AC mode, the power unit automatically begins charging the batteries. Allow
the batteries to charge for at least 5 hours.
To extend the useful life of the batteries through good maintenance practices, see "Battery care and storage
guidelines (on page
80
)."
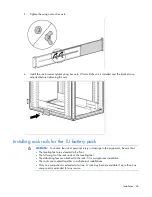
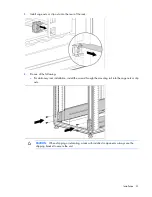
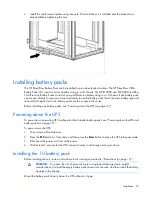
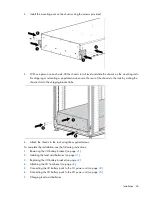
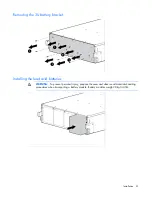
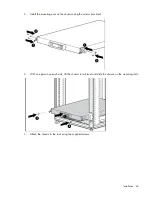
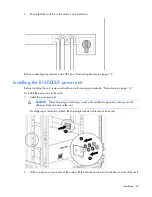
Installing the 3U battery pack
Before installing the unit, review and adhere to all warnings provided in "Precautions (on page
18
)."
WARNING:
To reduce the risk of personal injury or equipment damage due to weight
considerations, first load the empty battery pack chassis into the rack, and then install the battery
modules in the chassis.
Mount the battery pack directly below the UPS without a U gap.
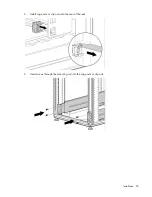
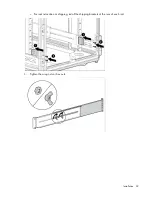
To install the battery pack:
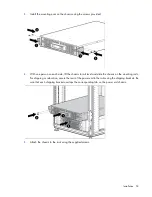
1.
Install the mounting rails including any reinforcement plates to support the battery packs. For more
information, see "Installing rack rails (on page
20
)."
2.
Power down the power unit before installing the battery packs. For more information, see "Powering
down the UPS (on page
33
).
3.
With one person on each side of the carton, lift the chassis and lower it to the floor in front of the rack.
Summary of Contents for R12000 XR
Page 17: ...Overview 17 o Two 3U DirectFlow Battery Packs o Two 1U DirectFlow Battery Packs ...
Page 98: ...Troubleshooting 98 ...
Page 99: ...Troubleshooting 99 ...
Page 100: ...Troubleshooting 100 ...
Page 101: ...Troubleshooting 101 ...
Page 102: ...Troubleshooting 102 ...
Page 103: ...Troubleshooting 103 ...
Page 104: ...Troubleshooting 104 ...
Page 105: ...Troubleshooting 105 ...
Page 106: ...Troubleshooting 106 ...
Page 107: ...Troubleshooting 107 ...
Page 108: ...Troubleshooting 108 ...
Page 109: ...Troubleshooting 109 ...
Page 110: ...Troubleshooting 110 ...
Page 111: ...Troubleshooting 111 ...


