


2-14
Installing the Switch
Installation Procedures
C a u t i o n
Ensure the air flow is not restricted around the sides and back of the switch.
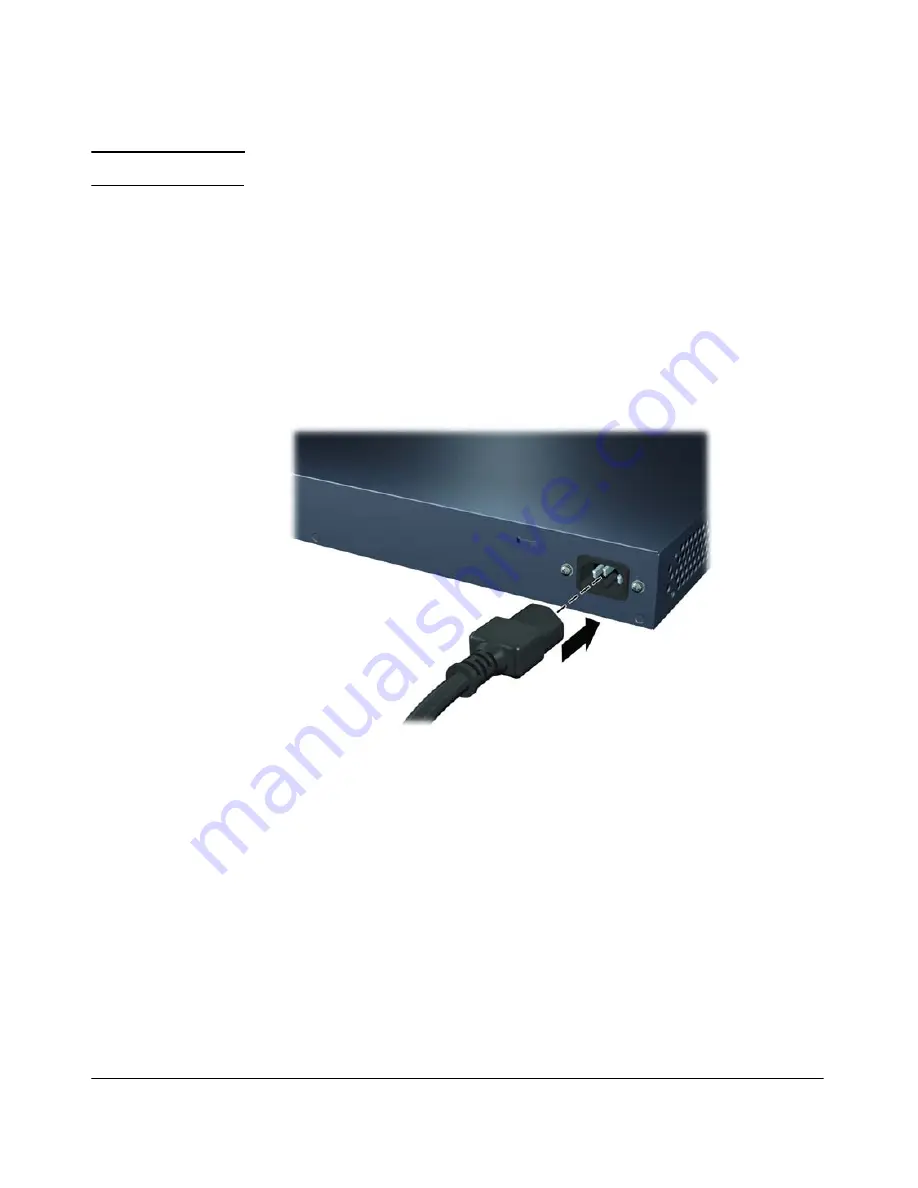
4. Connect the Switch to a Power Source
1.
For the HP 2530 24-port and 48-port switches, plug the included power
cord into the switch’s power connector and into a nearby AC power
source.
For the HP 2530 8-port switches, plug the AC/DC adapter’s power cord
into the switch, and then plug the AC/DC power adapter into a nearby AC
power source.
Figure 2-7. Connecting the power cord on the 2530-48G-PoE+ Switch
2.
Re-check the LEDs during self test. See
“LED Behavior” on page 2-8
.
3.
For the HP 2530 8-port switches, use the included cable tie to secure the
power cord to the switch.
Summary of Contents for 2530-24
Page 2: ......
Page 3: ...HP 2530 Switch Series Installation and Getting Started Guide ...
Page 22: ...1 14 Introducing the Switch Switch Features ...
Page 48: ...2 26 Installing the Switch Sample Network Topologies ...
Page 54: ...3 6 Configuring the Switch Using the IP Address for Remote Switch Management ...
Page 68: ...4 14 Troubleshooting HP Customer Support Services ...
Page 82: ...A 14 Specifications Twisted Pair Cable Connector Pin Outs ...
Page 89: ...B 7 Safety and EMC Regulatory Statements Safety Information China Safety Information China ...
Page 91: ...B 9 Safety and EMC Regulatory Statements EMC Regulatory Statements Korea Taiwan ...
Page 92: ...B 10 Safety and EMC Regulatory Statements EMC Regulatory Statements ...
Page 98: ......


