


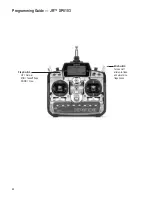
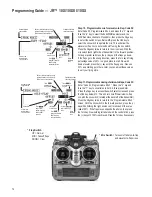
Programming Guide — JR™ XP8103
63
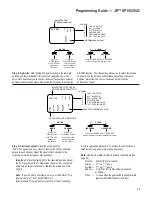
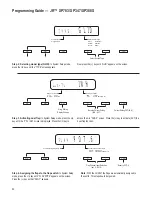
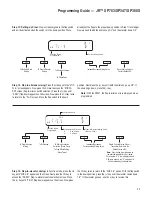
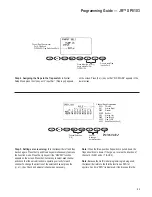
Press to reset Flap
input to Pot 6.
Current Flap Channel Input
Pot 6: Flap Knob
FLP.SW+PG: Flap Switch and Pot 6
Press either the (+) or (-)
key to select Pot 6 or
FLP.SW +P6.
DN
SELECT
CH
CH
CLEAR
UP
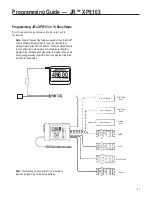
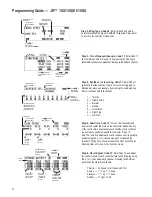
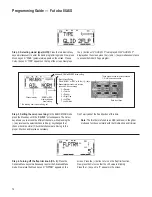
Step 4. Assigning the flaps to the flap switch:
In System
Setup
Mode
press the
Up
key until “Input Sel.” (Flap Input) appears
on the screen. Press the (+) key so that “FLP.SW+P6” appears in the
lower screen.
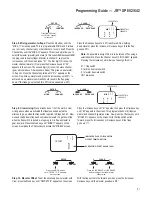
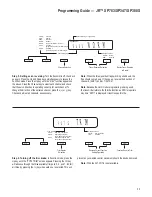
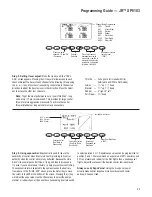
Channel Being Programmed
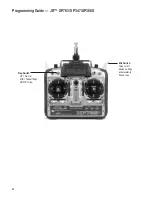
SPOI
Throttle
AIL1
Aileron Right
ELEV
Elevator
RUDD
Rudder
AIL2
Aileron Left
FLAP
Flap (Right)
AUX2
Flap (Left)
AUX3
Extra Channel (Aux3)
Use + or -
to change
(normal/reverse)
Channel Selection
(1-8)
Reset travel direction to
factory preset (normal)
DN
SELECT
CH
CH
CLEAR
UP
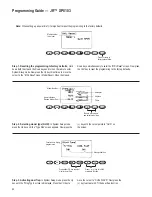
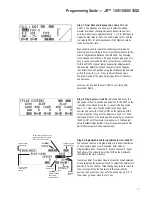
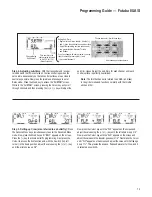
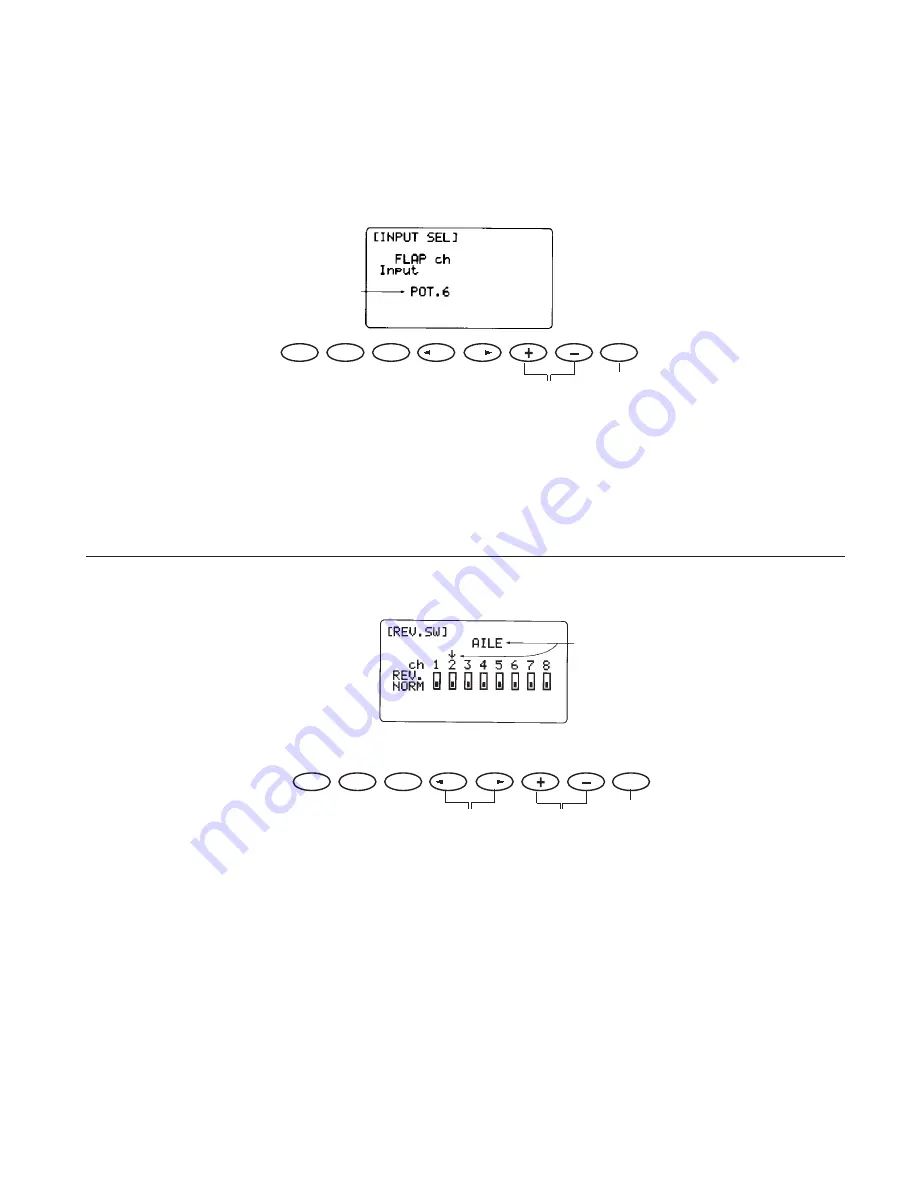
Step 5. Setting servo reversing:
Turn the transmitter off and then
back on again. Press the
Up
and
Down
keys simultaneously to access
the Function mode. Press the
Up
key until the “REV.SW” function
appears on the screen. Press the
Channel
key to select each channel
and check that the servo direction is operating correctly for each
channel. To change the direction of the selected channel, press the
(+) or (-) key. Check and adjust all channels as necessary.
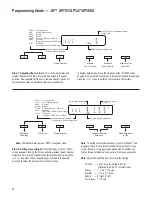
Note:
When the three-position flap switch is pulled down, the
flaps should come down. If they go up, reverse the direction of
channel 6 (FLAP) and or 7 (AUX 2).
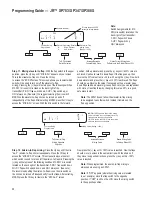
Note:
Because the GLID model programming is being used,
the transmitter refers to the throttle function as SPOI or
spoilers. Any time “SPO”I is displayed, it functions as throttle.


