
28
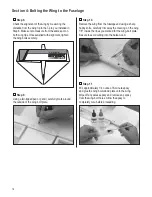
Section 9: Rudder and Elevator Control Horn
Installation
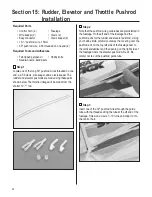
Required Parts
• Control horns (2)
• Fuselage
• Control horn backplates (2)
• Control horn screws (6)
Required Tools and Adhesives
• Drill
• Ruler
• Drill Bit: 1/16"
• Felt-tipped pen/pencil
• Phillips screwdriver (medium)
Important
: When installing the control
horns, make sure the holes in the
control horns, where the pushrod attaches,
are directly in line with the control surface
hinge line.
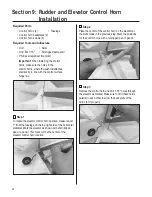
Step 1
To locate the elevator control horn position, measure over
1" from the fuselage on the top right side of the horizontal
stabilizer. Mark the elevator as shown with a felt-tipped
pen or a pencil. This mark will be the center of the
elevator control horn location.
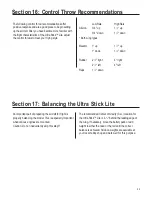
Step 2
Place the center of the control horn on the elevator at
the mark made in the previous step. Mark the positions
for the control horns with a felt-tipped pen or pencil.
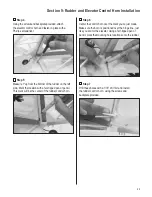
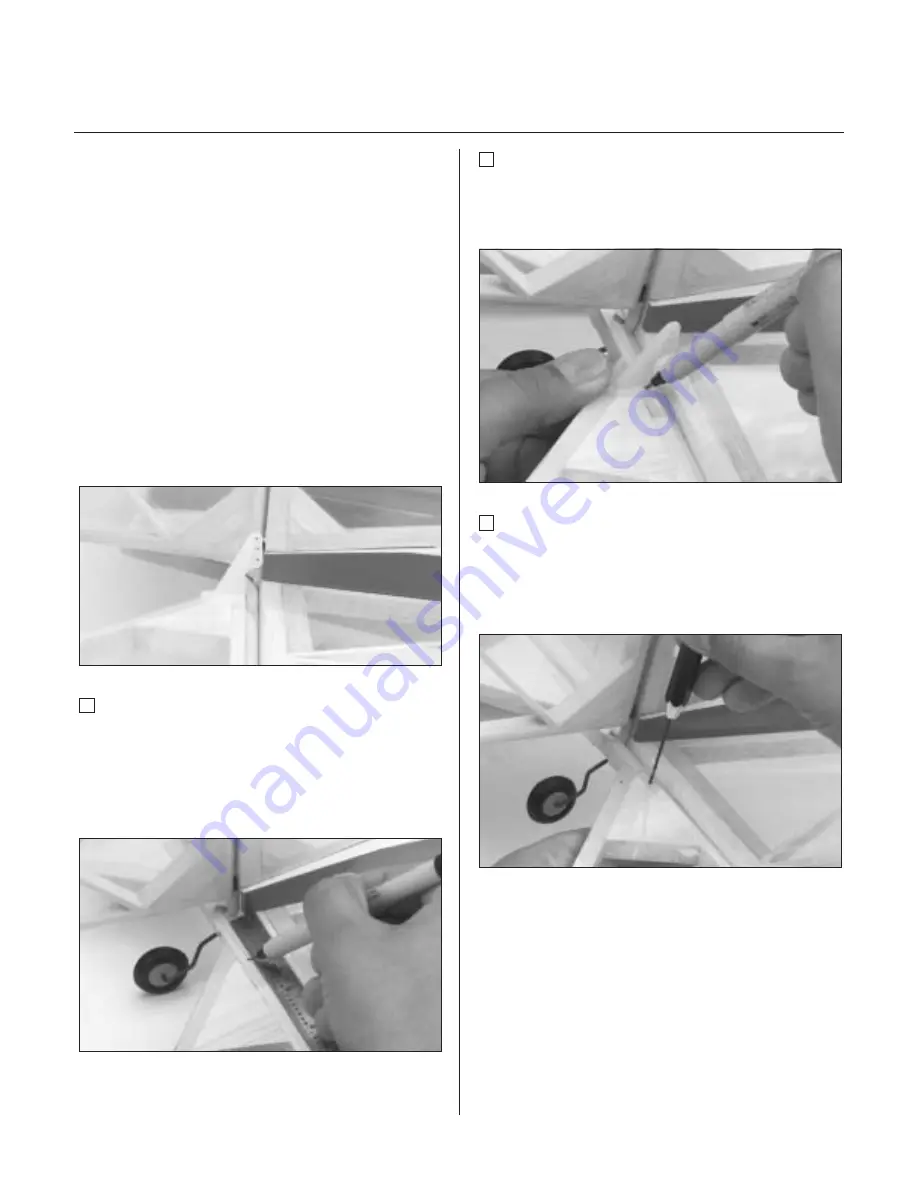
Step 3
Remove the control horn and drill 1/16" holes through
the elevator as marked. Make sure to drill these holes
parallel to each other to allow the back plate of the
horns to fit properly.