

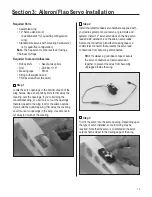

Section 3: Aileron/Flap Servo Installation
15
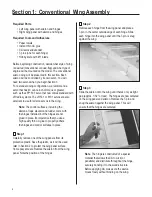
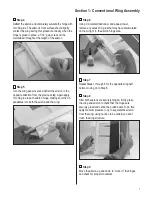
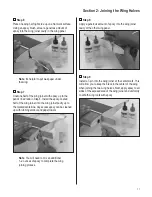
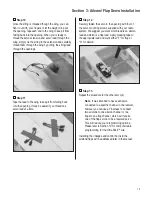
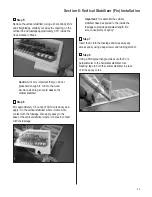
Step 10
Once the string is threaded though the wing, you can
fish it out with your fingers or let the weight drop out
the opening. Tape each end to the wing to keep it from
falling back into the opening. When you’re ready to
thread the servo extension and servo lead through the
wing, simply tie the string to the extension and carefully
thread them through the wing by pulling the string/lead
through the openings.
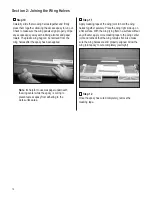
Step 11
Tape the lead to the wing to keep it from falling back
into the opening. It may be easier if you thread one
servo lead at a time.
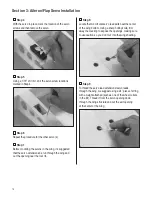
Step 12
Securely fasten the servo in the opening with four of
the servo mounting screws supplied with your radio
system. We suggest you mark which lead is an aileron
lead and which is a flap lead. Apply masking tape to
the appropriate lead and mark either "F" for flap or
"A" for aileron.
Step 13
Repeat the procedure for the other servo(s).
Note
: It was intended to have each servo
connected to a specific channel in the receiver,
however you can use a Y-harness to connect
two ailerons to one aileron channel or two
flaps to one flap channel, which will require
one of the flap servos to be a reversed servo.
This will reduce your programming options.
Please refer to Section 19 for computer radio
programming for the Ultra Stick™ Lite.
Installing the linkages and control horns to the
ailerons/flaps will be addressed later in the manual.