


Barcode
159
E-EQ-VX6RG-F
VX6 Reference Guide
Custom Identifiers
This option allows the specification of custom Code IDs besides those using the standard AIM
and Symbol IDs. To access the custom ID screen, click on the Custom Identifiers button on the
Barcode tab.
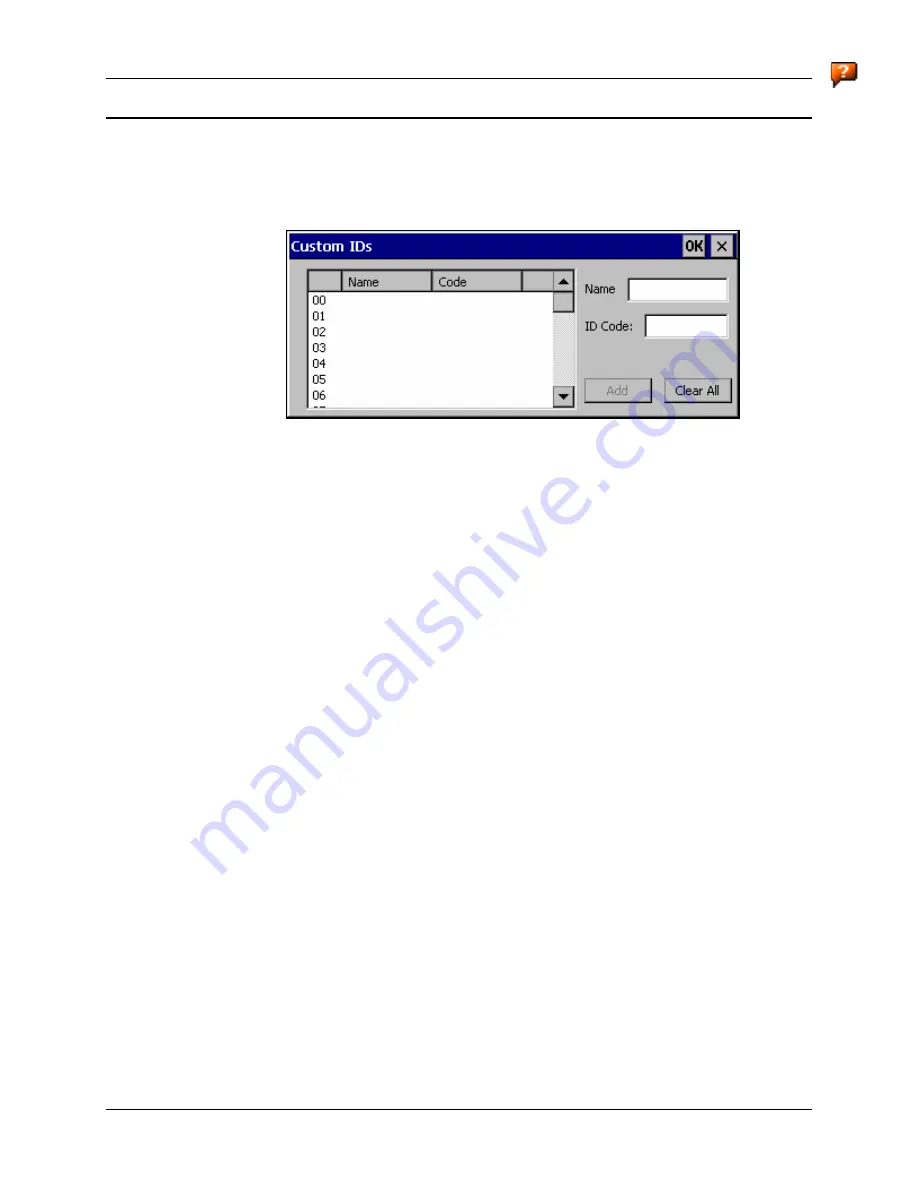
Figure 4-7 Scanner Properties / Barcode / Custom Identifiers
To add a custom ID, specify a Name and ID Code.
•
Name is the descriptive name used to identify the custom ID. Names must be unique
from each other. The value entered in the Name textbox is used in the symbology
pulldown list to identify the custom ID.
•
ID Code specifies the data at the beginning of the barcode that acts as an identifier
(the actual Code ID).
•
Both Name and ID Code must be specified before the custom ID can be added. The
Name and ID Code boxes can have the same value, if desired.
•
When incoming data is checked for a custom ID code, the list is compared in the
order displayed on this screen.
Several functions are available:
•
To add data to the list: Type the data into the Name and ID Code textboxes. The
leftmost button is enabled and labeled Add. Click the Add button to add this data to
the next available location in the list.
•
To insert data into a blank entry: Click on the desired entry. The leftmost button is
enabled and labeled Insert. Type the data into the Name and Code ID textboxes.
When the Insert button is clicked, the data is added into the selected list entry.
•
To edit data in the list: Double click on the item to edit. The current value of that
item is copied into the textboxes for editing. The leftmost button is enabled and
labeled Replace. When the Replace button is clicked, the values in the textboxes
update the selected list item.
•
To delete an item from the list: Click on the item to be deleted. The rightmost button
is enabled and labeled Remove. Click the Remove button to remove the entry from
the list. Deleting an entry does not move up items below in the list. A blank line
(which is ignored during the processing) remains when an item is deleted.
•
To erase all items from the list: When no items are selected in the list, the rightmost
button is enabled and labeled Clear All. To clear all list items, click the Clear All
button and confirm the delete.
Summary of Contents for VX6
Page 1: ...VX6 Reference Guide Copyright November 2007 by LXE Inc All Rights Reserved E EQ VX6RG F ...
Page 4: ......
Page 46: ...26 Manuals and Accessories VX6 Reference Guide E EQ VX6RG F ...
Page 170: ...150 Wavelink Avalanche Enabler Configuration VX6 Reference Guide E EQ VX6RG F ...
Page 200: ...180 Screen Blanking VX6 Reference Guide E EQ VX6RG F ...
Page 282: ...262 Certificates VX6 Reference Guide E EQ VX6RG F ...
Page 328: ...308 Radio Specifications VX6 Reference Guide E EQ VX6RG F ...
Page 350: ...330 Revision History VX6 Reference Guide E EQ VX6RG F ...