Configuration
Rev 3.03
29
Document 900.0315
02/07
Note
When the time difference between the DVR and the time server is
more than one minutes, the DVR might not synchronize the time
to prevent any unexpected loss of recorded video data. If you
want to synchronize the time manually, select Now… .
Highlight the
Run as Server
box and then press
to toggle between
On
and
Off
. When
it is
On
, the DVR you are setting up runs as a time server.
To save your changes, highlight
OK
and then press
. Select
Cancel
to exit the screen
without saving the changes.
Highlight the box beside
Date Format
and press
. A list of date formats displays.
Highlight the format you wish to use and then press
. The choices are:
MM-DD-YYYY
DD-MM-YYYY
YYYY-MM-DD
MM/DD/YYYY
DD/MM/YYYY
YYYY/MM/DD
To change the time format, highlight the box beside
Time Format
and then press
.
The DVR toggles between
12 Hours
(AM/PM) and
24 Hours
(military time).
To save your changes, highlight
OK
and then press
. Select
Cancel
to exit the screen
without saving the changes.
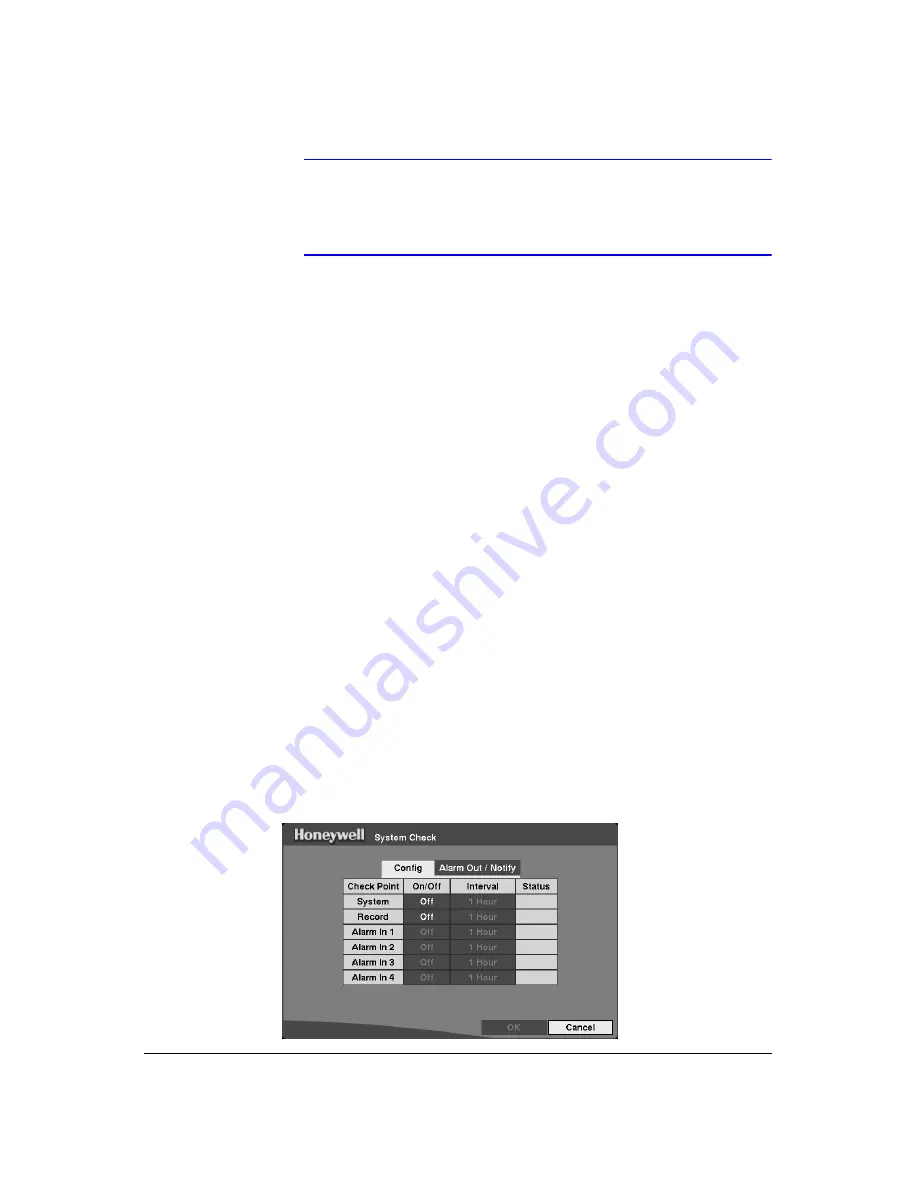
System Check Screen
Use the System Check screen to check the status (fault condition) of the DVR. Highlight
System Check
in the Main Menu (
MENU
➤
System
➤
System Check
) and then
press
. The System Check setup screen displays.
Figure 3-12
System Check (Config) Screen
Summary of Contents for HRHD 410
Page 1: ...Document 900 0315 02 07 Rev 3 03 User Guide HRHD 410 4 Channel Digital Video Recorder ...
Page 8: ...Contents Rev 3 03 vi Document 900 0315 02 07 ...
Page 12: ...Figures Rev 3 03 x Document 900 0315 02 07 ...
Page 14: ...Tables Rev 3 03 xii Document 900 0315 02 07 ...
Page 22: ...Introduction Rev 3 03 4 Document 900 0315 02 07 ...
Page 34: ...Installation Rev 3 03 16 Document 900 0315 02 07 ...
Page 114: ...Text In Query Examples Rev 3 03 96 Document 900 0315 02 07 ...
Page 116: ...Solutions Rev 3 03 98 Document 900 0315 02 07 ...
Page 120: ...Map of Screens Rev 3 03 102 Document 900 0315 02 07 ...
Page 127: ......


