Configuration
Rev 3.03
26
Document 900.0315
02/07
Note
Only the system administrator can upgrade the software.
You cannot upgrade the software during clip copy.
7.
You can save your changes by highlighting
OK
and pressing
. Selecting
Cancel
exits the screen without saving the changes.
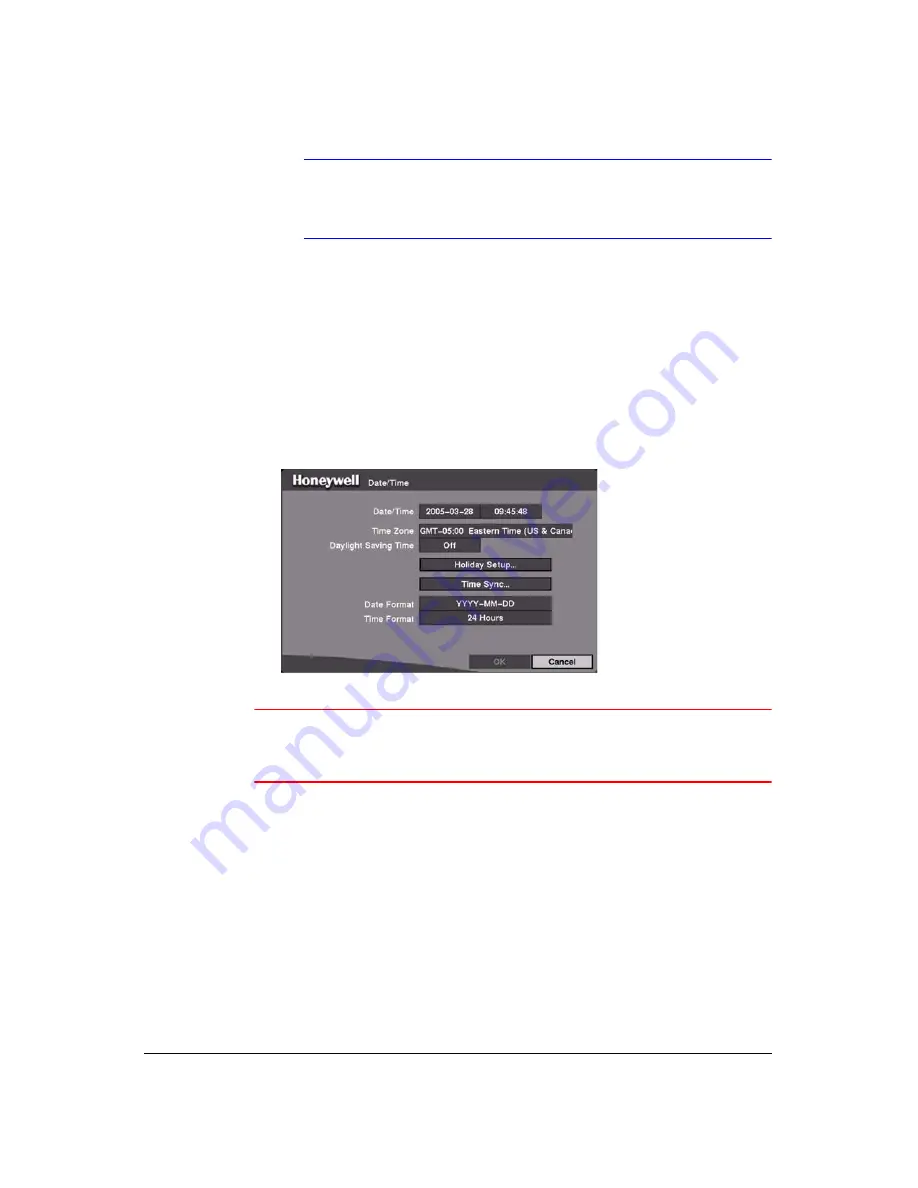
Date/Time Setup
Highlight
Date/Time
in the Main Menu (
MENU
➤
System
➤
Date/Time
) and then
press
. The Date/Time setup screen displays.
Figure 3-9
Date/Time Screen
Caution
If you set a date and time that is older than some of your recorded
images, any images with dates and times later than the new
setting will be deleted.
1.
Highlight the first box beside
Date/Time
and then press
. The individual sections
of the date highlight.
Use the Up and Down Arrow buttons or the Jog Dial to change the number. Use
the Left and Right Arrow buttons to move between month, day and year.
After you have the correct date, press
.
2.
Highlight the second box beside
Date/Time
and press
. The individual sections
of the time will highlight.
Use the Up and Down Arrow buttons or the Jog Dial to change the number.
Use the Left and Right Arrow buttons to move between hour, minutes and
seconds.
After you have the correct time, press
.
Summary of Contents for HRHD 410
Page 1: ...Document 900 0315 02 07 Rev 3 03 User Guide HRHD 410 4 Channel Digital Video Recorder ...
Page 8: ...Contents Rev 3 03 vi Document 900 0315 02 07 ...
Page 12: ...Figures Rev 3 03 x Document 900 0315 02 07 ...
Page 14: ...Tables Rev 3 03 xii Document 900 0315 02 07 ...
Page 22: ...Introduction Rev 3 03 4 Document 900 0315 02 07 ...
Page 34: ...Installation Rev 3 03 16 Document 900 0315 02 07 ...
Page 114: ...Text In Query Examples Rev 3 03 96 Document 900 0315 02 07 ...
Page 116: ...Solutions Rev 3 03 98 Document 900 0315 02 07 ...
Page 120: ...Map of Screens Rev 3 03 102 Document 900 0315 02 07 ...
Page 127: ......


