Valve Clearance
58
Servicing Your Honda
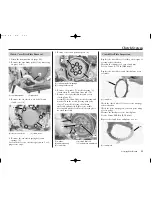
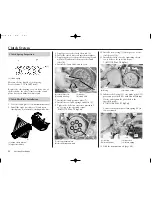
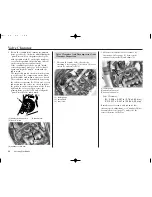
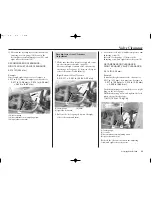
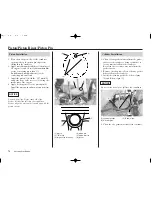
4. Remove the cam sprocket bolt (4).
Rotate the primary drive gear bolt (crankshaft)
clockwise one turn and remove the other
sprocket bolt and cam sprocket (5). Then
attach a piece of wire to the cam chain to
prevent it from falling into the crankcase.
Do not let the bolts, sprocket and cam chain (7)
fall into the crankcase.
NOTICE
(4) cam sprocket bolts
(5) cam sprocket
(6) cam chain
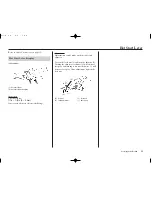
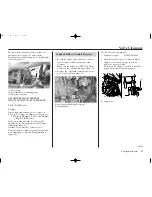
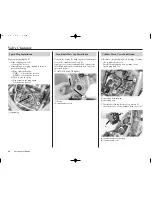
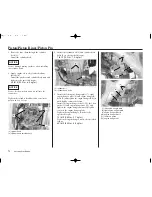
5. Make sure the piston is at TDC (Top Dead
Center) on the compression stroke. Loosen the
camshaft holder assembly bolts (7) in a
crisscross pattern in 2 – 3 steps.
Remove the camshaft holder assembly bolts,
camshaft holder assembly (8), intake valve
lifters (9) and shims (10).
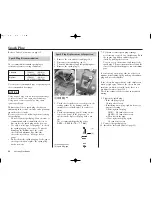
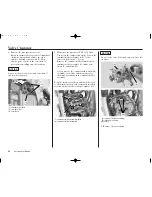
As you remove the camshaft holder assembly,
the intake valve lifter and the intake valve
shim may be sticking in the camshaft holder
assembly.
Keep the intake valve lifters and the shims so as
to allow identification of the originally installed
location such as intake or exhaust, right or left.
(7) camshaft holder assembly bolts
(8) camshaft holder assembly
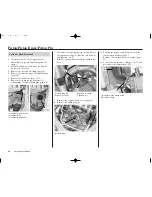
(8) camshaft holder assembly
(9) intake valve lifters
(10) shims
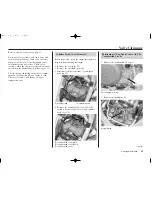
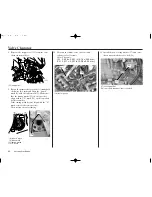
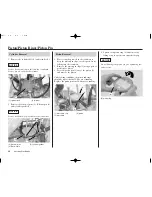
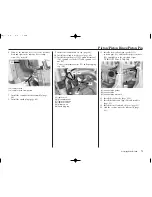
6. Remove the valve shims.
(6)
(5)
(4)
(7)
(8)
(8)
(9)
(10)
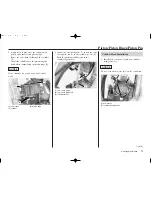
Do not let the valve lifters and shims fall into the
crankcase.
NOTICE
Summary of Contents for CRF450R 2006
Page 1: ...2006 Honda CRF450R OWNER S MANUAL COMPETITION HANDBOOK ...
Page 14: ...10 Before Riding ...
Page 20: ...16 Basic Operating Instructions ...
Page 100: ...96 Servicing Your Honda ...
Page 144: ...140 Tips ...
Page 157: ...Technical Information 153 Wiring Diagram ...
Page 158: ...154 Technical Information ...
Page 169: ...Memo 165 ...
Page 170: ...166 Memo ...
Page 171: ...Memo 167 ...


