Servicing Your Honda
33
Subframe Removal
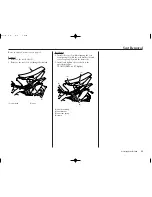
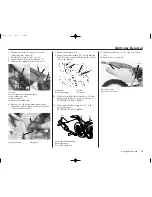
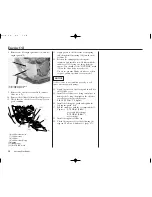
2. Tighten the screw (4) on the air cleaner
connecting tube clamp (5).
3. Hook the air cleaner case cover (6).
4. Install and hook the fuel tank band (7).
5. Connect the crankcase breather tube (8).
(4) screw
(5) air cleaner connecting tube clamp
(6) air cleaner case cover
(7) fuel tank band
(8) crankcase breather tube
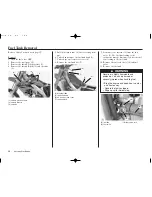
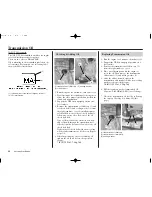
6. Remove the old gasket from exhaust pipe.
7. Install the muffler clamp (9) and new gasket
(10) to the exhaust pipe.
(9) muffler clamp
(10) gasket
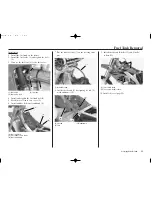
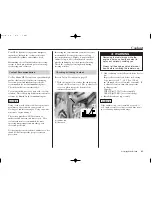
8. Install the muffler (11).
9. Install the muffler clamp (12) by aligning the
tab (13) of the muffler clamp with the cut-out
(14) of the muffler.
(11) muffler
(13) tub
(12) muffler clamp
(14) cut-out
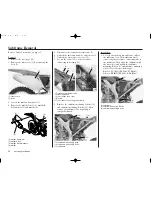
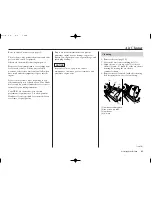
(15) muffler B bolt/washers
(16) muffler A bolt
(17) muffler clamp bolt
12. Install the side covers (18), side cover bolts
(19).
13. Install the seat (page 29).
(18) side covers
(19) side cover bolts
(6)
(7)
(8)
(5)
(4)
(10)
(9)
(11)
(14)
(12)
(13)
(15)
(16)
(17)
(18)
(19)
10. Tighten the muffler B bolt/washers (15) and
muffler A bolt (16) to the specified torque:
15 lbf·ft (21 N·m, 2.1 kgf·m)
11. Tighten the muffler clamp bolt (17) to the
specified torque:
15 lbf·ft (21 N·m, 2.1 kgf·m)
Summary of Contents for CRF450R 2006
Page 1: ...2006 Honda CRF450R OWNER S MANUAL COMPETITION HANDBOOK ...
Page 14: ...10 Before Riding ...
Page 20: ...16 Basic Operating Instructions ...
Page 100: ...96 Servicing Your Honda ...
Page 144: ...140 Tips ...
Page 157: ...Technical Information 153 Wiring Diagram ...
Page 158: ...154 Technical Information ...
Page 169: ...Memo 165 ...
Page 170: ...166 Memo ...
Page 171: ...Memo 167 ...


