Piston/Piston Rings/Piston Pin
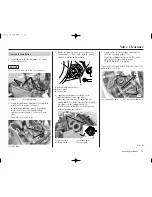
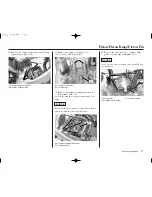
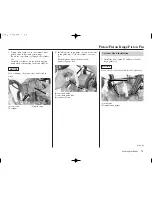
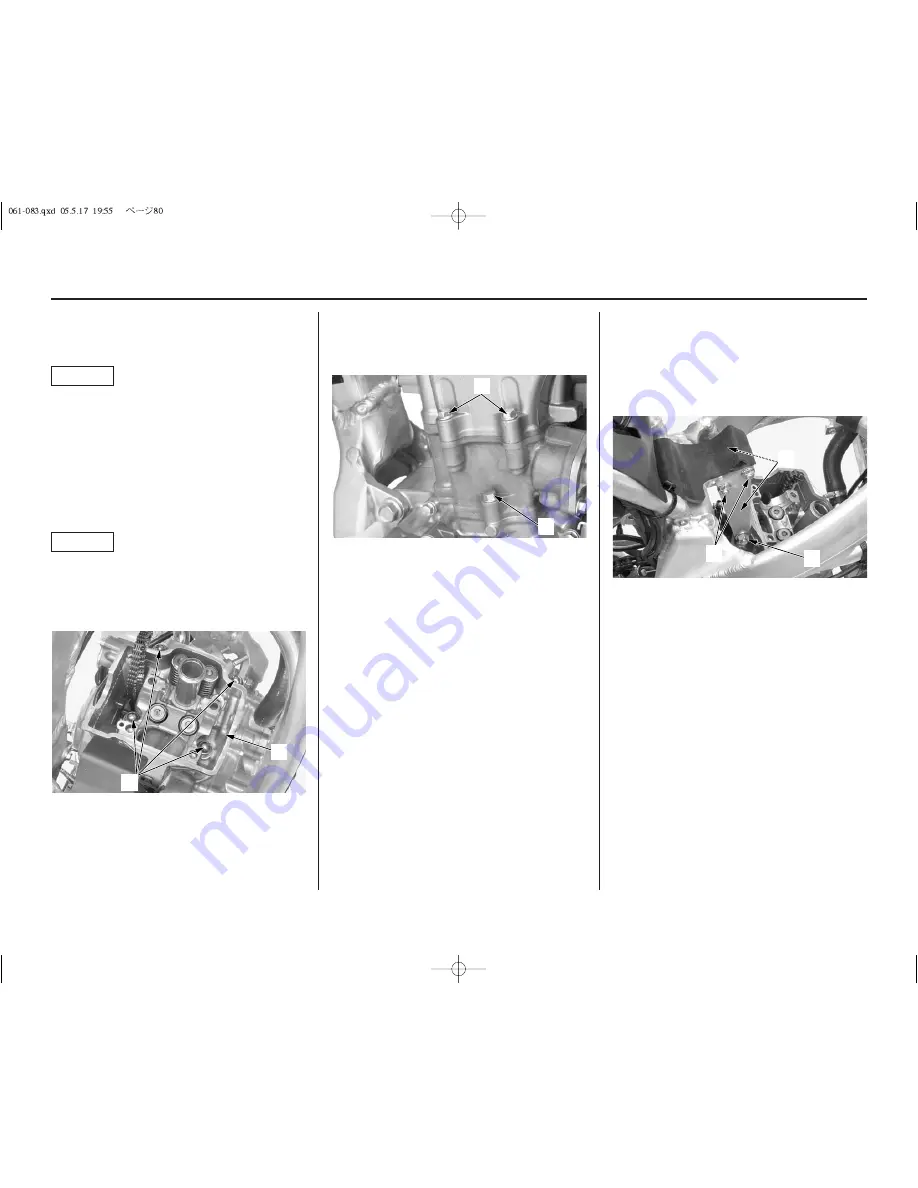
2. Route the cam chain through the cylinder
head (3).
Install the cylinder head.
Do not damage mating surfaces when installing
the cylinder head.
3. Apply engine oil to all cylinder head nut
threads.
Install the washers and cylinder head nuts (4).
Tighten the cylinder head nuts to the specified
torque:
29 lbf·ft (39 N·m, 4.0 kgf·m)
Do not let the washers and nuts fall into the
crankcase.
Tighten the cylinder head nuts in a criss-cross
pattern in 2 or 3 steps.
NOTICE
NOTICE
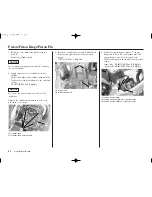
4. Install the cylinder bolt (5) and cylinder head
bolts (6) and tighten them to the specified
torque:
7 lbf·ft (10 N·m, 1.0 kgf·m)
(3) cylinder head
(4) cylinder head nuts/washers
(5) cylinder bolt
(6) cylinder head bolts
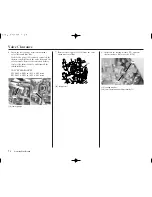
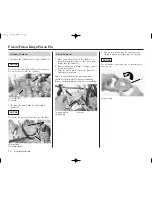
(7) engine hanger plate
(8) engine hanger nuts/bolts of the frame side
(9) engine hanger nut/bolts of the engine side
(4)
(3)
(6)
(5)
(7)
(9)
(8)
80
Servicing Your Honda
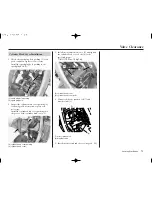
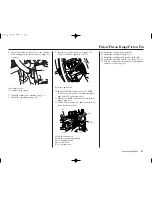
5. Install the engine hanger plates (7), engine
hanger nuts, bolts (8) of the frame side and
engine hanger nut (9) of the engine side.
Tighten the engine hanger nut to the specified
torque:
frame side:
25 lbf·ft (34 N·m, 3.5 kgf·m)
engine side:
40 lbf·ft (54 N·m, 5.5 kgf·m)
Summary of Contents for CRF250X 2006
Page 1: ...2006 Honda CRF250X OWNER S MANUAL COMPETITION HANDBOOK ...
Page 10: ...6 Motorcycle Safety ...
Page 16: ...12 Before Riding ...
Page 26: ...22 Basic Operating Instructions ...
Page 150: ...146 Taking Care of Unexpected ...
Page 165: ...Technical Information 161 Wiring Diagram ...
Page 166: ...162 Technical Information ...
Page 177: ...Memo 173 ...
Page 178: ...174 Memo ...
Page 179: ...Memo 175 ...

