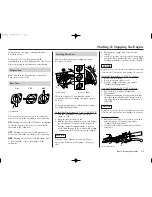
Starting & Stopping the Engine.
Flooded Engine
Starting the engine after a stall during riding or
after a fall:
1. Shift the transmission into neutral.
2. Pull the hot start lever all the way in and start
the engine.
(Do not open the throttle).
3. As soon as the engine starts, release the hot
start lever.
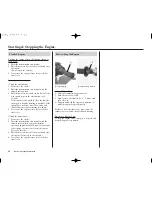
Starting a flooded engine:
(Using the start button)
1. Do not use the choke.
2. Shift the transmission into neutral with the
throttle fully opened.
3. Pull the hot start lever and clutch lever all the
way in and depress the start button for 5
seconds.
If the engine starts, quickly close the throttle,
then open it slightly if idling is unstable. If the
engine does not start, wait 10 seconds, and
then follow the regular starting procedure.
4. As soon as the engine starts, release the hot
start lever.
(Using the kickstarter)
1. Do not use the choke.
2. Shift the transmission into neutral with the
throttle fully opened, repeat kickstarter
operation approximately 10 times very slowly
to discharge excessive fuel from the engine.
Close the throttle.
3. Pull the hot start lever all the way in and start
the engine (Do not open the throttle.)
4. As soon as the engine starts, release the hot
start lever.
16
Basic Operating Instructions
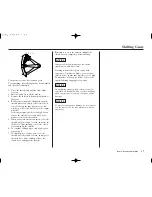
How to Stop the Engine
(1)
(2)
(1) throttle grip
(2) engine stop button
Normal Engine Stop
1. Shift the transmission into neutral.
2. Turn the fuel valve OFF.
3. Lightly open the throttle (1) 2 – 3 times, and
then close it.
4. Depress and hold the engine stop button (2)
until the engine stops completely.
Failure to close the fuel valve may cause the
carburetor to overflow, result in hard starting.
Emergency Engine Stop
To stop the engine in an emergency, depress and
hold the engine stop button.
Summary of Contents for CRF250X 2006
Page 1: ...2006 Honda CRF250X OWNER S MANUAL COMPETITION HANDBOOK ...
Page 10: ...6 Motorcycle Safety ...
Page 16: ...12 Before Riding ...
Page 26: ...22 Basic Operating Instructions ...
Page 150: ...146 Taking Care of Unexpected ...
Page 165: ...Technical Information 161 Wiring Diagram ...
Page 166: ...162 Technical Information ...
Page 177: ...Memo 173 ...
Page 178: ...174 Memo ...
Page 179: ...Memo 175 ...

