


WIRELESS
Version 2.0, February 2012. Copyright
2012 Hitron Technologies
89
Version 2.0, February 2012. Copyright
2012 Hitron Technologies
89
HITRON CGN USER’S GUIDE
Run WPS
Use these buttons to run Wifi Protected Setup (WPS):
Click the
PBC
button to begin the Push-Button
Configuration process. You must then press the PBC
button on your client wireless devices within two
minutes in order to register them on your wireless
network.
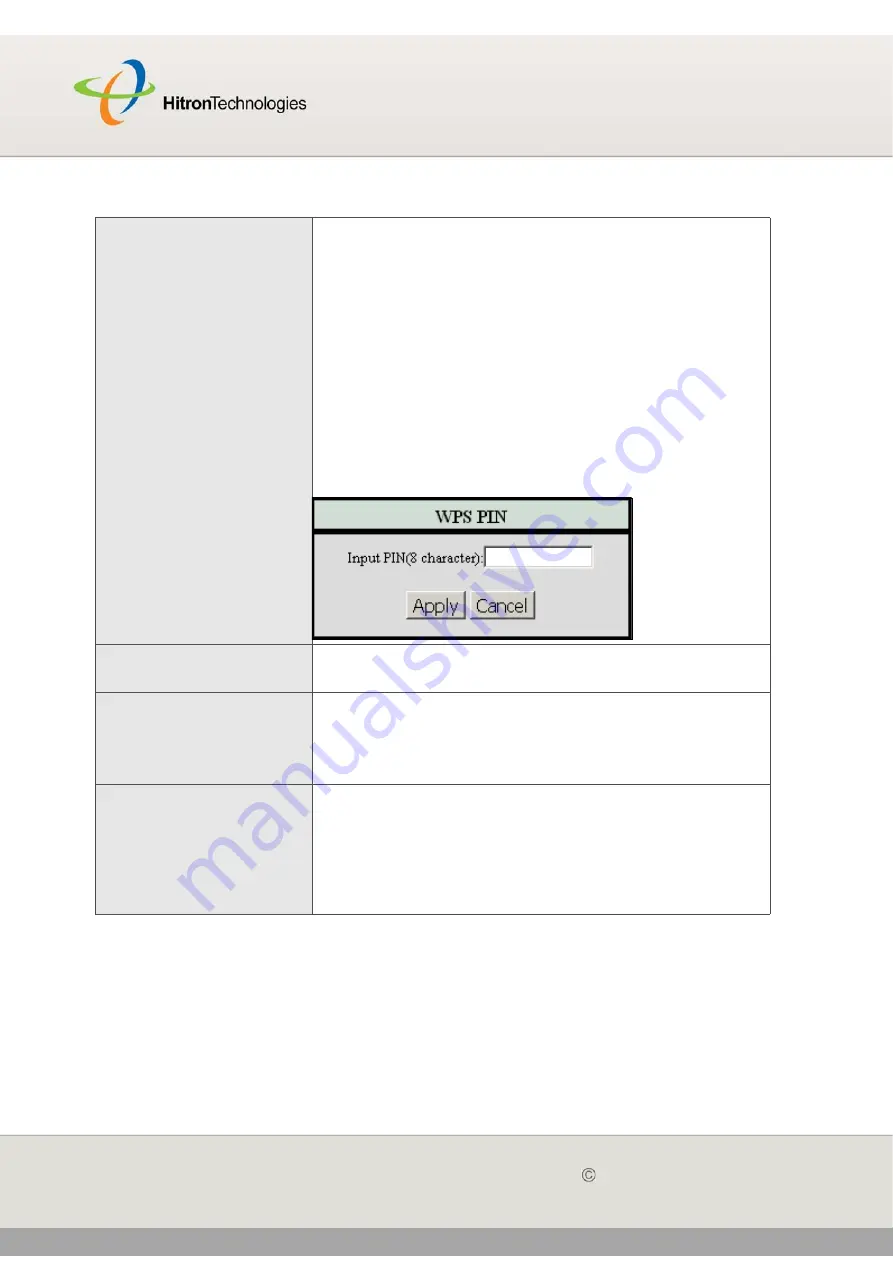
Click the
PIN
button to begin the PIN configuration
process. In the screen that displays, enter the WPS
PIN that you want to use for the CGN, or the WPS
PIN of the client device you want to add to the
network.
Figure 28:
WPS PIN
WPS Current Status
This displays whether or not the CGN is using Wifi
Protected Setup.
SSID Setting
This displays an entry for each of the CGN’s SSIDs.
NOTE:
You may have additional BSSIDs, depending on
your contract with your service provider.
SSID Name
Enter the name that you want to use for your wireless
network. This is the name that identifies your network,
and to which wireless clients connect.
NOTE:
It is suggested that you change the SSID from its
default, for security reasons.
Table 27:
The Wireless > Setup Screen (continued)


