- 11 -
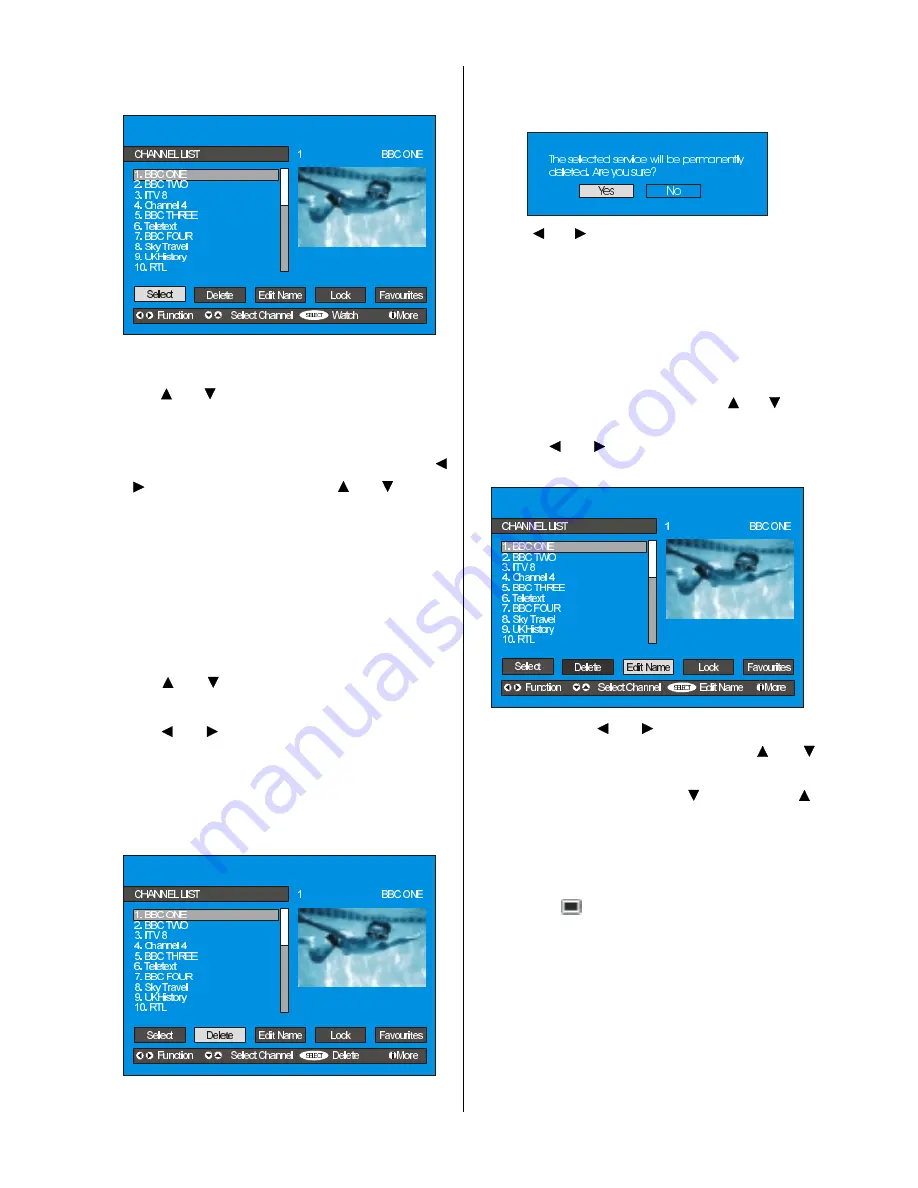
Channel List is the place where the channels
are managed.
Navigating the whole channel list
Press or
button for selecting the previ-
ous or next channel.
To watch a specific channel, highlight the
Select item in the channel list using the
or button. Then using the or button
select the desired channel and press the
OK button.
The selected channel has the name dis-
played to the top-right and the channel num-
ber to the top left of the channel preview
pane, as shown in the above diagram.
Deleting the channels in the channel list
Press or
button to select the channel
that will be deleted.
Press or button to select the
Delete
item on Channel List menu. As seen on
Channel List menu,
Select
is written next to
Delete
item at the bottom of the screen to in-
dicate that press the OK button to delete
the highlighted channel in the channel list.
Press the OK button to delete the high-
lighted channel in the channel list. Then the
following message appears on the screen.
Press or button to highlight the desired
option. If OK button is pressed while Yes
is highlighted, the highlighted channel is de-
leted. Selecting No cancels the delete op-
eration.
Renaming channels
To rename a specific channel, the channel
must be highlighted via pressing or
but-
ton and then highlight the
Edit Name
item by
pressing or button. Press OK to acti-
vate rename feature.
Now pressing or
button moves to the
previous/next character. Pressing or
button toggles the current character, i.e.,
b
character becomes
a
by
and
c
by .
Pressing the numeric buttons
0...9
replaces
the highlighted character with the characters
printed above the button one by one as the
button is pressed.
Press the
button to cancel the editing or
OK button to save the new name.
Adding locks to channels
Channel Locking provides a password-pro-
tected access to channels selected by par-
ents. In order to lock a channel you should
know the Parental Lock password (default
value is set to 0000 in the factory and can
only be changed from the
Configuration
Menu
).
Summary of Contents for 37LD8700U
Page 1: ...GB Instructions for use 37LD8700U ...
Page 4: ... 3 LCD TV FRONT VIEW REAR VIEW 3RZHU RUG QSXW 3RZHU 2Q 2II EXWWRQ ...
Page 30: ... 29 Connect Peripheral Equipment Aerial Connection ...
Page 36: ... 35 Appendix D Main and PIP PAP Picture Combinations ...
Page 43: ... 2 Attention Only the original wall bracket should be used with this product 85 ...


