For Support visit www.hipsmarthome.co.uk or call 01704-807114
When the front panel LED lights up, follow the steps outlined in section 3.17.3
Restoring Defaults. When that process is complete the player will have a solid green
LED. Repeat the zone player setup procedure from the control app, see section XXX
Adding Zones to an Existing System. When the zone is reconnected the front panel
LED should once again be solid white.
4.
Check the NuVo’s connection to the network's router. Reboot if necessary by
unplugging the power cable and plugging it back in.
5.
Occasionally home routers go offline. This is typically corrected by rebooting the
router.
3.17.3.
Restoring Defaults
An important troubleshooting step is to restore defaults on the zones of the NuVo unit. If a
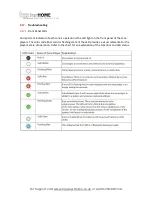
hard failure occurs, which results in a solid red LED, or the boot up process does not
complete correctly, which will result in a flashing white LED, you should follow these steps
to return the zone to its original factory state.
The following steps must be performed independently on each zone of the NuVo unit or on
any individual zone if only one zone is affected.
1.
Turn off the power using the power switch on the back panel above the AC plug.
2.
Turn the power back on and look for a white LED to light up. Note the Zone lights
are upside down compared to the buttons. See 3.1.3 to see which Zone relates to
which room.
3.
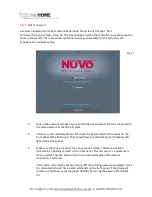
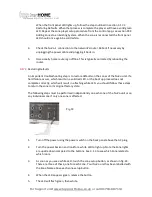
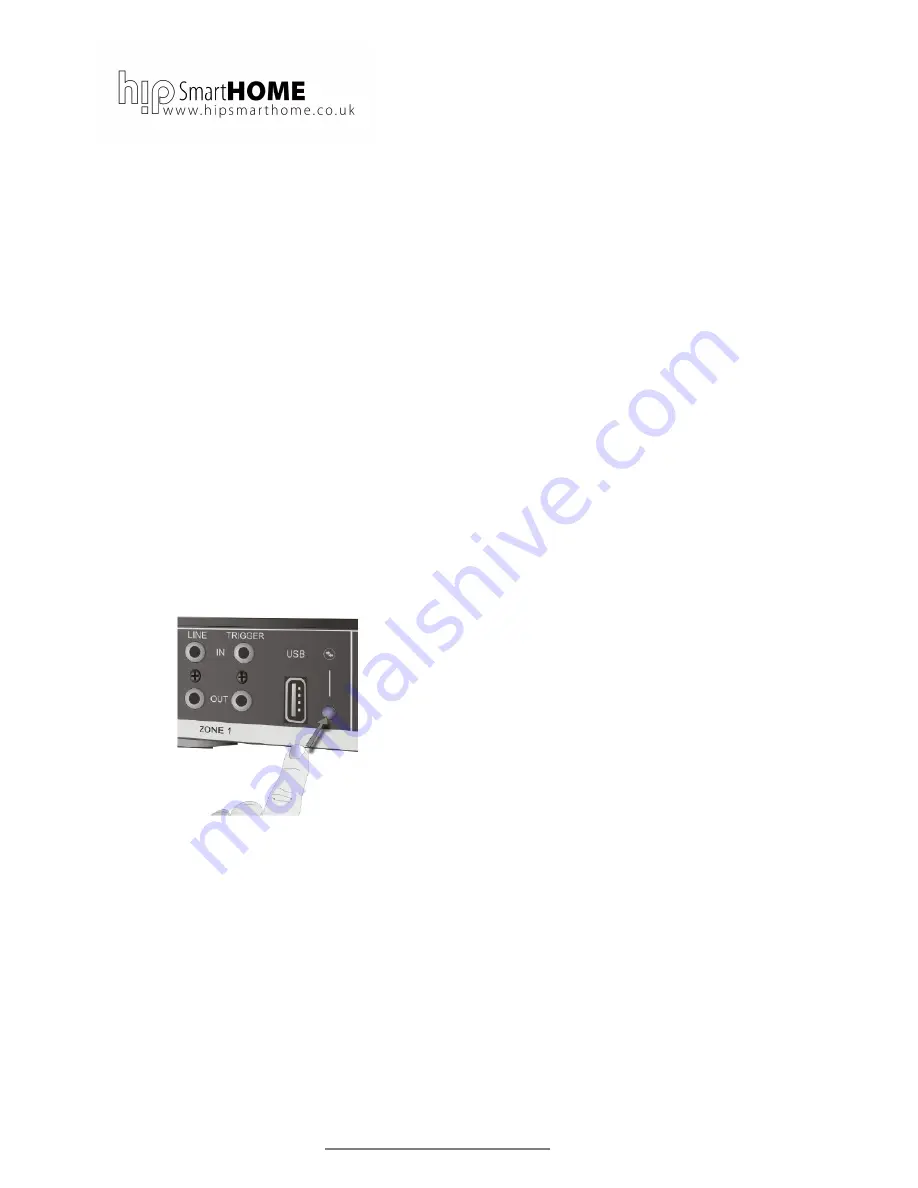
As soon as you see a white LED, touch the zone setup button, as shown in fig. 24.
There are three of these, one for each Zone. Your NuVo unit has been labelled with
the Zone Name above each zone setup button.
4.
When the LED appears green, release the button.
5.
The LED will flash green, then white.
Fig.24


