CHAPTER 6
Fixture Motion Functions
48
DLHD Digital Light User Manual
Using the Internal Projector’s Menu
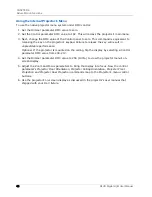
To use the native projector menu system under DMX control:
1. Set the Dimmer parameter DMX value to zero.
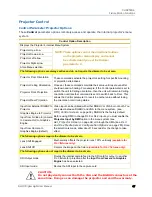
2. Set the Control parameter DMX value to 182. This will access the projector’s main menu.
3. Next, change the DMX value of the Control panel to zero. This command is equivalent to
releasing the key on the projector’s keypad. Failure to release the key will result in
unpredictable performance.
Optional. If the projector is mounted on the ceiling, flip the display by selecting a Control
parameter DMX value from 209-212.
4. Set the Dimmer parameter DMX value to 255 (100%) to view the projector menu’s on-
screen display.
5. Adjust the Zoom and Focus parameters to bring the display into focus. Now the control
parameter’s Projector Floor Orientation, Projector Ceiling Orientation, Projector Front
Projection and Projector Rear Projection commands map to the Projector’s menu control
buttons.
6. Use the projector’s on-screen display as discussed in the projector’s user manual that
shipped with your DL.3 fixture.
Summary of Contents for DLHD High Definition Digital Light
Page 8: ...viii DLHD Digital Light User Manual...
Page 66: ...CHAPTER 5 DMX Programming Basics and Quick Start 44 DLHD Digital Light User Manual...
Page 74: ...CHAPTER 7 Graphics Engine Overview 52 DLHD Digital Light User Manual...
Page 128: ...CHAPTER 12 Global Functions Collage Generator 106 DLHD Digital Light User Manual...
Page 226: ...CHAPTER 13 Effect Mode Options Descriptions 204 DLHD Digital Light User Manual...
Page 230: ...CHAPTER 14 Synchronizing Content 208 DLHD Digital Light User Manual...
Page 284: ...CHAPTER 16 CMA Warp Editor 262 DLHD Digital Light User Manual...
Page 318: ...APPENDIX C Safety Information 296 DLHD Digital Light User Manual...


