background image

14

Sauna stones
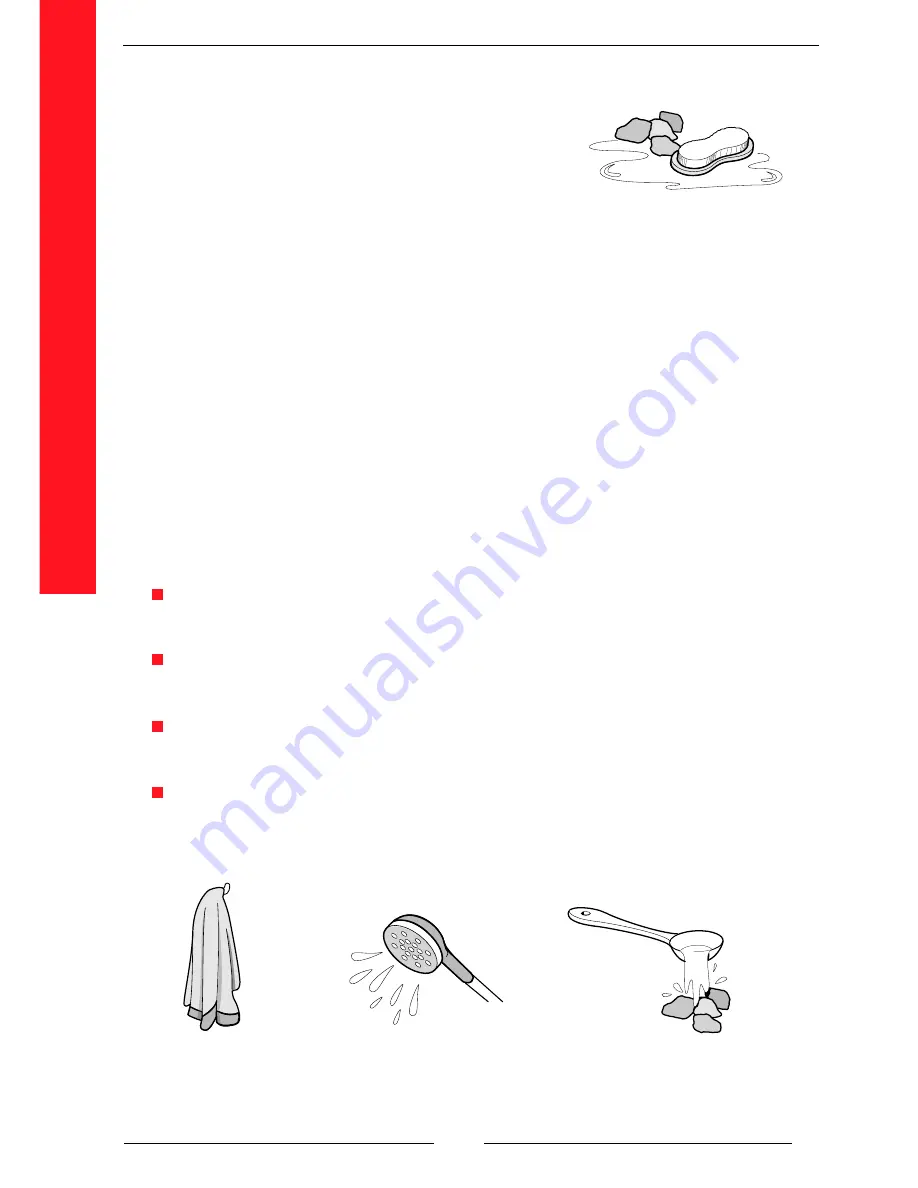
We recommend that you brush and rinse the sauna
stones free from grit before placing them in the stone
compartment. If the stones begin to crumble, you should
replace them as soon as possible. Read more about
sauna stones on page 6.

The sauna
The sauna should be kept free of dirt and odors, just like the bathroom. Remove any
stains of water and salt with a gentle soap and water. Furthermore, be careful not to
keep laundry and other fire hazardous materials close to the heater.

Vent
In the sauna there is a vent (outlet vent) that releases warm air. Clean the outlet vent
with water and a gentle soap once or twice a year.

In

fo

rm

a

tion 

for 

the 

user

General information about
sauna bathing

Allow yourself plenty of time when you take a sauna bath. You should not feel
stressed. To take a sauna bath should be a pleasure.

Take a shower before entering the sauna. If the situation requires that you wear a
towel, it should not be too tight.

Take a break after 10–15 minutes. Leave the sauna, enjoy a cool shower and relax.
Repeat this procedure if you feel like it.

Many feel that the most pleasurable part of sauna bathing is “sprinkling water” on the
hot stones of the heater, which means that a few scoops of water are ladled over
the hot stones. The cloud of hot steam that is formed is called “löyly” and is
considered the soul of the sauna.

Take a shower before
entering the sauna.

Use a towel if the
situation calls for it.

Increase the moisture
by ladling water on the
stones.

Summary of Contents for 1418-2-151104

Page 1: ......

Page 2: ...with many usable and unique functions Among other things the heater has a steam unit that gives you wonderful steam during the sauna bath Read this user guide carefully The guide is divided into two s...

Page 3: ...12 Enter the temperature with arrow buttons 13 Save the setting with PROG OK 14 Push HUMIDITY button 15 Push PROG OK 16 Enter the humidity with arrow buttons 17 Save the setting with PROG OK 18 Activ...

Page 4: ...the heater Alarm In an alarm situation the control panel stops the heater and the cause of the alarm is shown on the display of the control panel Check the alarm and restart the sauna heater Short fac...

Page 5: ...the warning texts The user guide is divided into two sections Information to the user and Information to the installer You as a user receive a thorough description of the features of a sauna heater ho...

Page 6: ...e in the sauna The stone compartment should be airy The larger stones are placed on the bottom and the smaller stones on top The stones should cover the heating elements completely After some time of...

Page 7: ...and send signals to the heater for more or less output 2 Protection against overheating In the event of overheating the heater is turned off see Alarm on page 13 Deviations from the given distances c...

Page 8: ...you want to see duration and humidity you push the specific button The current value is presented for five seconds Thereafter the display returns to present measured temperature again Indication lamp...

Page 9: ...to blink 3 Set the start time with button PROG OK The indication lamp Start time starts to blink Turn on the sauna The control panel gives you two options how to turn on the sauna The options are With...

Page 10: ...indication lamp Temperature starts to blink 12 Enter 65 with the arrow buttons 13 Save the temperature with PROG OK 14 Push HUMIDITY 15 Push PROG OK The indication lamp Humidity starts to blink 16 En...

Page 11: ...e with arrow buttons 4 Save the new setting with PROG OK To turn on the sauna with the last used program means that you will use the same settings in the control panel as you had in your previous saun...

Page 12: ...the duration with arrow buttons 4 Save the new setting with PROG OK Turn on the light and fan Turn on the light The light can be turned on when the control panel is in either off mode or on mode 1 Pus...

Page 13: ...iggered The water tank is empty Maintenance The water tank The water tank should be drained after every sauna bath After a while you will probably find inpurities on the inside of the water tank The t...

Page 14: ...rmation for the user General information about sauna bathing Allow yourself plenty of time when you take a sauna bath You should not feel stressed To take a sauna bath should be a pleasure Take a show...

Page 15: ...high temperature and low humidity This is achieved by not ladling water on the stones After a dry sauna bath you feel calm and harmonious To achieve this 1 Set the temperature between 85 and 90 C Humi...

Page 16: ......

Page 17: ...raft means that fresh air is let in to the sauna through a vent in the wall The vent for incoming air is placed within the area A The spent air vent is placed within the area B 700 1800 mm from the fl...

Page 18: ...18 Information for the user...

Page 19: ...ater models Sauna heaters 1720 60 1204 6 0 kW 1720 80 1204 8 0 kW 1720 90 1204 9 0 kW Digital control panel 1418 2 151104 Some parts of the user guide are more important than others We use the followi...

Page 20: ...the installation process have been completed Information for the installer Follow the installation dimensions given in this user guide Make sure that the wall behind the heater to which the screws are...

Page 21: ...Guide 1 pc Cable packing 1 pc Screw for the sensors 3 x 20 mm 4 pc Screw for the control panel 4 x 25 mm 3 st Metal screw for the sauna heater 6 x 40 mm 2 pc Metal screw for the sauna heater 6 x 16 mm...

Page 22: ...eme of the electrical and water connections for the sauna heater and control panel Temperature sensor OLET 19 Digital Control Panel Voltage to the control panel 400V 3N Sauna heater Voltage to the hea...

Page 23: ...d not install the heater until you have connected all the cables more information on page 26 Place the screws in the back plate cover as showed in the picture Make sure that the wall behind the heater...

Page 24: ...s are in millimeter mm Output heater kW Volume sauna room m3 Height sauna room mm To the side wall A mm 6 0 8 0 9 0 5 9 7 12 8 13 1900 1900 1900 60 120 120 Facts and installation measuremets In front...

Page 25: ...the sauna wall where the sensor should be placed Study the illustrations on page 24 2 Open the lid of the sensor with a screwdriver See pictures 1 and 2 3 Screw the sensor to the wall with the metal...

Page 26: ...or the lamp must be of the same model and dimension Connect the electricity Connect electrical cables 1 Lay the heater down and unscrew the bottom plate 2 Connect the cable between the control panel a...

Page 27: ...PC 65B 3000 W 1 2 3 1 2 3 Information for the installer See the numbering of the heating elements in the electricity scheme on page 26 1 2 3 4 1 2 3 4 N L 1 L 2 L 3 1 2 3 4 N L 1 L 2 L 3 N U V W N N J...

Page 28: ...28 Control panel cable Sensor cable Wiring diagram for the control panel and the temperature sensor Information for the installer 1 2 3 4 Blue White Red Yellow Sensor cable and control panel cable...

Page 29: ...n for the installer Electricity network 24 V from the control panel Temperature sensor OLET 19 Heater 400V Fan 50 W Light 120 W P R O G O K 1 2 3 4 3 4 1 2 L 1 L 2 L 3 L i g h t F a n L N U V W J 2 J...

Page 30: ...ld be mounted 2 Unscrew the lid to the control panel 3 Lead the cable through the control panel so that it s placed before the lid is put back on see page 31 4 Set the metal screw 4 x 25 mm in the wal...

Page 31: ...e are any faults in the heater or the control panel Check the following when testing 1 That the display of the control panel is working 2 That all the heating elements are warming up 3 That fan and li...

Page 32: ...314 SKSW 13 D Tehtaankatu 5 7 11710 Riihim ki Finland P O Box 15 10901 HANKO Finland Homepage www helo fi E mail info helo fi Produced by Conclusion Sweden AB www conclusion se...

Page 33: ...ich auf 24 Monate ab dem urspr nglichen Kaufdatum Der Kaufbeleg des H ndlers dient als Garantienachweis Holz ist der einzig erlaubte Brennstoff 4 Weitere von Helo vertriebene und vermarktete Produkte...

Page 34: ...uctions for environmental protection This product must not be disposed with normal household waste at the end of its life cycle Instead it should be delivered to a collecting place for the recycling o...

Reviews: