

4 Planning and installation – Installing the heating system
65
I
NSTALLING
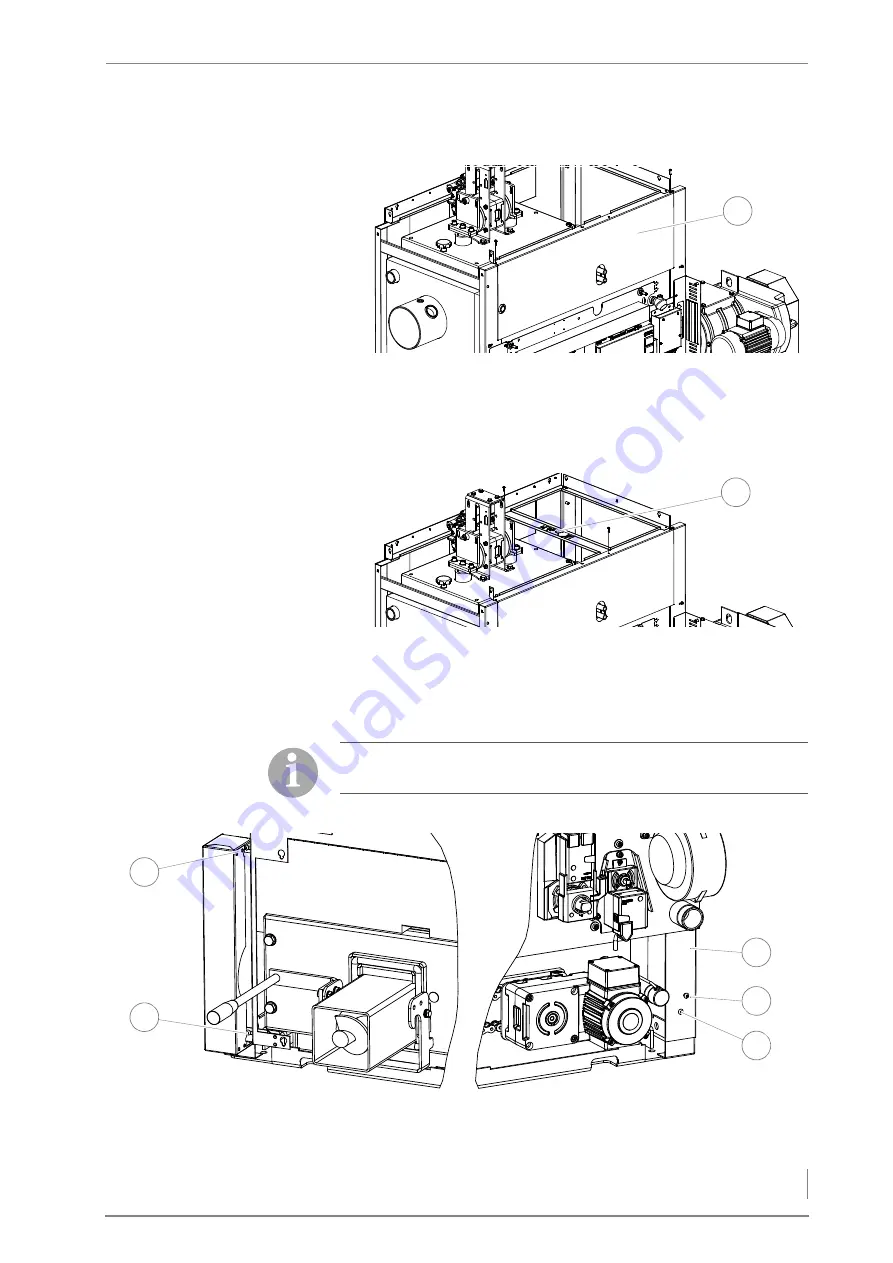
THE
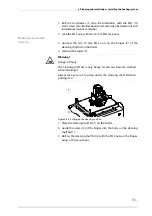
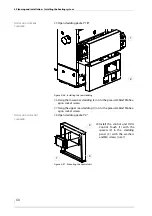
UPPER
REAR
CLADDING
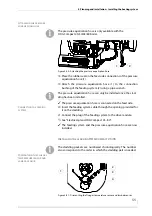
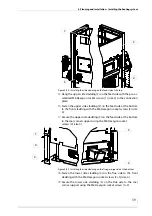
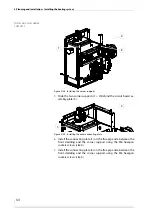
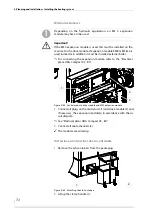
8.
Install the upper rear cladding (1) between the two corner sup-
ports with the M6 hexagon socket screws (size 4).
I
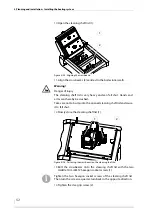
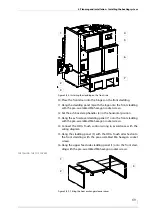
NSTALLING
THE
CONNECTING
PLATE
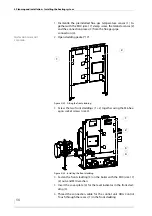
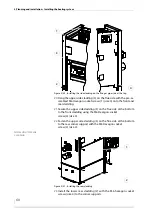
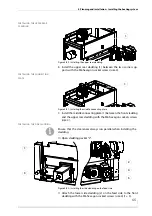
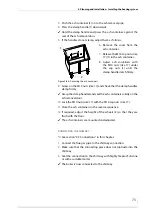
9.
Install the middle connecting plate (1) between the front cladding
and the upper rear cladding with the M6 hexagon sockets screws
(size 4).
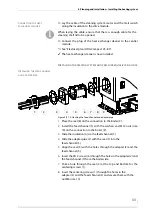
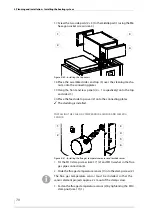
I
NSTALLING
THE
SIDE
CLADDING
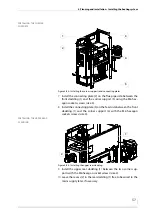
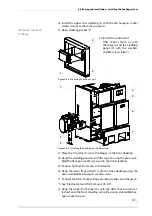
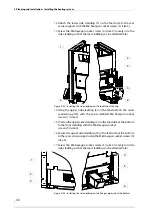
10.
Open cladding packet “2”.
11.
Attach the lower side cladding (2) on the feed side to the front
cladding with the M6 hexagon socked screws (size 4) (1 + 3).
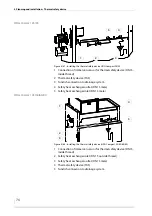
Figure 4/50 - Installing the upper rear cladding
1
Figure 4/51 - Installing the middle connecting plate
1
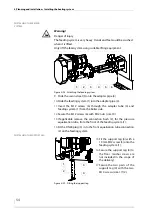
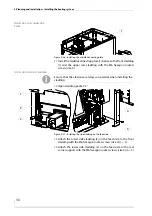
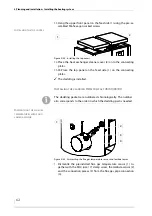
Ensure that the clearances always run parallel when installing the
cladding.
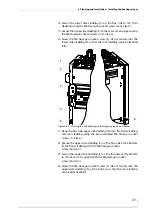
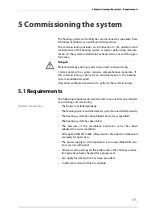
Figure 4/52 - Installing the side cladding on the feed side
1
3
5
4
2