


4 Planning and installation – Installing the heating system
56
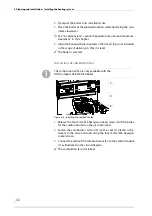
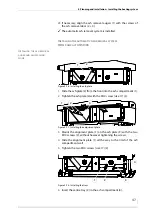
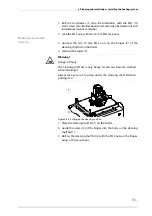
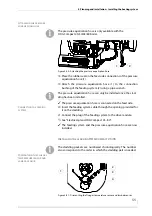
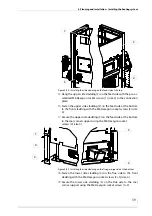
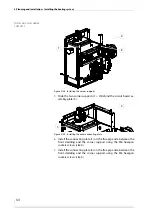
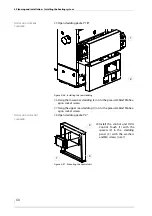
1.
Dismantle the preinstalled flue gas temperature sensor (1) to-
gether with the M10 (size 17) clamp screw, the lambda sensor (2)
and the connection pieces (3) from the flue gas pipe
connection (4).
I
NSTALLING
THE
FRONT
CLADDING
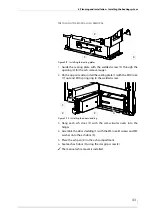
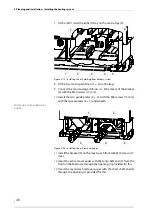
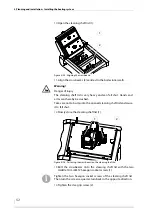
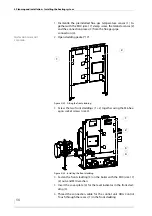
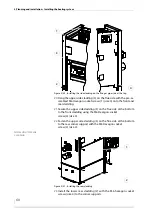
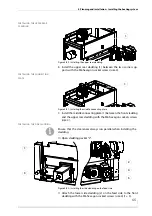
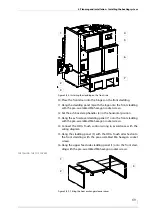
2.
Open cladding packet “1A”.
3.
Screw the two front claddings (1 + 2) together using the M6 hex-
agon socket screws (size 4).
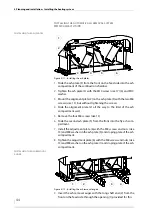
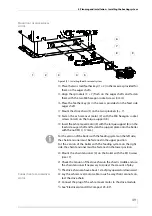
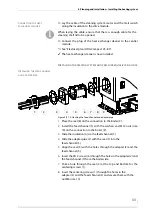
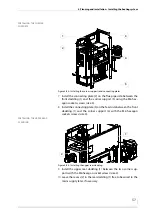
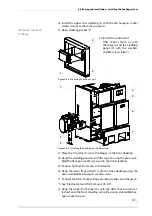
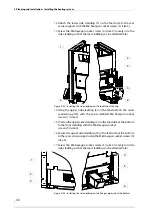
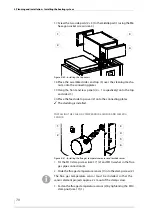
4.
Fasten the front cladding (3) on the boiler with the M10 (size 17)
(2) nuts and M10 washers.
5.
Insert the cover plate (4) for the level indicator in the front clad-
ding (3).
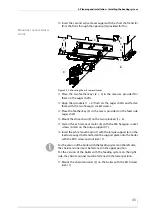
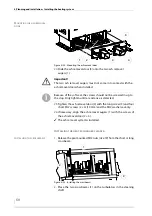
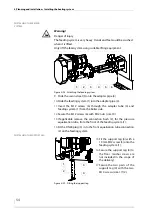
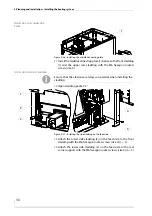
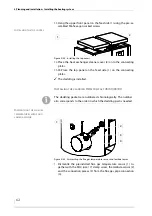
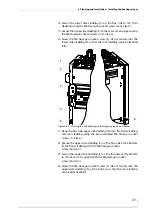
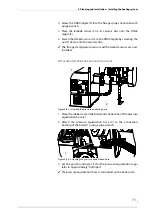
6.
Thread the connection cable for the control unit HDG Control
Touch through the recess (1) in the front cladding.
Figure 4/32 - Fitting the front cladding
2
1
Figure 4/33 - Installing the front cladding
4
3
1
2