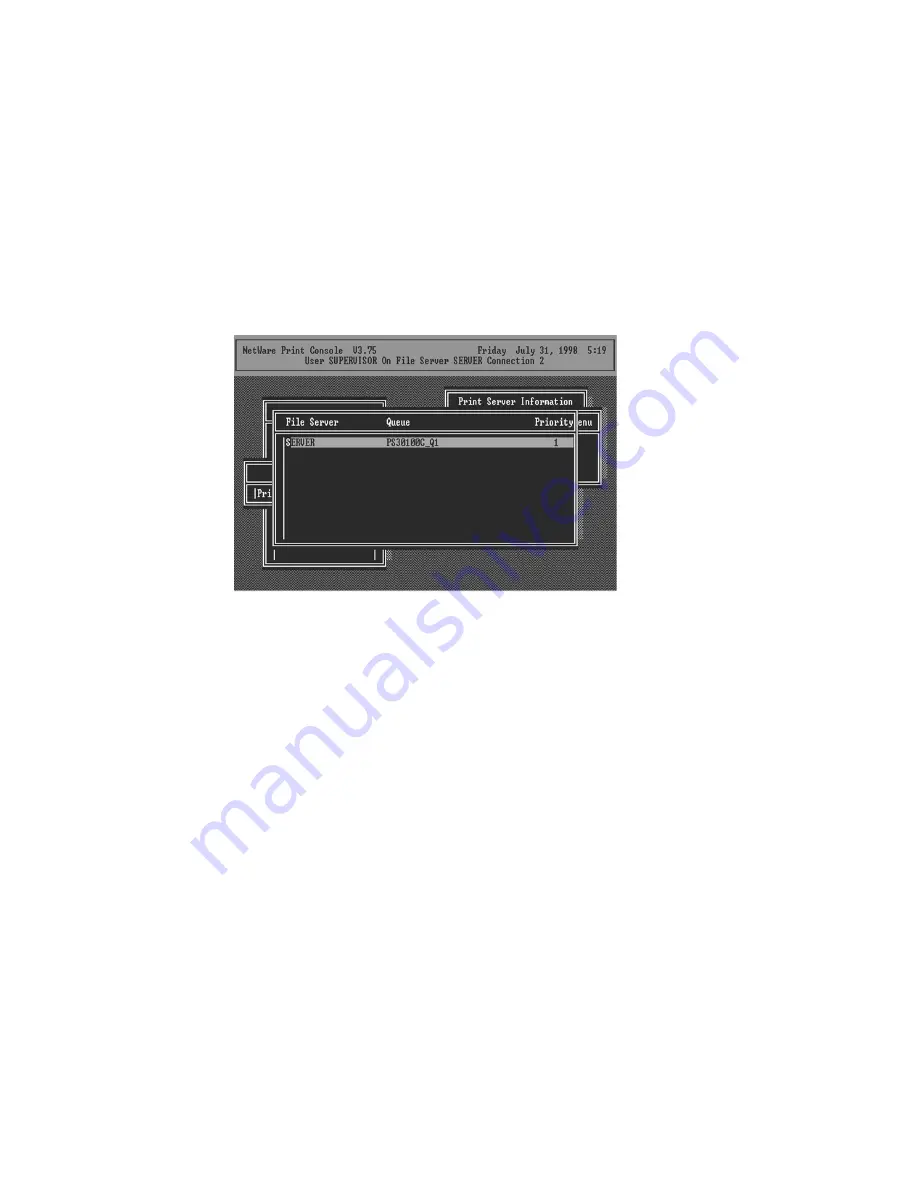
22. Select Queues Serviced by Printer, then select
Printer 0 (or Printer 1, Printer 2) and press Enter.
23. Press
Insert
and add your newly created print
queue to the list of queues serviced by the printer.
Enter a priority number for the queue service, or
press Enter to accept the default.
24. Repeatedly press Escape to exit the PCONSOLE
program.
25. Reset the print server to have the changes take
effect.
NOTE:
If the print server you have is with multiple
printer connectors, you may create multiple print
queues and printer objects.
Your print server should now be ready to use. You
should be able to redirect printing to your print
server using a CAPTURE command like the one
shown in the previous section.
Summary of Contents for HWPS12UG
Page 1: ......
Page 6: ...1 Introduction to the HWPS12UG...
Page 20: ...3 Windows Peer to Peer Network...
Page 41: ......
Page 42: ...4 Windows NT 2000 Network...
Page 47: ...5 NetWare Network...
Page 55: ...6 UNIX System Network...
Page 65: ...7 Configuration Utility...
Page 79: ...7 9 TCP IP Configuration...
Page 88: ...Click Set to save the wireless configuration...
Page 92: ...Step 5 Setup AppleTalk printing Please refer to section 7 5 for detailed information...
Page 94: ......
Page 96: ...8 Web Management...
Page 121: ......
Page 122: ...9 IPP Printing...


