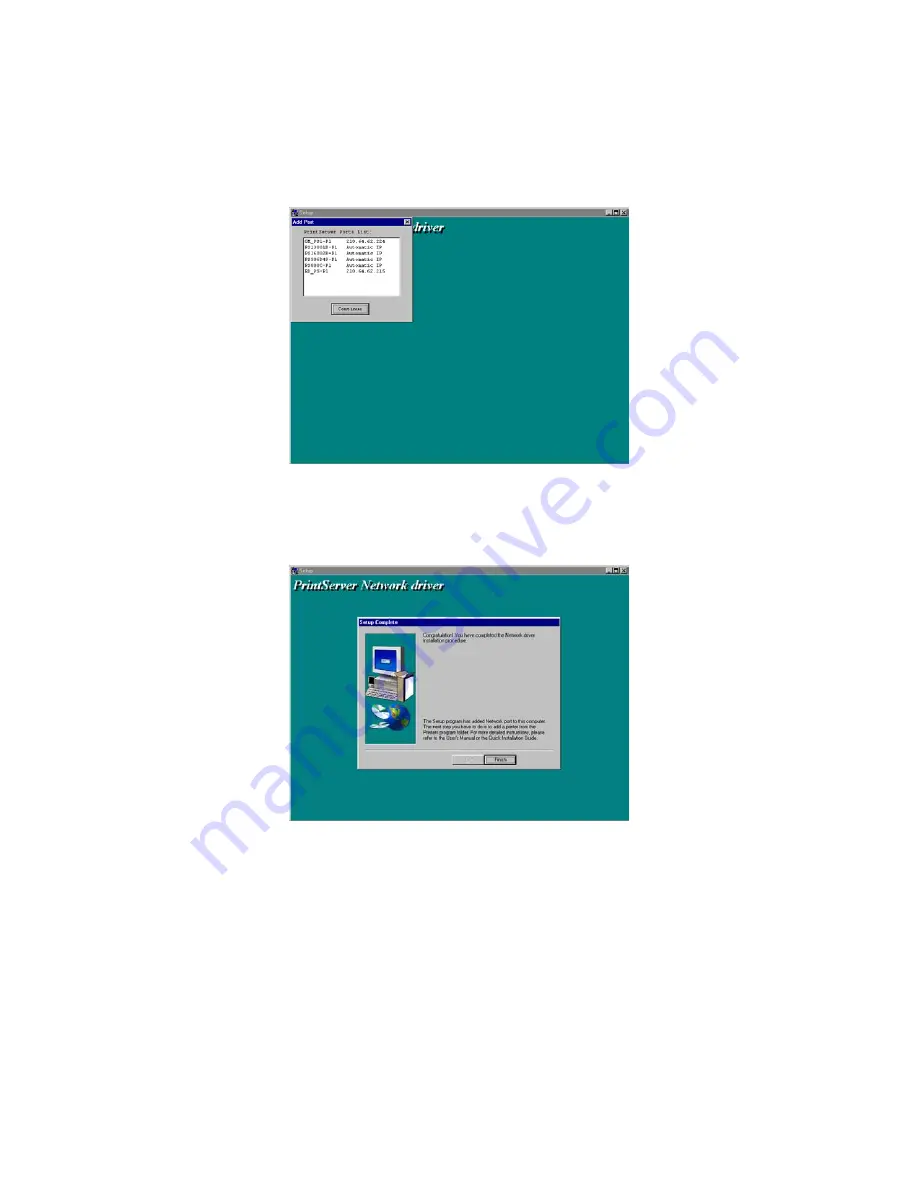
7. You have completed the software installation process. Click “
Continue
”
and the HWPS12UG’s network port will be detected on the network and will
be added to your PC.
8. The “Installation complete” window will be displayed to indicate that the
Client Installation procedure is finished.
You must then perform the Windows standard “Add Printer” procedure, as
described below, to add a network printer to your PC.
Step1. Click the
Start
button, choose
Setting
Î
Printers
Step2. Double click the
Add New Printer
Î
select
Local printer
Î
click
Next
.
Step3. Select a suitable printer manufacturer and model, and then click
Next
.
Summary of Contents for HWPS12UG
Page 1: ......
Page 6: ...1 Introduction to the HWPS12UG...
Page 20: ...3 Windows Peer to Peer Network...
Page 41: ......
Page 42: ...4 Windows NT 2000 Network...
Page 47: ...5 NetWare Network...
Page 55: ...6 UNIX System Network...
Page 65: ...7 Configuration Utility...
Page 79: ...7 9 TCP IP Configuration...
Page 88: ...Click Set to save the wireless configuration...
Page 92: ...Step 5 Setup AppleTalk printing Please refer to section 7 5 for detailed information...
Page 94: ......
Page 96: ...8 Web Management...
Page 121: ......
Page 122: ...9 IPP Printing...


