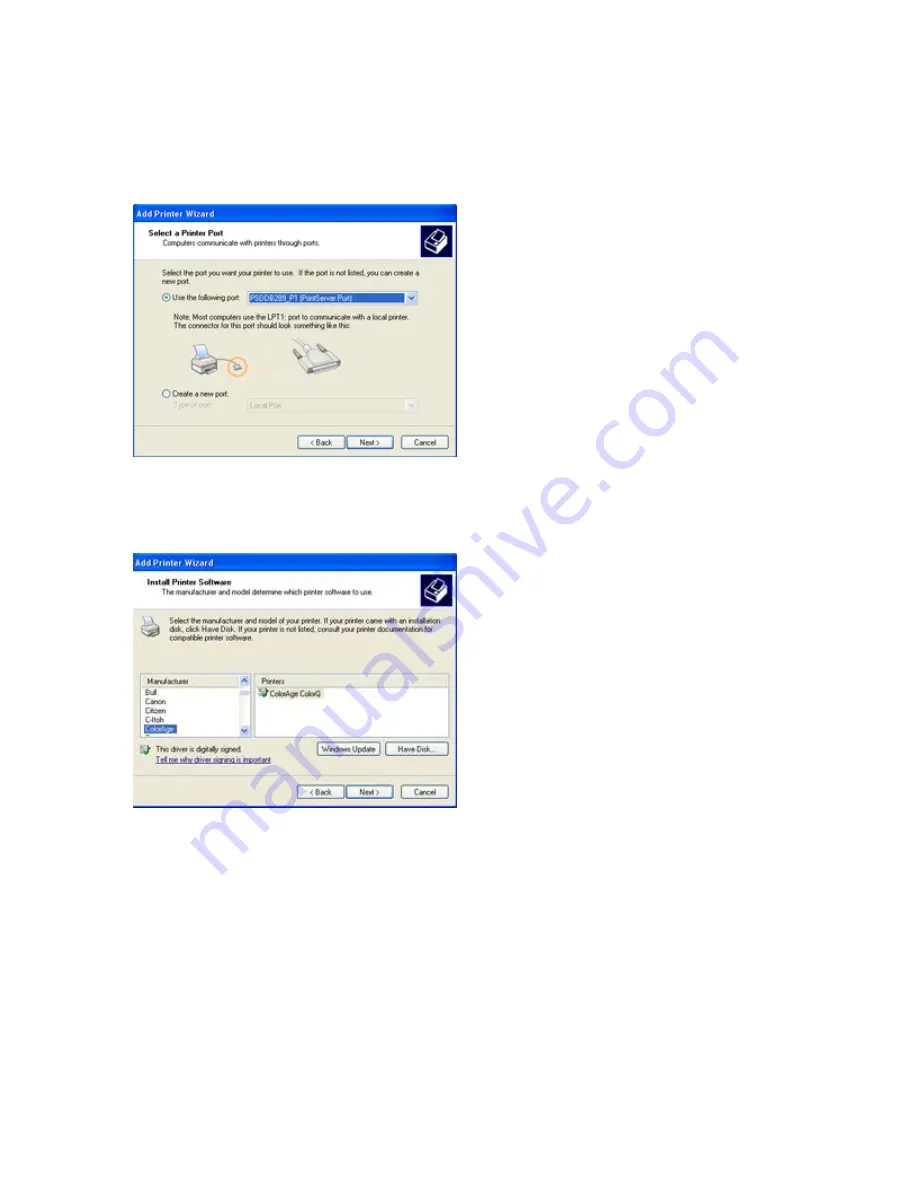
Step5.
In the “
Select a Printer Port
” window select “
Use the following
port
” and drag the selection bar down to your newly created print server
entry
Î
Press
Next.
Step6.
Select a suitable printer manufacturer and model, and then click
Next.
Step7.
Please continue through the next couple of installation steps by
pressing
Next
until your new printer is added to your computer. Press the
finish button to finalize your configuration.
Please repeat “add Printer” steps for every printer attached to the
HWPS12UG.
Summary of Contents for HWPS12UG
Page 1: ......
Page 6: ...1 Introduction to the HWPS12UG...
Page 20: ...3 Windows Peer to Peer Network...
Page 41: ......
Page 42: ...4 Windows NT 2000 Network...
Page 47: ...5 NetWare Network...
Page 55: ...6 UNIX System Network...
Page 65: ...7 Configuration Utility...
Page 79: ...7 9 TCP IP Configuration...
Page 88: ...Click Set to save the wireless configuration...
Page 92: ...Step 5 Setup AppleTalk printing Please refer to section 7 5 for detailed information...
Page 94: ......
Page 96: ...8 Web Management...
Page 121: ......
Page 122: ...9 IPP Printing...


