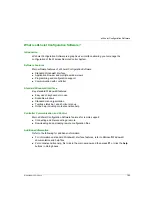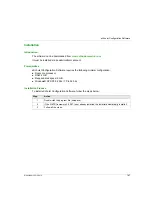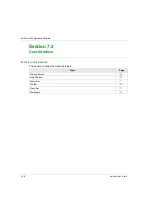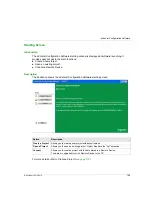
Diagnostic
EIO0000001505 12/2014
159
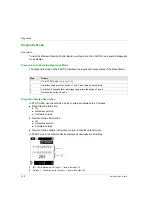
Charger ZARC01 connected
Once the Remote Device is connected to the battery charger, the battery LED flashes 3 times (E
label = FLASH_STEP_1). After the 3 flash, the battery LED status changes to the following ones:
Selector LEDs
The “1” LED:
The “2” LED:
Set of LEDs
Power ON - Check LEDs:
At Remote Device Power ON, the 4 LEDs (START, Battery, 1, and 2) flash one time (status E =
Flash step 1).
Remote failure detected:
If a remote internal failure is detected, the 4 LEDs go in the following status:
The START LED is in status E = Flash step 1
The BATTERY LED is in status E = Flash step 1
The “1” LED is in status E = Flash step 1
The “2” LED is in status E = Flash step 1
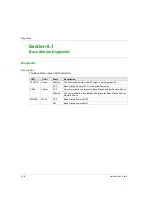
Label
Status
Description
B
ON
Battery charge level is full (No need to charge or end of charge)
E
Flash step 1
Battery charge in progress
C
Normal blink
Impossible to charge (charger failure detected) or temperature out of
the allowed boundaries
A
OFF
Impossible to charge (battery too low to be charged)
Label
Status
Description
B
ON
The “1” or the “1+2” selector position is selected and confirmed
C
Normal blink
The “1” or the “1+2” selector position is required but not yet confirmed
A
OFF
The selector position “1” is NOT selected
Label
Status
Description
B
ON
The “1+2” or the “2” selector position is selected and confirmed
C
Normal blink
The “1+2” or the “2” selector position is required but not yet confirmed
A
OFF
The selector position “2” is NOT selected
Summary of Contents for eXLhoist
Page 12: ...12 EIO0000001505 12 2014...
Page 34: ...Wireless Remote Control System 34 EIO0000001505 12 2014...
Page 52: ...52 EIO0000001505 12 2014...
Page 146: ...Using The Wireless Remote Control System 146 EIO0000001505 12 2014...
Page 200: ...eXLhoist Configuration Software 200 EIO0000001505 12 2014...
Page 213: ...EIO0000001505 12 2014 213 Harmony eXLhoist EIO0000001505 04 2014 Appendices...
Page 214: ...214 EIO0000001505 12 2014...

