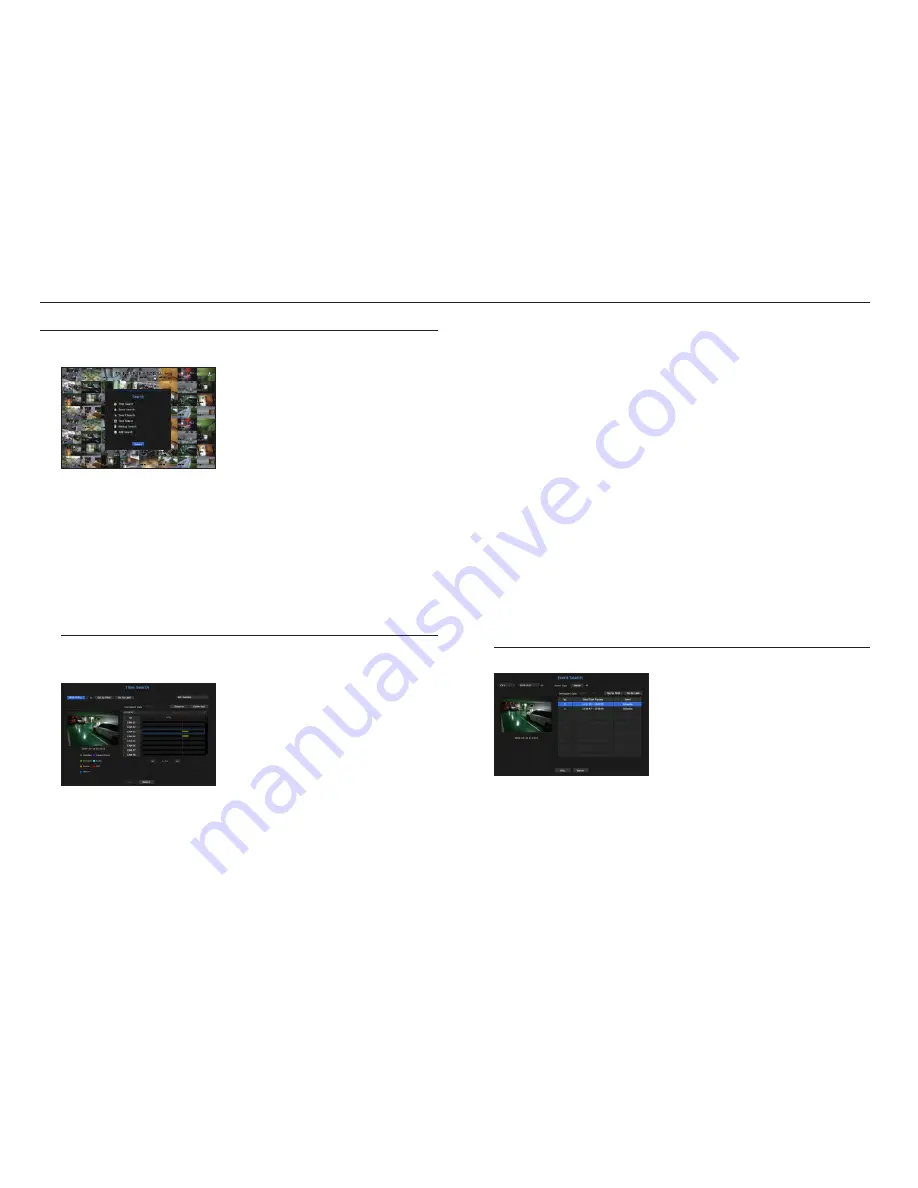
3.
The record data on the specific date will be listed.
The display bar is different according to the data type. So check the data type for the color in the left pane.
M
`
If DST (Daylight Saving Time) is configured, overlapping multiple recordings may be produced for a certain moment of time.
Such a time section is distinguished with red color to mark DST section.
•
Go to First : Move to the earliest recording date.
•
Go to Last : Move to the latest recording date.
•
All Channels : If you select a list, you can search for recorded videos of layout specified by you. By default, it
will show search results for all channels.
•
Time : Enter a time to perform the search or use the up/down button <
>
> to select one.
•
Zoom In : The map enlarges in detail.
It will switch in the sequence of 24hours - 12 hours - 6 hours - 2hours - 1hour.
•
Zoom Out : The map will switch in the reverse order of the detailed mode above.
It will switch in the sequence of 1hour - 2 hours - 6 hours - 12 hours - 24 hours.
•
Preview screen : After selecting <
channels
>, mouse-click or mouse-drag a desired time in timeline to view
the still image at the time.
- If the selected channel does not contain any recorded data, it will be marked black.
4.
Select a data item and click <
play
>. The recorded video for the selected channel will play.
`
Just like the timeline in time search, the timeline of the playback screen will exhibit different colors depending on the types of
recorded data.
color indications depending on current recording status
The recorded data types are represented through the use of different colors. Each color corresponds to a
certain recording type.
event Search
You can search for events by the channel and play them.
1.
Select <
event Search
> in the <
Search
> menu.
2.
Configure the channel, search date and event type settings.
`
Depending on the menu selected, it will search for all/motion detection/video analysis/audio detection/sensors/reservation/
general recording events.
•
Date/Time Preview : If you select a data item in the list, the still image of the selected data will be displayed in
the left preview pane.
•
Event : Displays the type of the event that occurred.
3.
Select a data item and click <
play
>.
The screen switches to the event data playback mode.
SearcH
You can perform the search for recorded data by the time or by the search criteria such as an event.
You can access the <
Search
> menu directly in Live mode.
1.
In live mode, right click with your mouse button.
The Live menu appears.
2.
Select <
Search
>.
3.
The Search menu should appear.
4.
The search can be restricted by the Auto Delete function.
See the "
record option
" page under "
menu Setup
>
Setting the recording
" in the Table of Contents.
M
`
Overlapped data : It only appears if there exists overlapped data on a certain time, produced due to the change of NVR's time
setup. The latest data comes first, from <
List0
>.
It does not appear in <
Backup Search
>.
`
The search time is based on the time specified by NVR.
time Search
You can search for recorded data of a desired time.
The displayed time is based on the local time zone and the daylight saving time (DST). Therefore, data recorded
at the same time from different areas may differ based on the time zone and the DST.
1.
Select <
time Search
> in the <
Search
> menu.
2.
In the date selection window, click on the <
>
> button to select a search date.
`
See the "
To use the calendar
" page under "
Menu Setup
>
System Setup
" in the Table of Contents.
54_
search & play
search & play


