40
Hangar 9 P-40B Warhawk 50 ARF
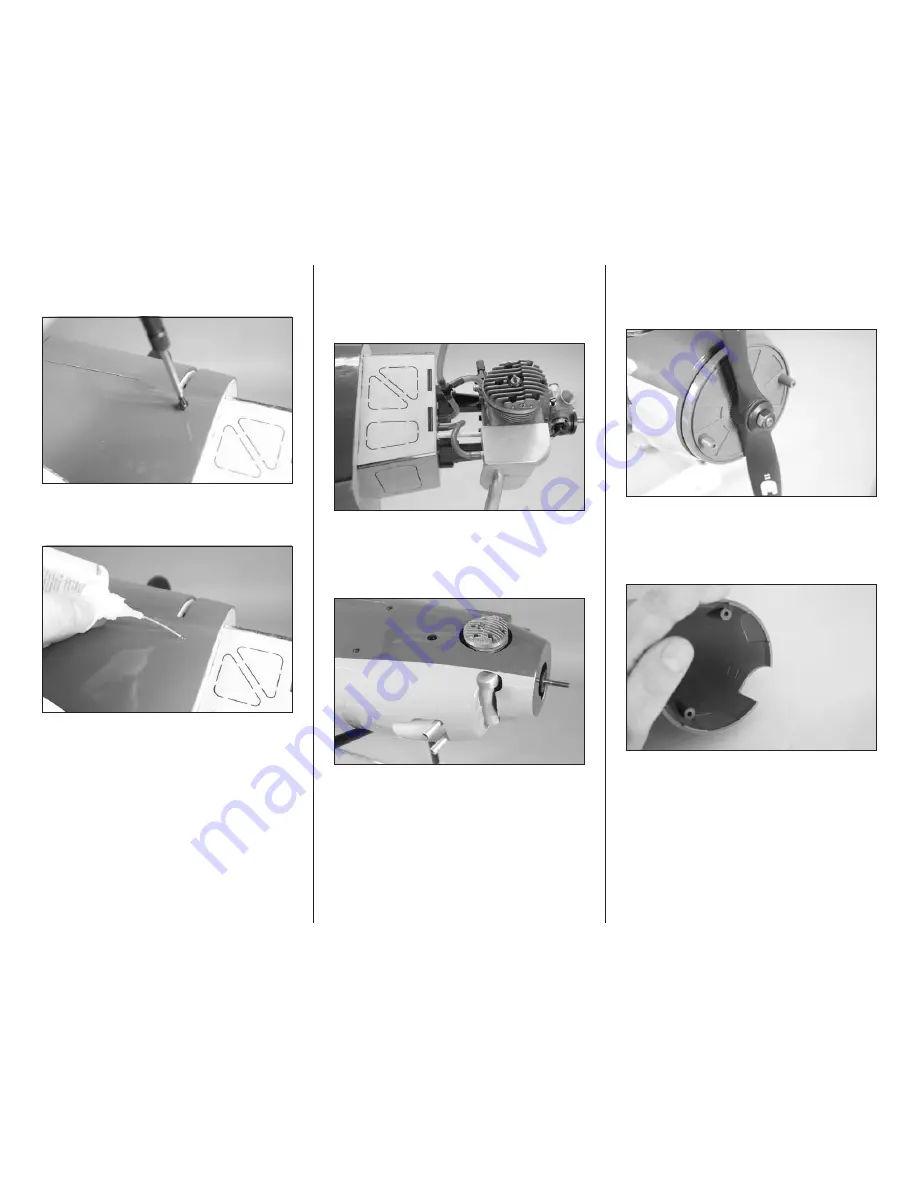
8. Use a #1 Phillips screwdriver to run an M3 x 10 wood
screw in each of the four holes. Make sure to remove the
screw before proceeding to the next step.
9. Apply 1–2 drops of thin CA in each hole drilled. This
will harden the surrounding wood, making the screws more
secure when installed.
10. Attach the muffler to the engine. Connect the line
from the vent to the fitting on the muffler. When connecting
the line from the clunk to the carburetor, we installed a
fuel filler dot to allow fueling the engine from outside the
cowling.
11. Fit the cowl to the fuselage. Use hobby scissors and
a rotary tool with a sanding drum to remove the material
necessary on the cowl to clear the muffler. Secure the cowl
to the fuselage using the four M3 x 10 black washer head
screws and a #1 Phillips screwdriver.
When installing the fuel filler in the cowl, make
sure to position it lower on the cowl so it will not
interfere with the installation of the exhaust stacks.
12. Secure the Spinner backplate and propeller using
the hardware provided with the engine. Use a box wrench
when tightening the propeller nut to avoid rounding the
corners of the nut.
13. The spinner provided has only one opening for the
propeller. Multiple locations have been molded in for two- or
three-bladed propellers. Use a rotary tool and a sanding
drum to remove the material necessary to fit your particular
propeller selection.


