41
Hangar 9 P-40B Warhawk 50 ARF
14. Secure the spinner using two M3 x 10 wood screws
and a #1 Phillips screwdriver. Make sure the blades of the
propeller do not touch the cut-outs of the spinner.
15. Use a drill and 9/32-inch (7mm) drill bit to drill the
two holes for the cowl-mounted machine guns. Use a small
amount of silicone adhesive to glue the guns into position.
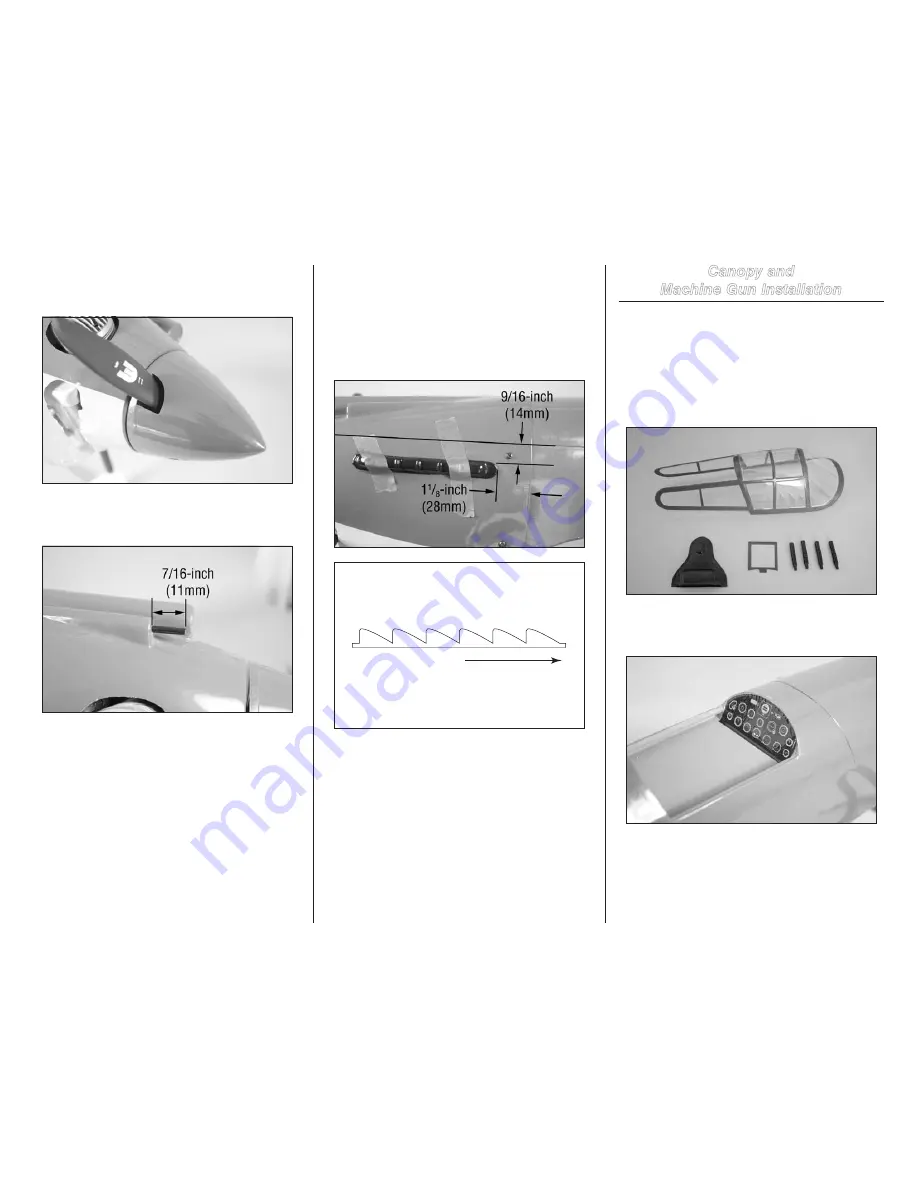
16. Use hobby scissors and medium grit sandpaper
to trim the exhaust stacks. Project a line parallel from the
fuselage hatch onto the cowling. The exhaust stack is placed
9/16-inch (14mm) below the line, and 1
1
/
8
-inch (18mm)
forward of the rear edge of the cowl. Use a small amount of
silicone adhesive to glue the exhaust stacks to the cowling.
Use low-tack tape to hold the exhaust stacks in position until
the glue fully cures.
Front
Canopy and
Machine Gun Installation
Required Parts
Fuselage assembly
Wing assembly
Canopy
Black seat
Decal sheet
Black wing machine gun (4)
Plastic sheet with green framing
1. Locate the items for this section of the manual.
2. Use a hobby knife with a #11 blade to trim the
instrument panel from the decal sheet. Apply the instrument
panel decal in the cockpit as shown.


