22
Hangar 9 P-40B Warhawk 50 ARF
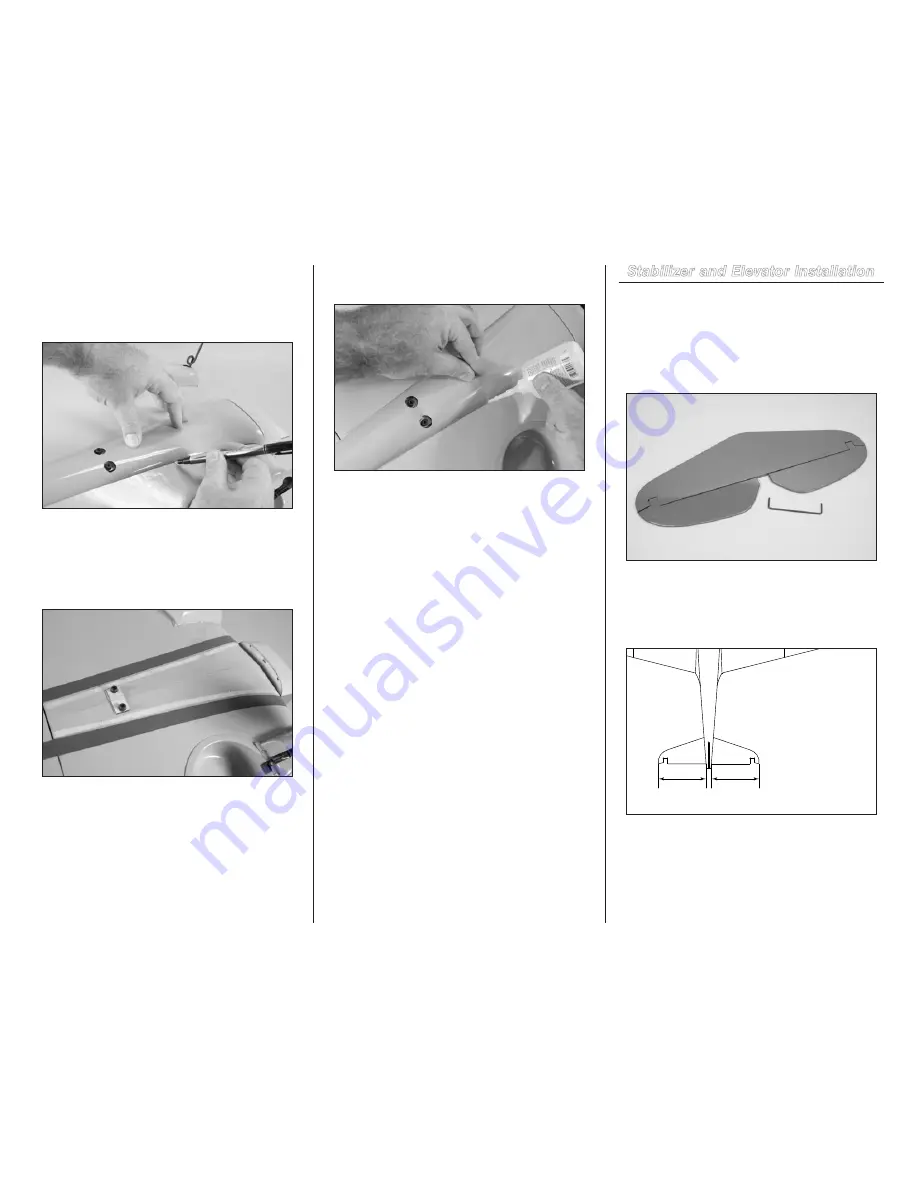
4. Position the fiberglass belly pan on the bottom of the
wing, aligning it with the contour of the fuselage at the front,
and centering the back with the wing bolts and the center
of the fuselage at the trailing edge. Use a felt-tipped pen to
trace the outline of the belly pan onto the wing.
5. Set the belly pan aside and use a hobby knife with a
#11 blade to trim a 1/4-inch (6mm) wide strip of covering
1/16-inch (1.5mm) inside the outline of the belly pan on
the bottom of the wing. Apply low-tack tape outside the line
drawn in step 9. This will help prevent CA from getting all
over the wing when gluing the belly pan into position.
Make sure to use a new #11 blade and
use light pressure to trim only the covering.
Avoid cutting into the underlying wood, which
could weaken the structure of your model.
6. Use medium CA to glue the fiberglass belly pan to the
wing. Hold the belly pan in position until the CA fully cures.
Stabilizer and Elevator Installation
Required Parts
Airframe assembly
Stabilizer
Elevator (right and left)
Elevator joiner
CA hinge (4)
1. Locate the items for this section of the manual.
2. Slide the stabilizer into the slot in the fuselage
with the olive drab side to the top of the fuselage. Slide
stabilizer as far forward in the slot as possible. Measure
from the fuselage to each tip. Center the stabilizer so the
measurements are the same.
A=A
A
A


