22
Required Parts
• Fuselage assembly
• Cowling
• #2 x 1/2" sheet metal screw (4)
Required Tools and Adhesives
• Hobby scissors
• Drill
• Drill bit: 3/32" (2.5mm), 1/8" (3mm)
• Phillips screwdriver (small)
• Rotary tool w/sanding drum
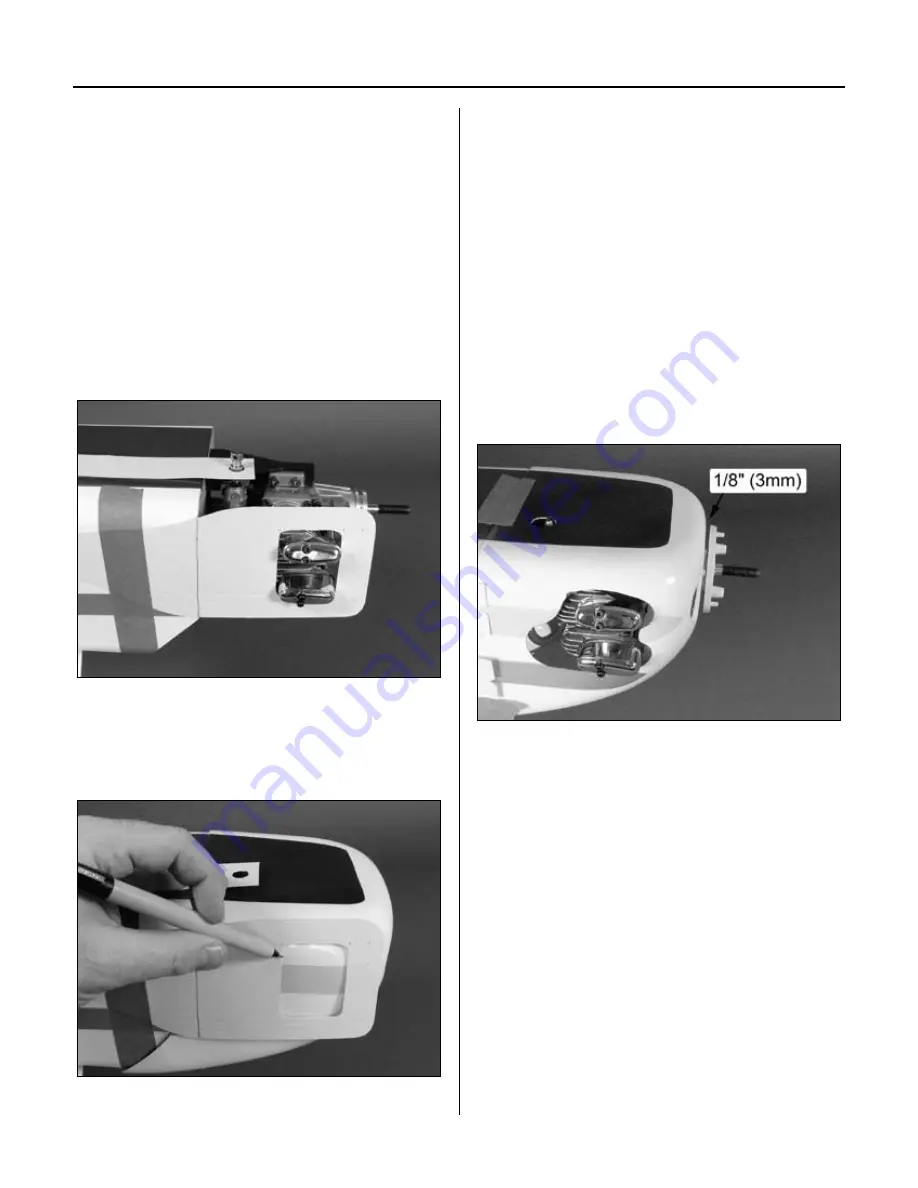
Step 1
Use pieces of cardstock to indicate the
location of the engine and firewall.
Step 2
Remove the engine. Position the cowl onto the fuselage
so it is 4
9
/
16
" (116mm) from the firewall. Transfer the
locations for the engine and needle valve onto the cowl.
Step 3
Remove the cowl and remove the necessary material
to fit the cowl over the engine. Install the engine back
onto the firewall, and test fit the cowl over the engine.
Cool Tip
: Start by removing only a little
material at a time. You can always make the
holes bigger, but you can’t make them smaller.
Work until the cowl fits nicely over the engine.
Step 4
Slide the cowling onto the fuselage. Temporarily
install the propeller and spinner back plate.
Position the cowl so there is 1/8" (3mm) gap
between the back plate and the cowl.
Cool Tip
: Use tape to hold the
cowling in position so you can drill
the holes in the following step.
Section 7: Cowling Installation
Summary of Contents for FuntanaX 50
Page 33: ...33 Notes ...


