


25
Step 7
Attach a 9" (229mm) servo extension to the aileron servo.
Tie the string inside the wing onto the servo extension.
Gently pull the extension through the wing using the
string. Untie the string when the servo lead has been
pulled through. Use tape to secure the servo lead to the
wing to prevent it from falling back into the wing panel.
Step 8
Secure the servo using the hardware provided
with the servo. The output shaft of the servo
faces towards the trailing edge of the wing.
Step 9
Repeat Steps 6 through 8 for the other aileron servo.
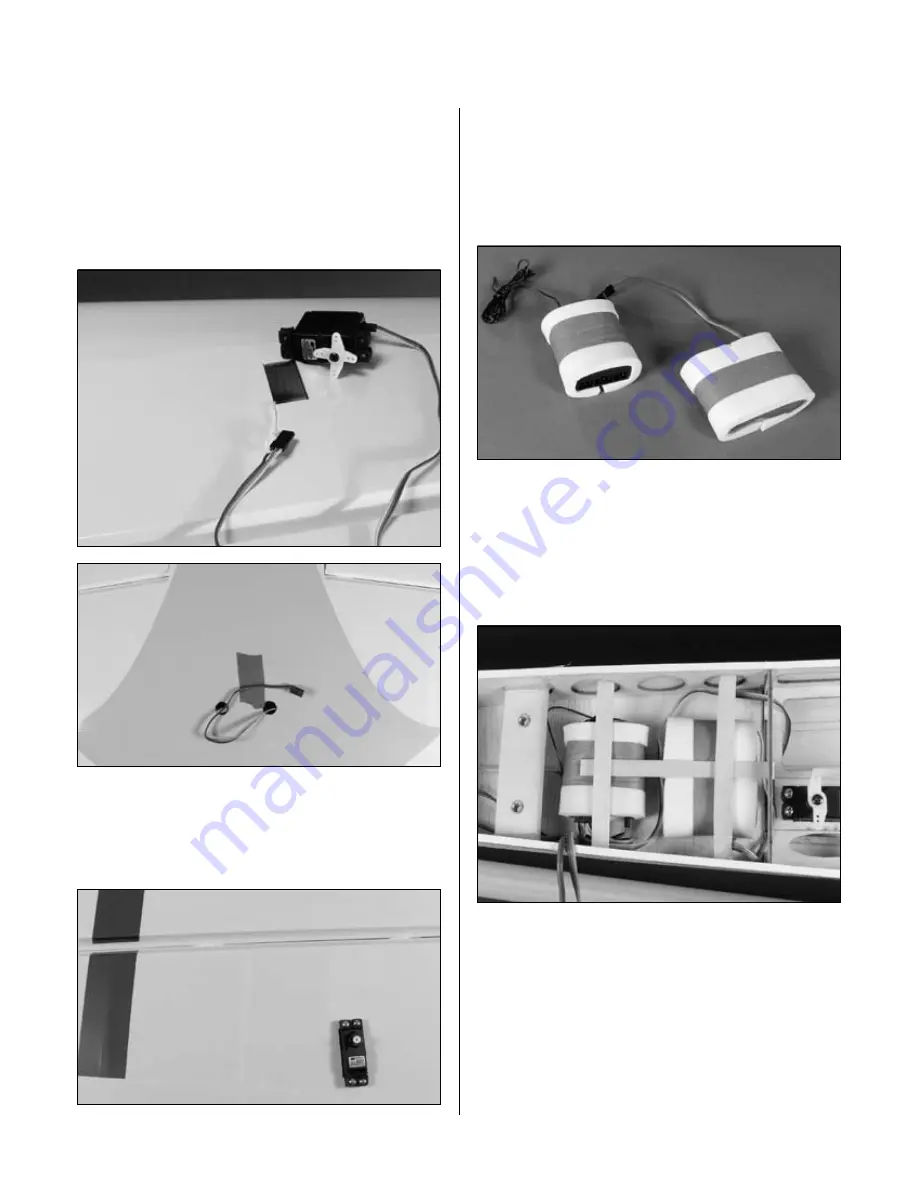
Step 10
Wrap the receiver and receiver battery in protective foam
to prevent damage that may be caused by engine vibration.
Step 11
Temporarily mount the receiver and battery into the
fuselage. It may be necessary to relocate the battery
forward or aft to balance the model as described in
the section “Control Throws and Center of Gravity.”
Plug in any servo leads or extensions at this time.
Section 8: Servo Installation
Summary of Contents for FuntanaX 50
Page 33: ...33 Notes ...