8
PHOTO MODE
To take still pictures, press the
Power/Mode
button repeatedly until the Photo mode icon is displayed
on the top-left corner of the LCD screen.
Press and release the
OK/Shutter
button to take a photo.
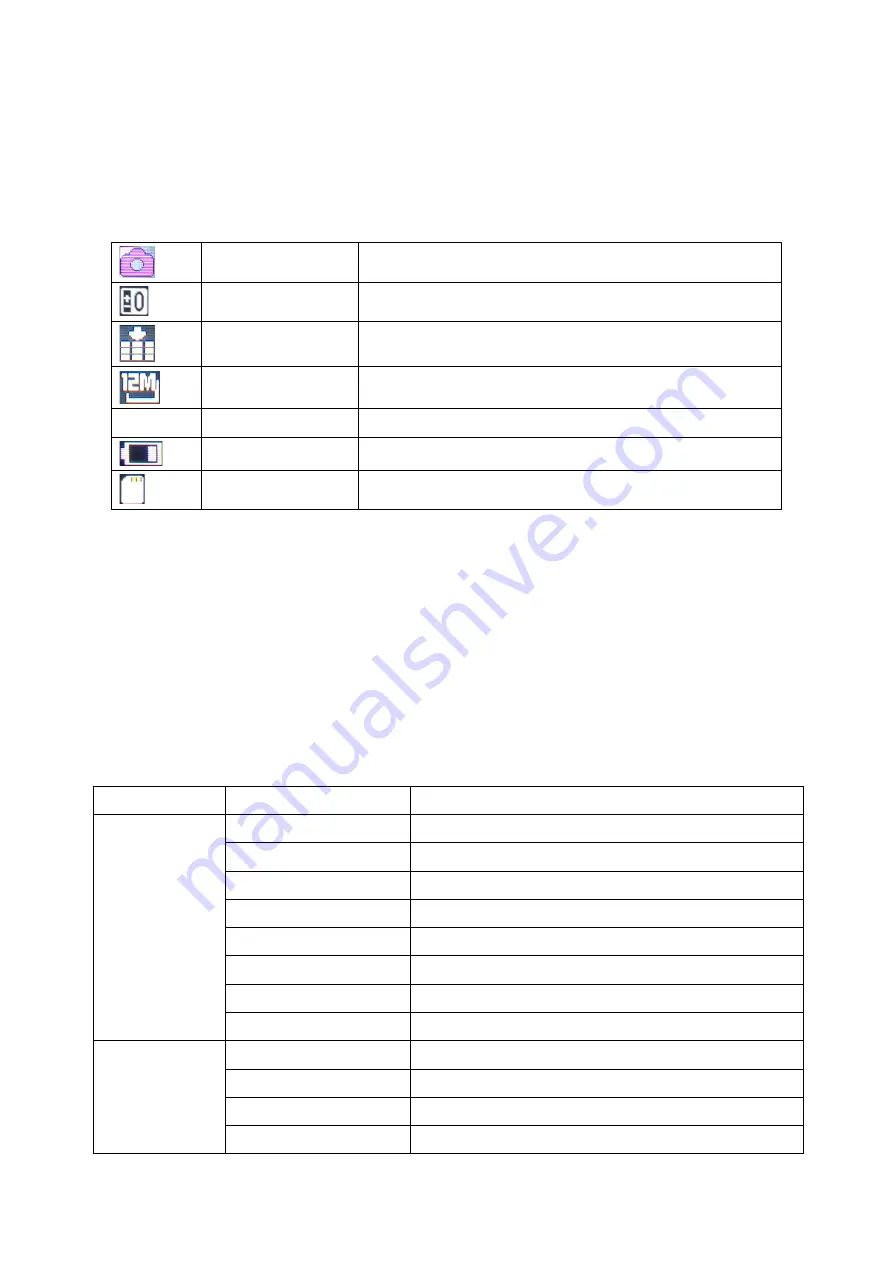
The table below describes the icons displayed on the LCD screen.
Mode icon
Indicates current mode as Photo mode.
Exposure
Indicates the current exposure compensation setting.
Quality
Indicates the current picture quality setting.
Resolution
Indicates the current picture resolution setting.
9999
Counter indicator
Indicates number of pictures available to be taken.
Battery
Indicates the current battery level.
Memory Card
Indicates memory card has been inserted.
Photo Setup Menu
To enter the Photo setup menu do the following.
1. While in Photo mode, press and hold
OK
button for few seconds to open menu settings.
2. Use the
Up
and
Down
buttons to navigate through the menu and highlight an item.
3. Press
OK/Shutter
button to enter the menu options.
4. Use the
Up
and
Down
buttons for selection, then press
OK/Shutter
button for confirmation.
To exit a menu item, press the
Power/Mode
button.
Photo Menu Options
The following table describes the available settings of the Photo menu.
Menu Item
Option
Description
Resolution
12M
4032x3024 pixel
10M
3648x2736 pixel
8M
3264x2448 pixel
5M
2592x1944 pixel
3M
2048x1536 pixel
2M
1600x1200 pixel
1M
1280x960 pixel
VGA
640x480 pixel
Capture Mode
Single
Take single photo without delay
Self 2S
Self-timer mode with 2 seconds delay
Self 10S
Self-timer mode with 10 seconds delay
Burst
Take a sequence of 3 photos


