6
CAMERA OPERATION MODES
The camera features three operation modes: Video, Photo and Playback mode.
Once the camera is powered on, user can switch between modes by pressing the Power/Mode
button in the front of the camera.
The operation modes appear in the following order:
Video:
Record videos.
Photo:
Capture still pictures.
Playback:
Playback recorded Videos and Pictures.
VIDEO MODE
To record a video, press the
Power/Mode
button repeatedly until the Video mode icon is displayed
on the top-left corner of the LCD screen.
Press the
OK/Shutter
button to start recording. The red LED indicators will flash while recording.
Press the
OK/Shutter
button again to stop recording.
Camera will automatically stop recording when the memory card is full or the battery is too low.
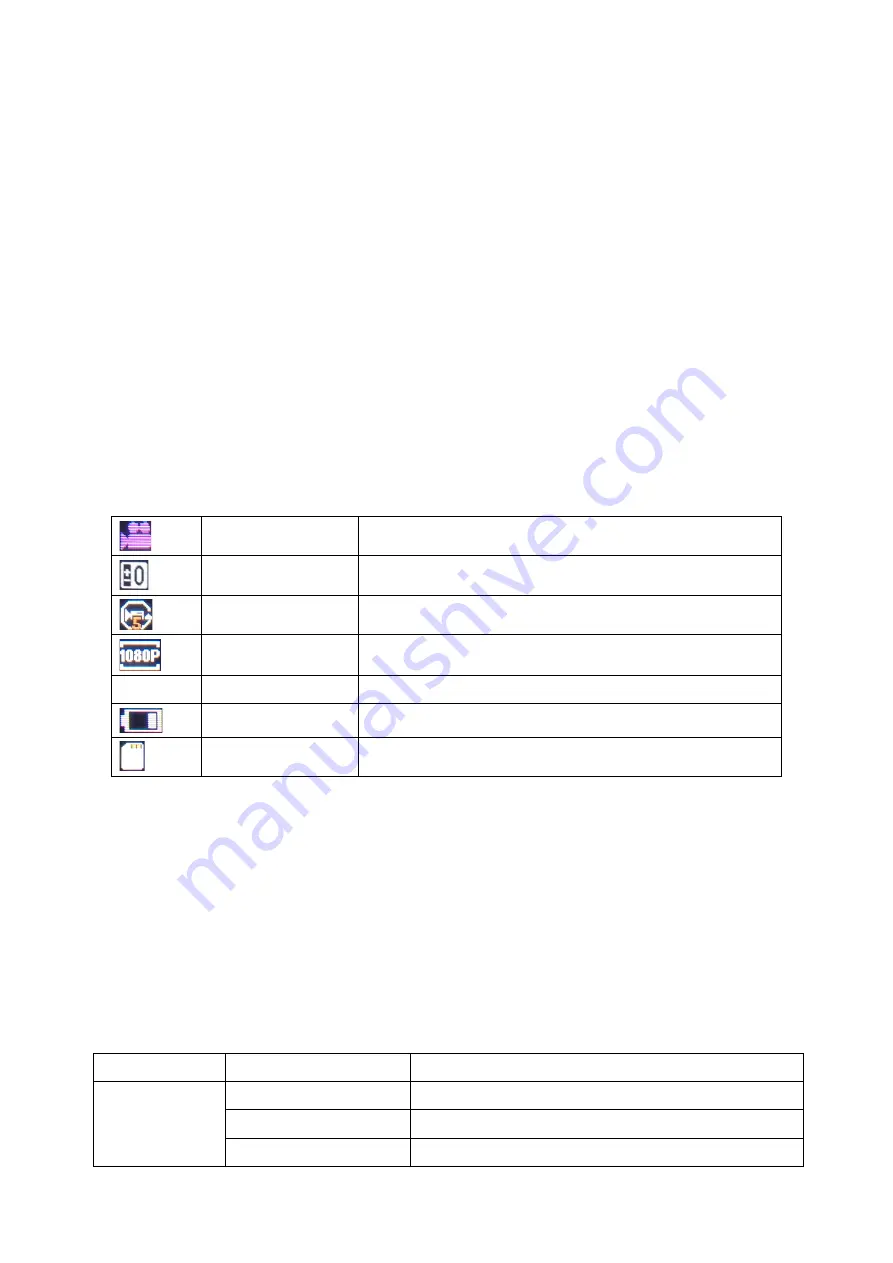
The table below describes the icons displayed on the LCD screen.
Mode icon
Indicates current mode as Video mode.
Exposure
Indicates the current exposure compensation setting.
Loop Recording
Indicates the current loop recording setting.
Resolution
Indicates the current recording resolution of the video.
00:00:01
Time indicator
Indicates the duration of current recording.
Battery
Indicates the current battery level.
Memory Card
Indicates memory card has been inserted.
Video Setup Menu
To enter the Video setup menu do the following.
1. While in Video mode, press and hold
OK
button for few seconds to open menu settings.
2. Use the
Up
and
Down
buttons to navigate through the menu and highlight an item.
3. Press
OK/Shutter
button to enter the menu options.
4. Use the
Up
and
Down
buttons for selection, then press
OK/Shutter
button for confirmation.
To exit a menu item, press the
Power/Mode
button.
Video Menu Options
The following table describes the available settings of the Video menu.
Menu Item
Option
Description
Resolution
1080P
1920X1080 resolution format
720P
1280x720 resolution format
VGA
640x480 resolution format


