


U
sing
the
features
EN-23 Digital LED LCD Television Instruction Manual
Time
V
W
hi
l
e
in
norma
l TV
mode
on
l
y,
pressing
the
button
w
i
ll
disp
l
ay
the
te
l
ete
x
t
time
in
the
top
right
hand
corner
for
a
fe
w
seconds.
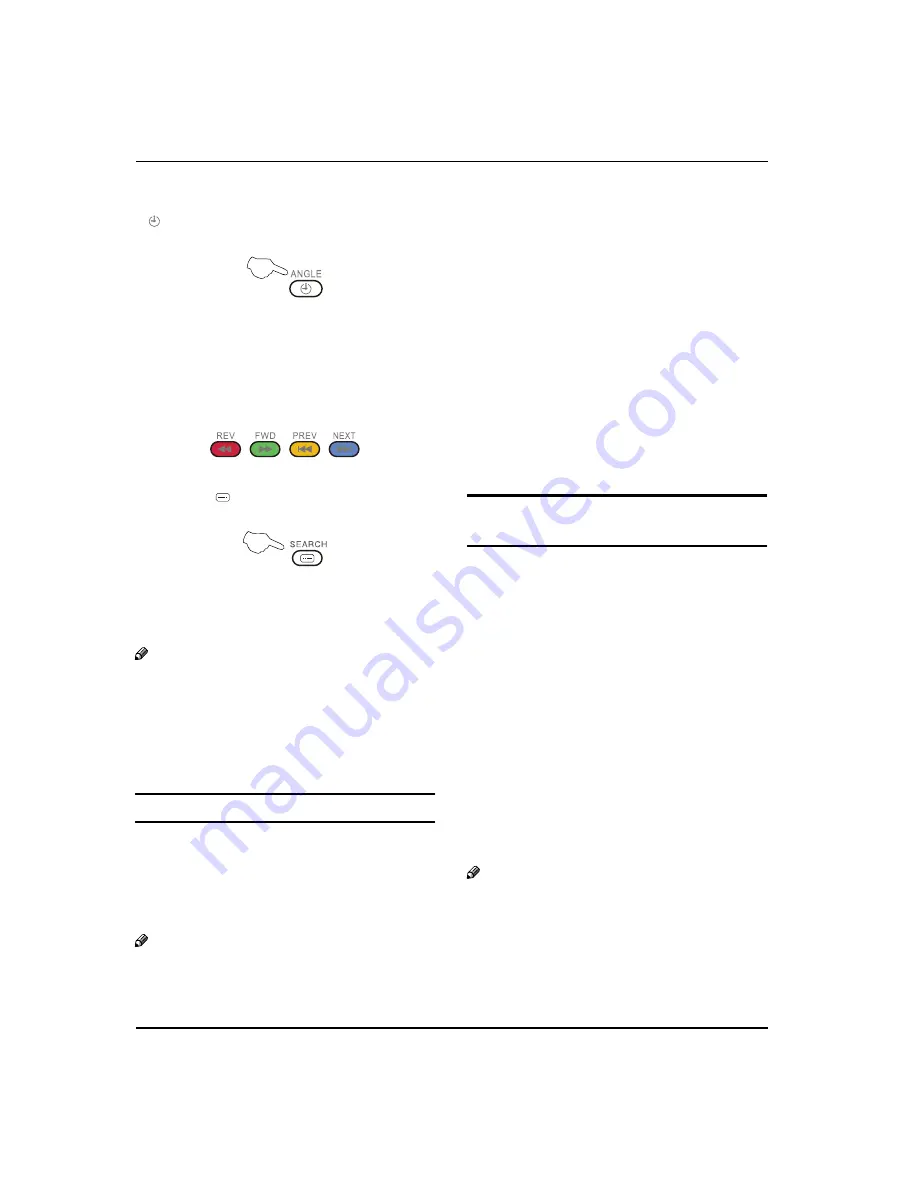
Fast text coloured
V
buttons
F
ast
te
x
t
automatica
ll
y
disp
l
ays
the
four
most
common
l
y
used
pages
that
the
broadcaster
thinks
that
you
may
w
ant
to
choose
ne
x
t.
Press
the
same
co
l
oured
button
on
the
remote
contro
l
as
the
co
l
oured
l
ink
at
the
bottom
of
the
te
l
ete
x
t
page
to
go
direct
l
y
to
that
page.
Subcode
V
Pressing
the
button
by
entering
its
4-
digit
number
to
enter
a
secondary
page.
USB MODE
Note
T
he
diagrams
in
the
fo
ll
o
w
ing
section
are
O
schematic
and
on
l
y
for
your
reference.
P
l
ease
see
the
actua
l
product
if
necessary.
T
he
OSD
of
the
USB
function
may
be
some
w
hat
O
di
ff
erent
from
your
product
because
it
is
j
ust
e
x
amp
l
e
to
he
l
p
the
instruction.
TO USE THE USB DEVICE
S
upported
fi
l
e
formats
:
A
Photo
: *
.
j
pg
;
t
M
usic
: *
.mp
3
fi
l
es
;
t
M
o
v
ie
: *
.a
v
i
fi
l
es
;
t
TEXT: *
.t
x
t
t
Note
D
ue
to
the
particu
l
arity
of
fi
l
e
recording,
some
fi
l
es
O
may
be
unab
l
e
to
be
read.
S
upported
e
q
uipment
:
B
S
upport
the
e
q
uipment
that
supports
M
ass
S
torage
Protoco
l
and
w
hose
fi
l
e
system
is
FAT32
,
such
as
some
USB
disks,
mobi
l
e
harddisks,
and
M
P
3
p
l
ayer.
I
f
USB
e
q
uipment
cou
l
d
not
be
identified
due
to
unsupported
fi
l
e
system,
p
l
ease
format
the
e
q
uipment
to
the
abo
v
e
-
mentioned
fi
l
e
system.
T
o
achie
v
e
smooth
p
l
aying,
ensure
the
fo
ll
o
w
ing
:
C
T
he
fi
l
e
code
rate
shou
l
d
be
l
o
w
er
than
300KB/S;
t
D
ue
to
the
l
imitation
of
USB
signa
l
transmission
t
distance,
it
is
recommended
not
to
use
USB
patch
cord,
in
case
of
using
the
cord,
make
sure
that
its
l
ength
is
not
o
v
er
1
m
;
U
se
high
-
speed
USB
e
q
uipment
in
conformity
t
w
ith
USB2
.
0
fu
ll
speed
I
nterface
S
tandard
; I
f
USB
e
q
uipment
in
conformity
w
ith
USB1
.
1
fu
ll
speed
I
nterface
S
tandard
is
used,
the
p
l
aying
may
be
unsmooth.
When connecting/removing the USB
device
Press
“
A
SOURCE
”
on
the
remote
contro
l
unit
to
se
l
ect
USB
option.
I
nsert
USB
e
q
uipment
into
corresponding
USB
B
interface
2
s
after
starting
the
system.
A
fter
entering
the
system
menu,
press
“
C
/
“
on
the
remote
contro
l
unit
to
se
l
ect
the
re
q
uire
USB
fi
l
es,
press
“
OK
”
button
to
confirm
the
se
l
ection
and
enter
the
fi
l
e
l
ist
re
l
ati
v
e
to
the
se
l
ection.
Press
D
“
/
“
on
the
remote
contro
l
unit
to
se
l
ect
the
re
q
uired
fi
l
e,
press
“
OK
”
button
to
enter
the
se
l
ected
fi
l
e.
T
o
e
x
it
the
streaming
media
p
l
aying
system
and
E
w
atch
a
TV
program,
you
must
press
“
BACK
”
button
to
return
to
the
streaming
media
main
menu
at
first
(
to
protect
e
q
uipment
)
,
and
then
press
“
SOURCE
”
to
se
l
ect
“TV”
to
return
to
the
TV
mode.
Note
U
nder
source
of
USB
,
w
hen
Q
press
button
MENU
,
screen
goes
b
l
ack,
e
x
cept
w
hen
images
or
mo
v
ies
are
being
p
l
ayed.
W
hi
l
e
p
l
aying
the
USB
,
press
“
Q
BACK
”
button
repeat
l
y,
the
screen
picture
w
i
ll
return
to
USB
main
interface,
and
on
l
y
at
this
time
you
can
s
w
itch
corresponding
signa
l
sources
by
pressing
“SOURCE”
again.
Summary of Contents for LET40T3
Page 30: ......
Page 31: ...0090504932T...


