14
ADJUSTING / REPLACING KNIVES
The knives supplied with the planer have an edge on
both sides of the blade enabling you to flip the knives
over when one edge becomes dull or pitted. To change:
1. Remove the Dust Chute or Dust Port. Refer back to
the section labeled ATTACHING DUST PORT OR
DUST CHUTE in the ASSEMBLY section for infor-
mation on removing the Chute or Port.
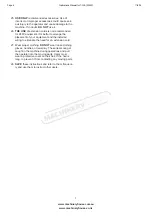
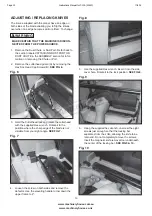
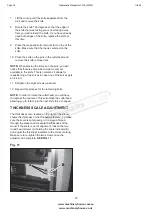
2. Remove the cutterhead guard (A) by removing the
Hex Soc Head Cap Screws(B).
SEE FIG 6.
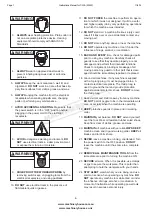
MAKE CERTAIN THAT THE MACHINE IS DISCON-
NECTED FROM THE POWER SOURCE.
WARNING
!
Fig. 6
3.
B
A
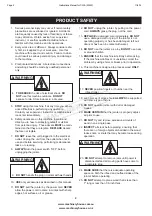
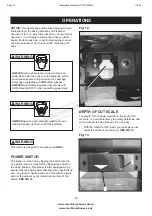
Hold the Cutterhead lock and rotate the cutterhead
with the supplied Hex wrench. Rotate it to the
position where the sharp edge of the blade is not
visiable from your sight angle.
SEE FIG 7.
Loosen the screw on both sides and remove the
defector. Use the elevating handle to low down the
upper frame to 2”.
Fig. 7
4.
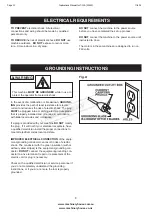
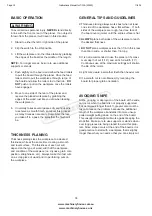
Use the supplied Hex wrench, insert it into the side
cover hole. Rotate it to the lock position.
SEE FIG 8.
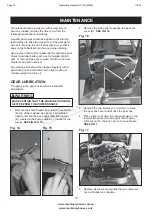
Using the supplied hex wrench, unscrew the eight
screws just enough so that the locking bar
separates from the knife, allowing the knife to be
removed. Do not completely remove the screws.
Insert the magnetic knife removal tool underneath
the center of the locking bar.
SEE FIG 9 & 10.
5.
Fig. 8
Fig. 9
6.
Fig. 10
www.machineryhouse.com.au
www.machineryhouse.co.nz
Page 15
Instructions Manual for T-13A (W813)
1
1/9/19


