40
5
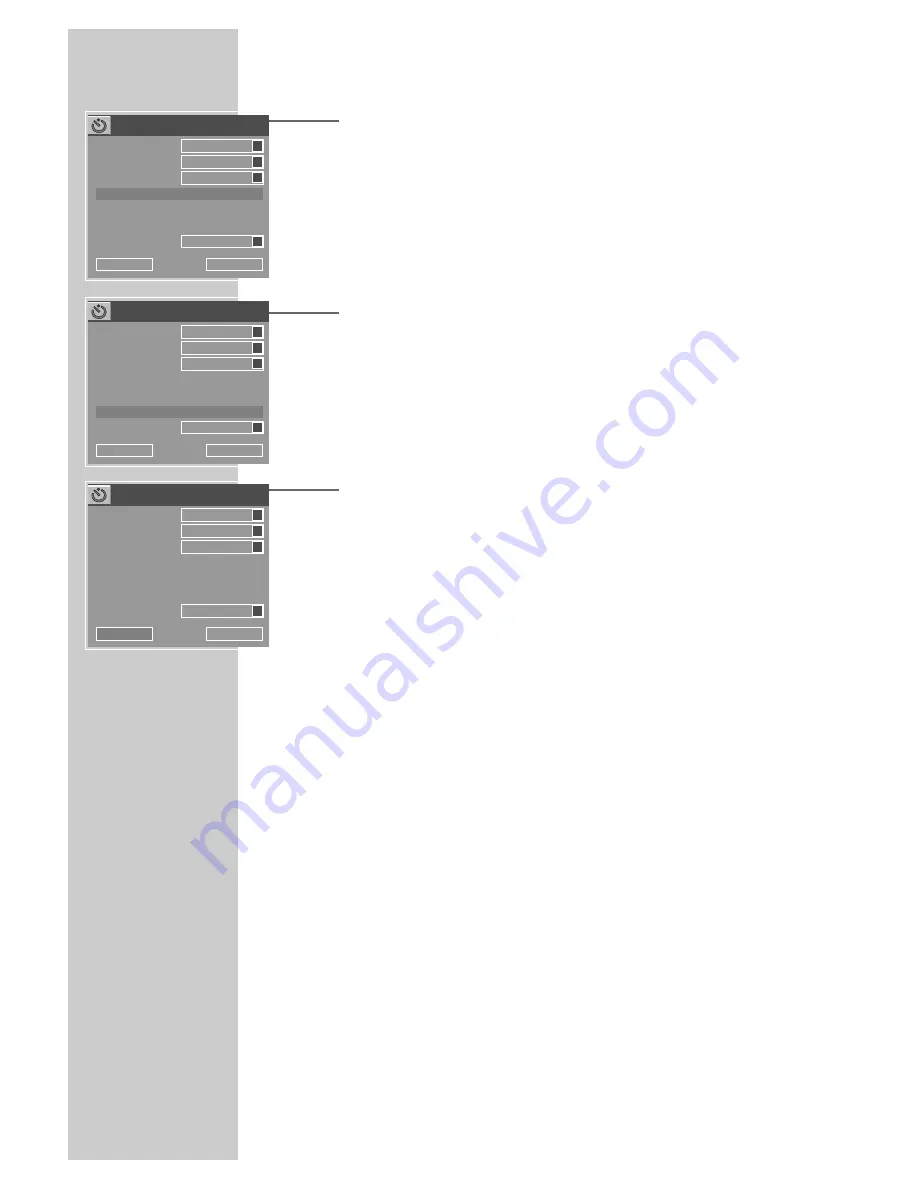
Select »Date« with »
S
« or »
A
« and press »
OK
« to
confirm.
Use »
1…0
« to enter the six-digit date for the recording and
press »
OK
« to confirm.
6
Select »Start« with »
S
« or »
A
« and press »
OK
« to
confirm.
Enter the four-digit start time with »
1…0
« and press »
OK
« to
confirm.
7
Select »End« with »
S
« or »
A
« and press »
OK
« to
confirm.
Enter the four-digit stop time with »
1…0
« and press »
OK
« to
confirm.
8
Select »VPS« with »
S
« or »
A
« and press »
OK
« to
confirm.
Press »
S
« or »
A
« to activate VPS control (On), if required.
9
Select »OK« with »
S
« or »
A
« and press »
OK
« to
confirm the recording data.
– The »Timer list« menu appears on the screen again.
Note:
If you do not want to save the timer data, select »Cancel« with
»
S
« or »
A
« and press »
OK
« to confirm.
10
Repeat from step
3
if you want to make more recordings, or
press »
TIMER
« to quit the timer recording menu.
11
Press »
Ǽ
« to switch off the DVD recorder.
– »TIMER« is displayed on the DVD recorder.
Note:
Remember that the DVD recorder can only record after you
press »
Ǽ
« to switch it to standby.
DELAYED RECORDING
________________________
Source
Quality
Mode
Date
23.09.04
Start
18:00
End
18:30
VPS
Item Editor
LP
S
OFF
S
OK
Cancel
ARD
S
Once
S
Source
Quality
Mode
Date
23.09.04
Start
20:15
End
18:30
VPS
Item Editor
LP
S
OFF
S
OK
Cancel
ARD
S
Once
S
Source
Quality
Mode
Date
23.09.04
Start
20:15
End
21:45
VPS
Item Editor
LP
S
ON
S
OK
Cancel
ARD
S
Once
S


