– 13 –
C R O S S C O U N T R Y F I V E - W A L L S E R I E S S T R A I G H T L E A N T O • G R E E N H O U S E I N S T R U C T I O N S
•
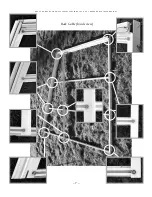
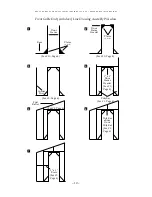
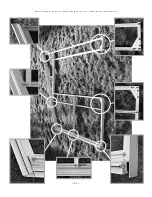
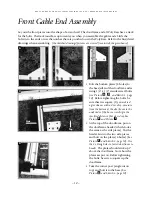
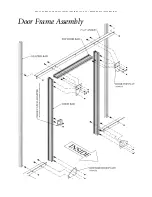
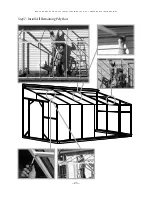
TakethePolyBarsnexttothe
door frame
– (see Sketch 4 on Page
9)
and bolt them to the base/sill.
The angle cut should match the
roofslope
(See Picture
E
).
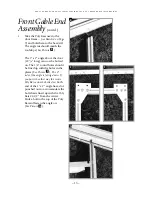
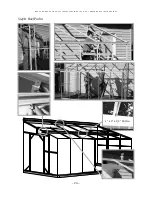
The 1” x 2” angle above the door
(49
3
/
4
” long) can now be bolted
on. The 1/4” round holes should
be lined up with the holes in the
plates
(See Picture
F
). The 2”
side of the angle is facing down. If
you put it the other way the centre
Poly Bar cannot be bolted on.
Each
end of the 1” x 2” angle has a slot
punched out to accommodate the
bolt that is lined up with the Poly
Bars 24 1/2” from the center.
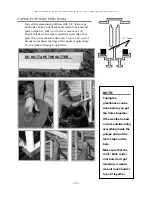
Slide a bolt in the top of the Poly
Bar and fasten the angle o it
(See Picture
G
).
E
F
F
G
Front Gable End
Assembly
(contd.)


