❏
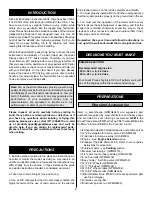
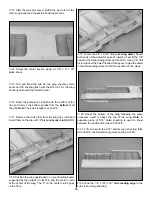
13. Drill a 3/32" hole into the leading edge of both
elevators. As you drill each hole, keep the drill aligned with
the top and bottom surface of the elevator and reference
lines you made in the previous steps.
❏
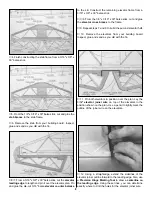
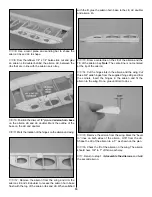
14. Use the Great Planes Groove Tube to cut a 3/32"
groove in the leading edge of both elevators to recess the
joiner wire. Note: If you do not have a Groove Tube, refer to
the Following Expert Tip.
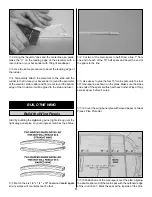
HOW TO CUT A GROOVE FOR A JOINER WIRE
A. Use a #11 knife blade to sharpen the inside of a piece
of 3/32" brass tube. Roll the tube as you carve the end.
B. Use the sharpened tube to carefully gouge the leading
edge of the elevators. You'll have to make several shallow
passes to make the recess deep enough for the joiner wire.
❏
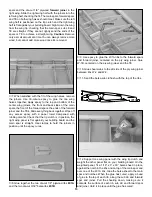
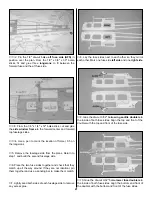
15. Temporarily join the elevators with the joiner wire. The
joiner wire will be easier to install if you chamfer (bevel) the
ends a little. If necessary, “tweak” the joiner wire so the
elevators are parallel and lay flat on your building table when
the joiner wire is installed. If you found it necessary to
“tweak” the joiner wire, use a felt-tip pen to mark it so you
can install the joiner wire in the same orientation when you
permanently join the elevators.
❏
16. Lay the elevators and stab over the plan and lightly
mark the hinge locations on the LE of the elevators and the
TE of the stab. Repeat the process to mark the hinge
locations on the LE of the rudder and TE of the fin.
9


